Sunday, March 31, 2013

paint: dreadball: rammers of krass brokkr

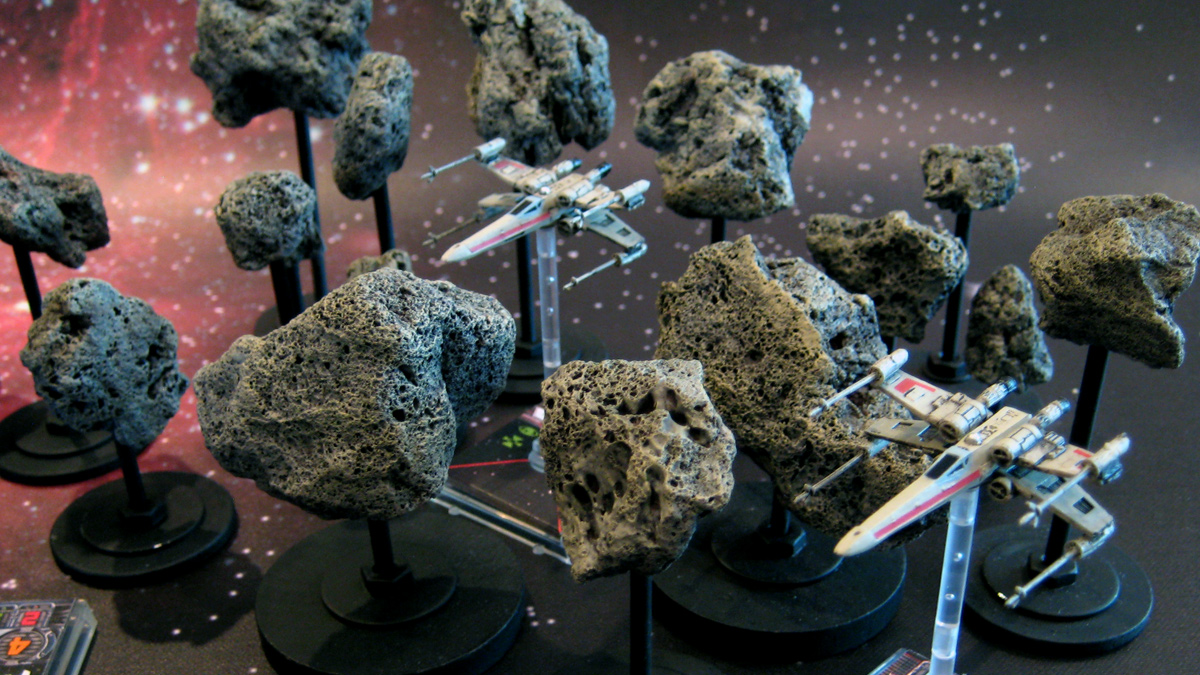
So, amongst last year's Kickstarter backings I pledged at Striker level on a little game called Dreadball. I've got mixed feelings regarding Mantic's handling of this project - Primarily that my FLGS had it for sale a good two-three weeks before I got my copy and that flashing on my Veer-myn is so bad that I stopped assembling them from frustration. - yet I was still incredibly excited when I got my box around New Year's and quickly assembled both the Forge Father and Orx teams and grabbed for my paints.


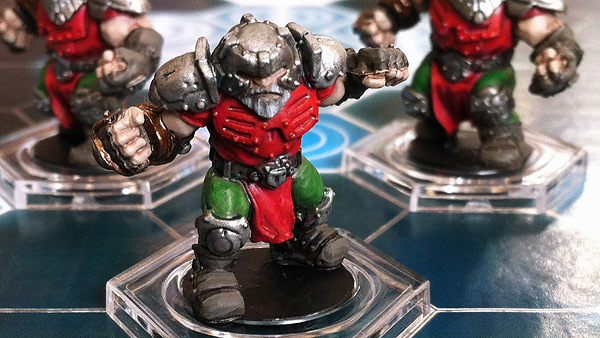
Rammers of Krass Brokkr : Striker (Gorim Ironstone model)

Because I tend to use paint schemes with a ridiculous amount of steps, I decided to change things up and see if I could strike a balance between speed and visual appeal by only using base-colors, sloppy highlights and an all-inclusive wash. The results aren't my favorite figures I've ever painted, but I think they do look like a coherent team on the table-top and I'm not ashamed to call them my own.


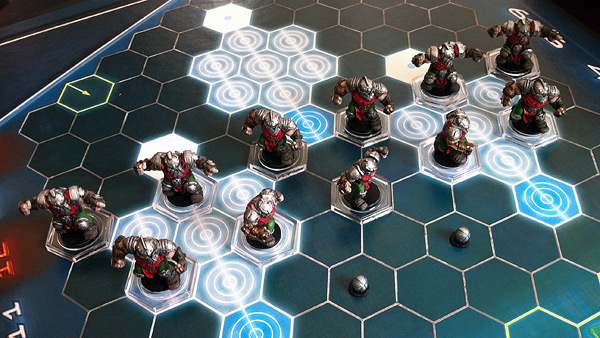
Rammers of Krass Brokkr : Team Photo

Oddly enough, the color scheme was picked out long before Dreadball was even a game! Several years ago, when I saw Mantic's Dwarf infantry models for Kings of War, I was struck by their similarity to one of the few He-Man toys I ever owned - Ram-Man. I always thought it'd be fun to paint up a regiment with colors that drive home their aesthetic similarities, but never had reason to purchase the models. Fast-forward to now, and I've finally got my hands on Mantic figures that, while not holding the aesthetic quite as well as their fantasy Dwarfs, they still hold close enough to follow through on the concept.


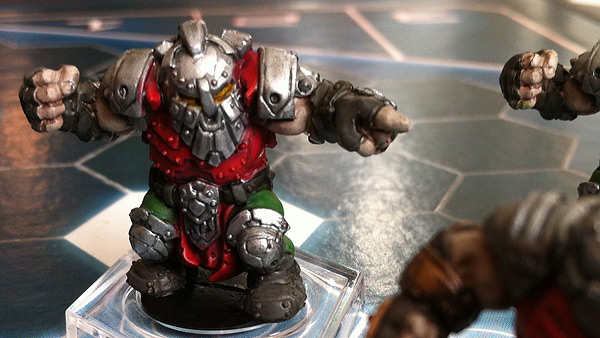
Rammers of Krass Brokkr : Guard

And, because I can't ever be too big a nerd, I decided this homage needed a team name and logo that helps solidify the connection between these guys and their Masters of the Universe roots. With a little research I found that Krass was Ram-Man's name prior to donning the armor that makes him literally spring into battle head-first and that Brokkr means mine and/or blacksmith. So the name roughly translates to "The Ram-Men from a Mine named Krass" The typography is a vectors-from-scratch throwback to the old Masters of the Universe logo.

I like to think I pulled it off.

Despite finishing these guys in January, I've still not given the game a whirl. One of the local guys took my Corporation team off my hands, but we've both been too busy with life and other games to get it to the table yet. I hope to remedy that soon, as I'll be playing in the Dreadball tournament at Adepticon this April, which happens whether I've gotten in practice games or not.

Friday, March 29, 2013

build: tau bunker and cannon

It took me FAR too long to settle on the design of this Christmas gift. So much so that I finally shipped it the Tuesday before Easter. Yeah. Not my finest hour of timing, but I do think the results are kinda cool.

I don't own Tau, so getting the aesthetic right was a new challenge for me. After a few false starts, I ended up using wood and plasticard to make prototype "feet" before casting copies in the hardest plaster I could find locally. A few passes with a scribing tool using the lines of Tau weapons and vehicles for inspiration later, and I think it captures the Tau aesthetic pretty well.

And here's the card that accompanied the bunker...

Saturday, March 23, 2013

build: x-wing: "asternoids"

Been awhile since I've posted an update here, but I have been busy. I hope to spend the next few weeks trickling in pics of various projects and my thoughts on the games they're for.

First up, some terrain I slapped together for Fantasy Flight Games' Star Wars: X-Wing Miniatures Game. When I was working on them, my 3-year-old son would watch what I was doing and say, "Daddy, I love you asternoids." I've called the that ever since. Unfortunately, I don't have any WIP pics to show, but they're not too difficult to figure out.

SHOPPING LIST
  • Lava rock (10 lb. bag in the gardening section of Home Depot)
  • Bosch BlueGranite Turbo 1/8" drill bit (conveniently fits in a Dremel)
  • 1/8" dowel rod
  • Hex nuts and/or washers with 1/8" holes
  • Wooden discs (wood isle at Hobby Lobby)

I dulled a couple drill bits on the first three rocks before I found the bit specified above. Once I got the Bosch, it went through the other 26 rocks I set aside with no sign of slowing down. Do yourself a favor and just start with that one. Grab it off Amazon if you have to.

If you look past the fighters, you can likely piece together the assembly instructions.

  1. Drill into rock.
  2. Drill into base.
  3. Wood glue dowel into base.
  4. Super-glue washer and/or hex nut to base.
  5. Hot glue rock on top of dowel.

After that, it's a simple matter of painting them however you like. Personally, I primed them white, then split them into two batches. Half got a thorough coating of a deep reddish-brown followed by a heavy drybrush of a lighter brown. The other half got a thorough coating of a dark grey, followed by a heavy drybrush of a mid-grey. Then they all got a zenithal drybrush of a light blonde to tie them all together.

I think they came out pretty well for a weekend's work and look snazzy on the Gale Force 9 Space Game Mat.