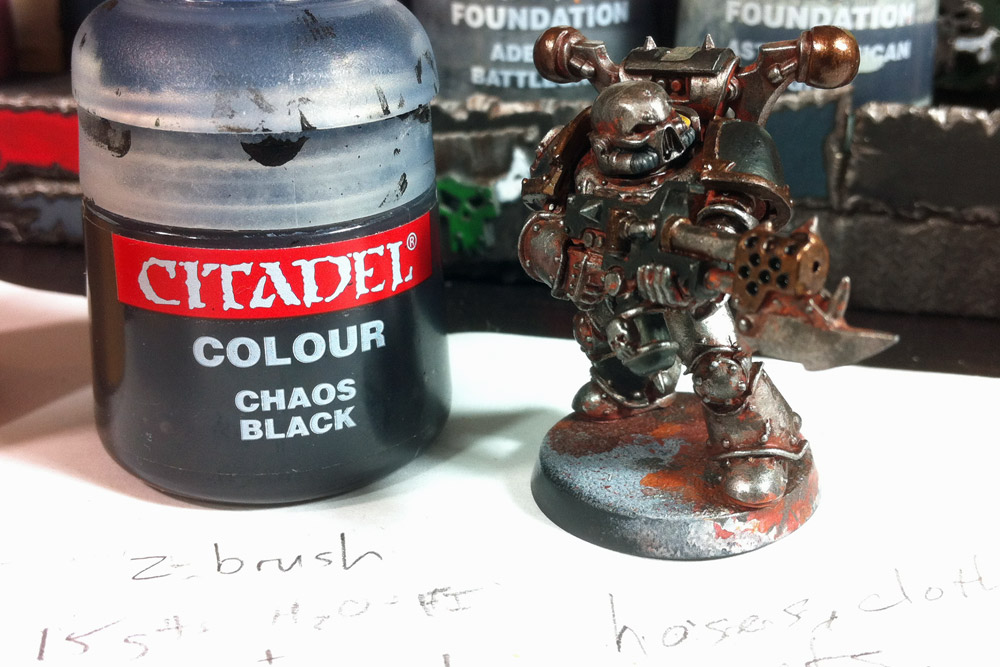
- gtts: medical abbreviation for drops
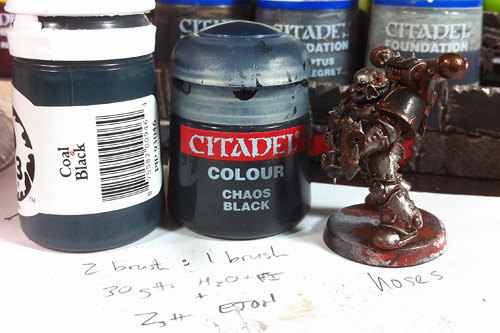
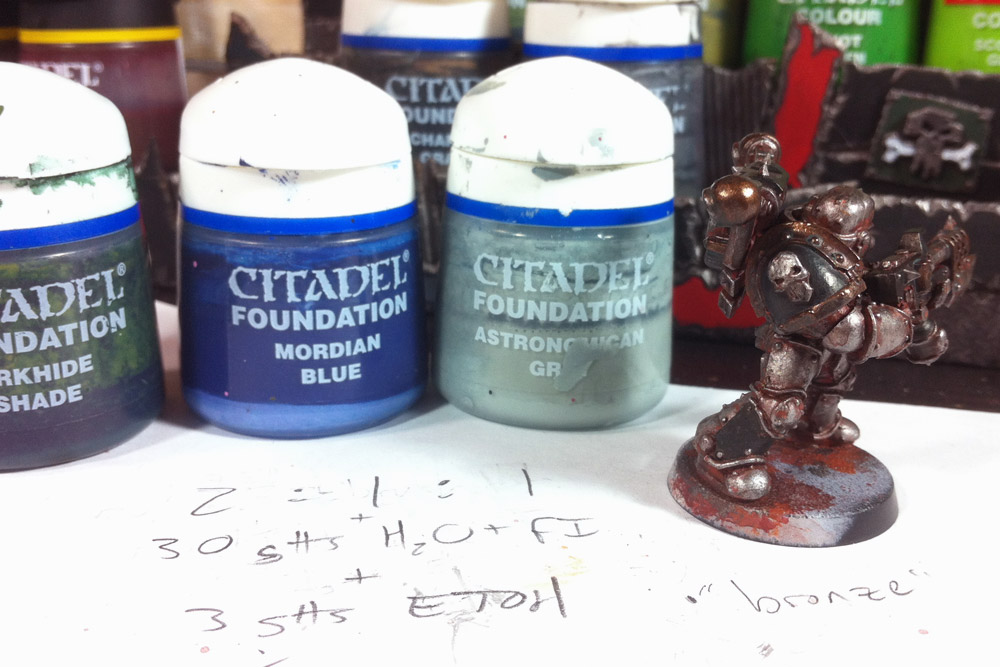
- H2O + FI: a 10:1 mix of distilled water and Liquitex Flow Improver
- ETOH: 70% alcohol obtained from the drug store
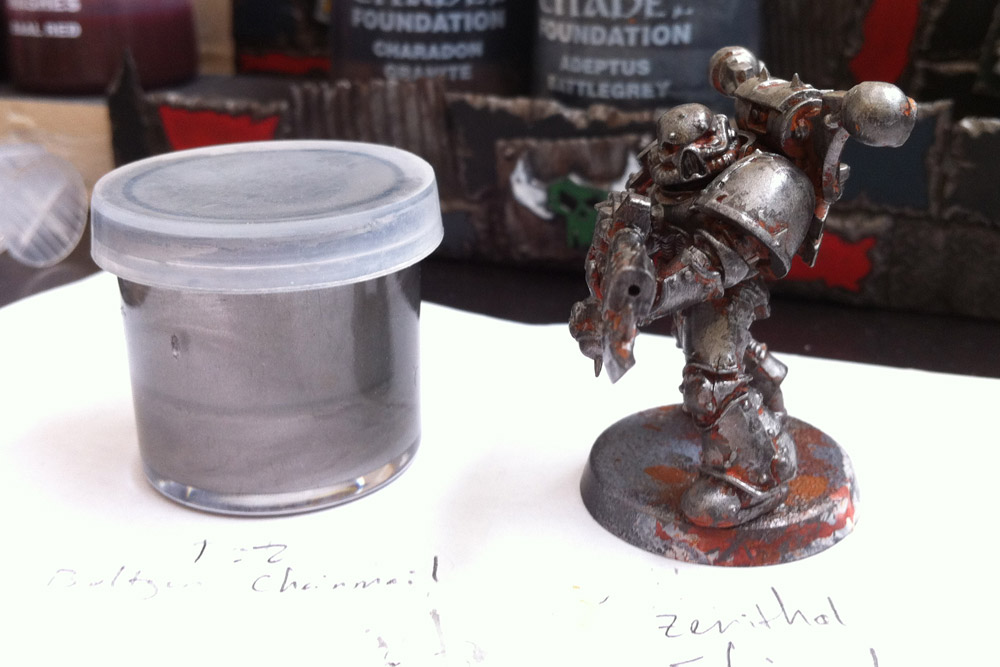
- zenithal: applied from above, as if coming down from a spotlight directly overhead
All models are primed white, and any non-stippled, non-wash colors were applied using a home-made wet palette.
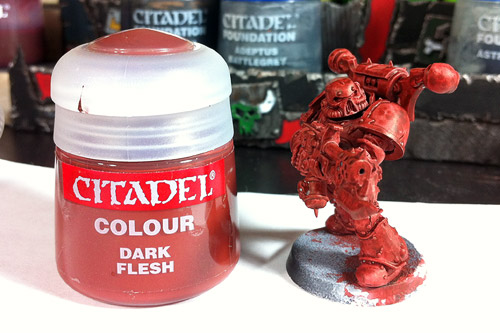
Step 1: complete coverage
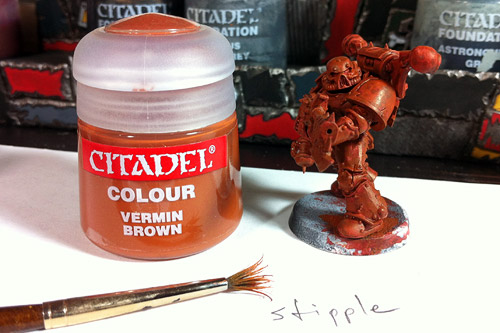
Step 2: moderate coverage
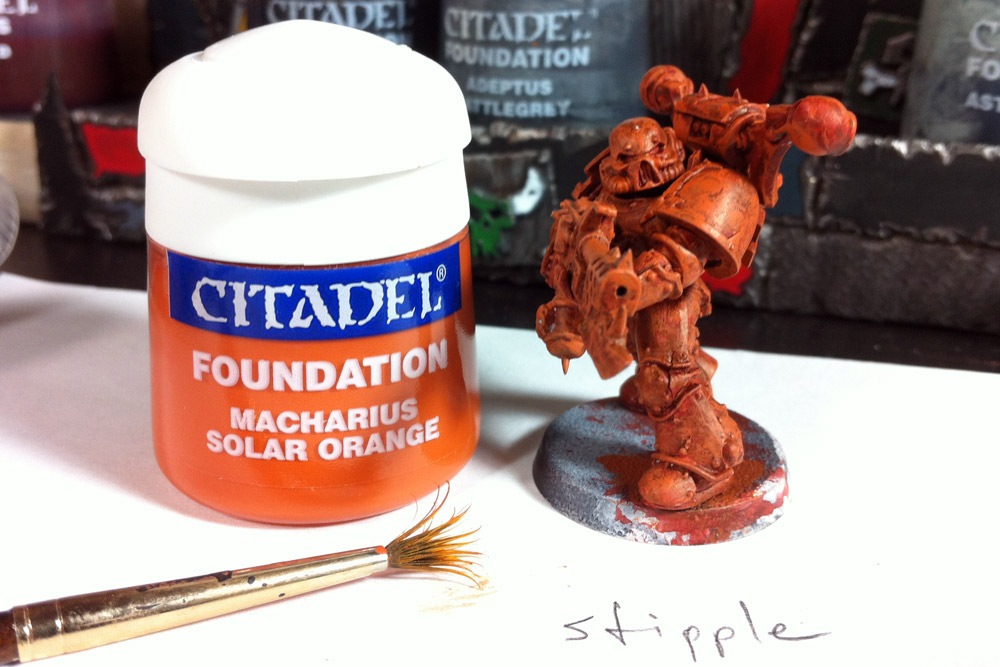
Step 3: light coverage
(clickable)

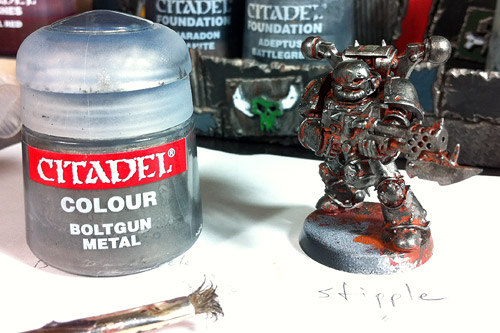
Step 4: heavy coverage
Step 5: leaving a good amount of the prior color
Step 6: only hitting the highlights
(clickable)
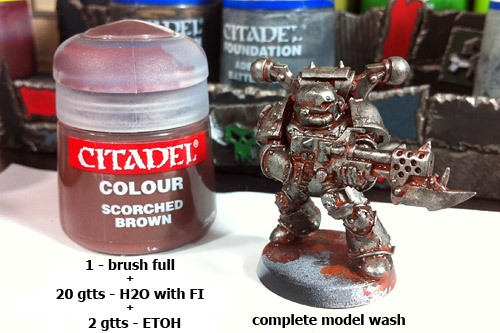
Step 7: all over wash
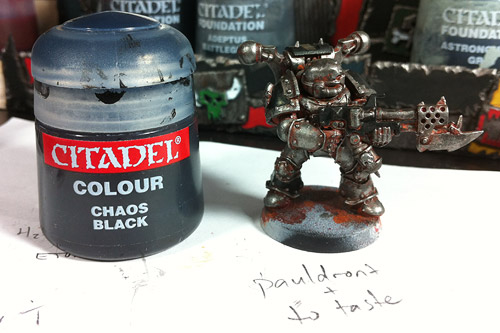
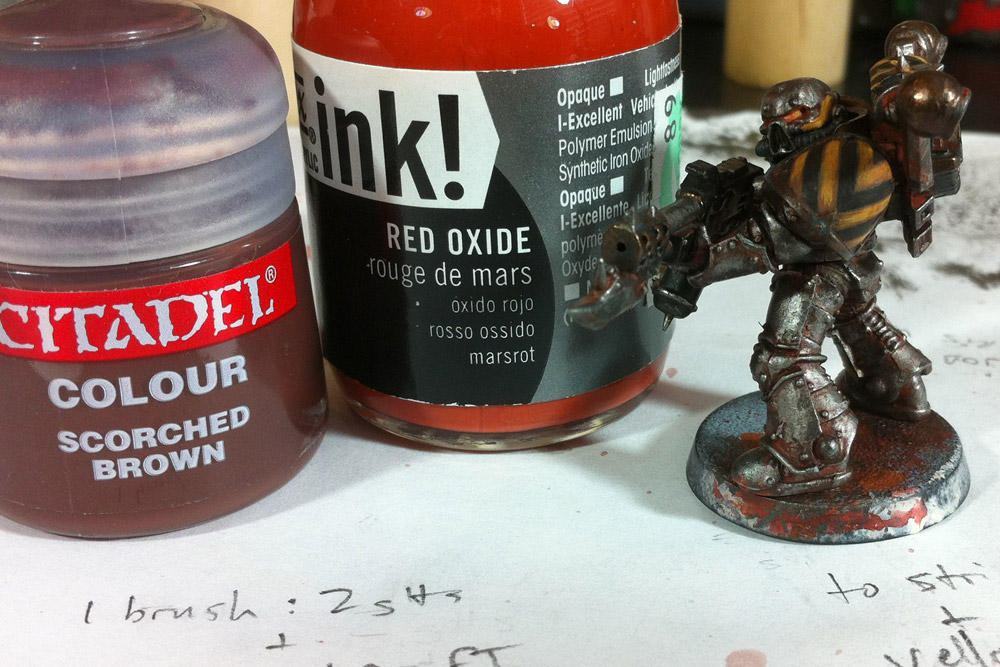
Step 8: anywhere you want black or plan to have hazard striping

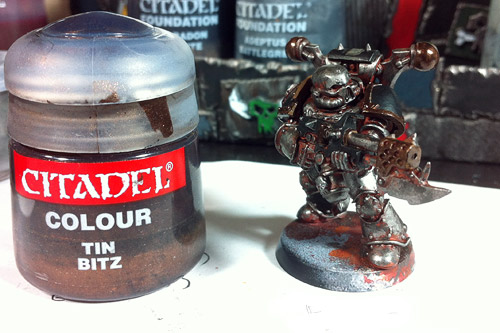
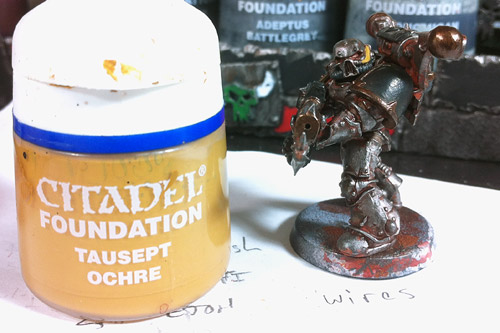
Step 9: any parts you plan to "bronze"
(clickable)
Step 10: can leave prior layer in recesses
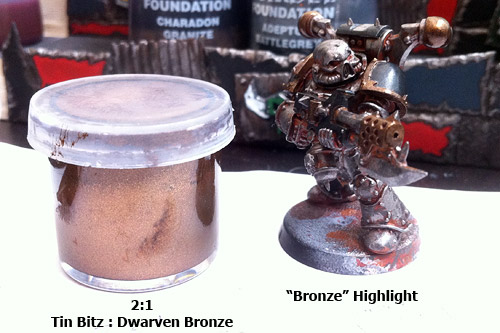
Step 11: highlight bronze areas with an eye towards zenithal highlighting
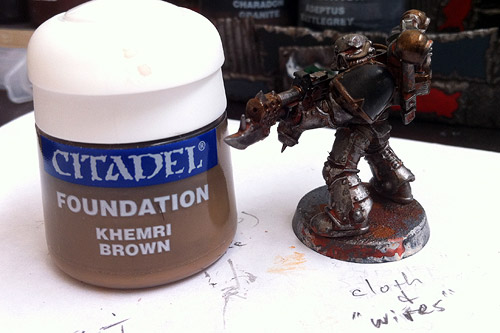
Step 12: cloth underarmour and any non-ribbed wires/tubes/cabling
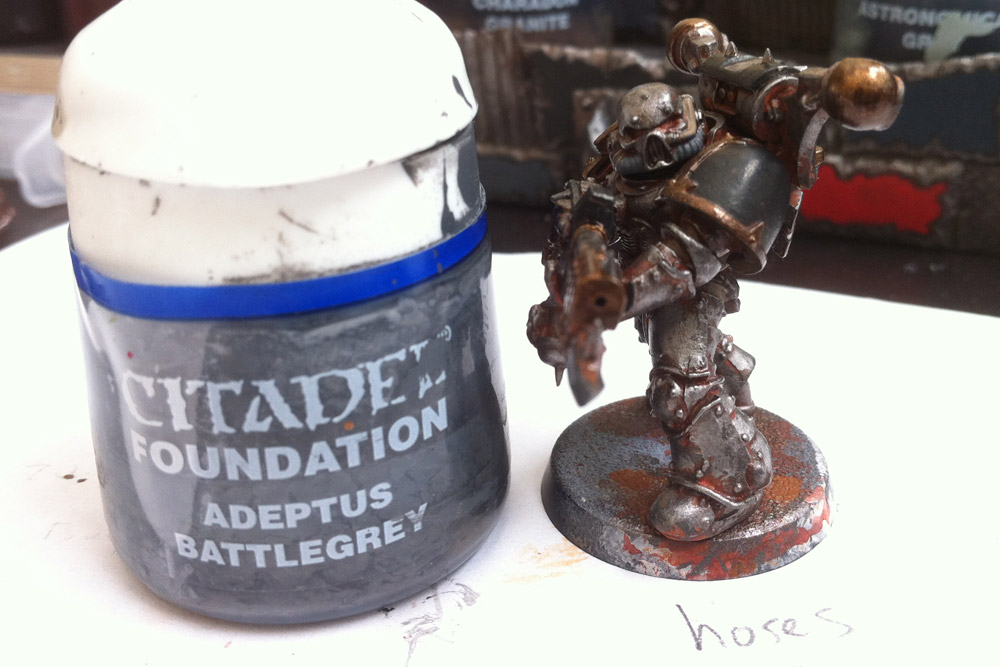
Step 13: all ribbed wires/tubes/cabling
(clickable)
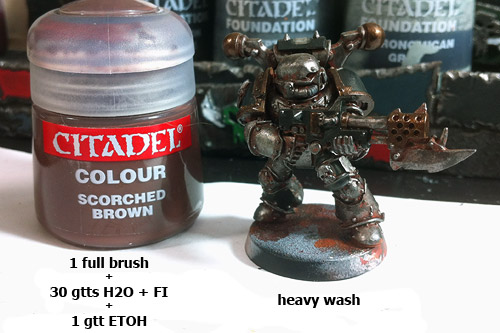
Step 14: wash over all underarmour, iron and bronze
Step 15: wash to all wires/tubes/cabling painted grey above
Step 16: highlight to all wires/tubes/cabling painted brown earlier, but not underarmour
Step 17: wash as described in picture
(clickable)
Step 18: thin wash to bronze areas, just enough for subtle patina
(clickable)
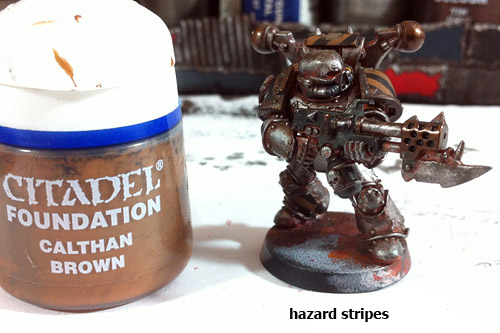
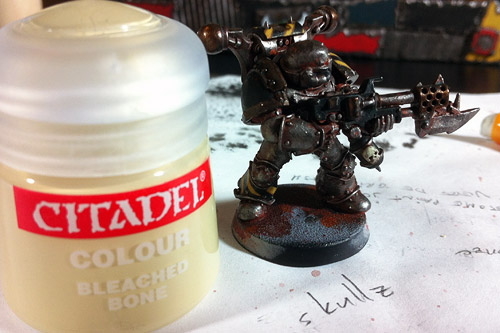
Step 19: first layer of any hazard stripes and skulls, as much or as little as you want

Step 20: highlight the hazard stripes, leaving a little of the brown showing
(clickable)
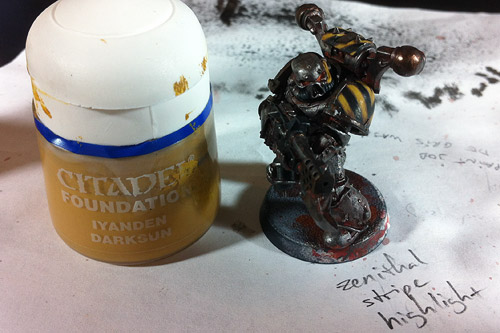
Step 21: zenithal highlight of hazard stripes
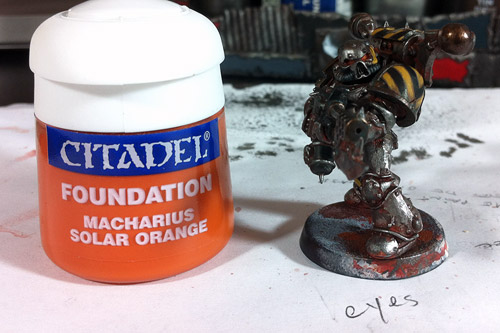
Step 22: over most of the eye lenses
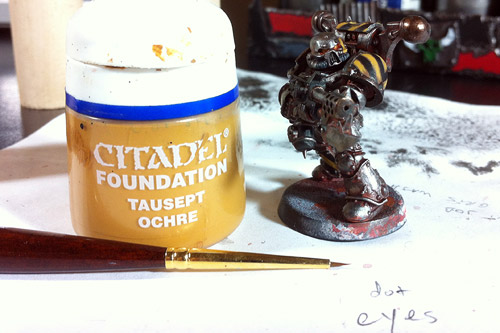
Step 23: just enough to make the eyes pop
Step 24: 2nd layer to skulls
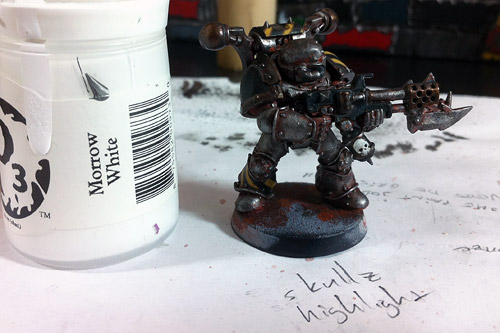
Step 25: final skull highlight
Step 26: wash over the hazard stripes to dampen their brightness
(clickable)

Step 27: a couple thin washes should darken the eye recesses and dampen the bone color nicely
It's a bit labour intensive, but there a couple spots I think I can switch around the color order to streamline the process. It's not quite the competition-level painting I originally hoped to achieve, but I think an entire army painted like this will be fairly stunning on the table. I'm confident enough in the look to enter it in GW's "Armies on Parade" competition once all is said and done.
But that's still a ways off. I've got 43 more dudes, 2 walkers and 5 vehicles to paint. I'm thinkin' "Armies on Parade" will be a 2013 kinda thing...
No comments:
Post a Comment