After each new paint, wash, or glaze you simply pose the model next to the paint pot you just used, making sure that you can clearly see the color's name and where you've painted. Snap a picture. Not only has your picture "written down" what paint you used, but also where to place it on your model. String enough of those together and you've got a ready-made recipe for making your second, third, or eleventy-first wave of troops match the first. This method has served me well with models for MERCS, 40K and now Dystopian Wars.
For example, here are the pics I took for my FSA Navy:
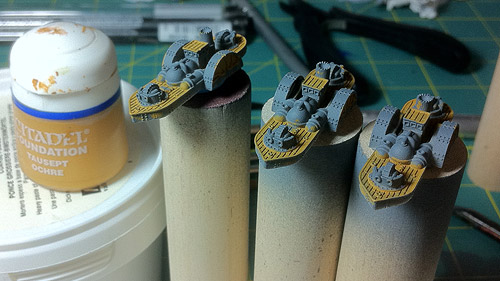
Step 1: Tausept Ochre: applied to decking
Step 2: Orkhide Shade: applied to hull, turrets and superstructure
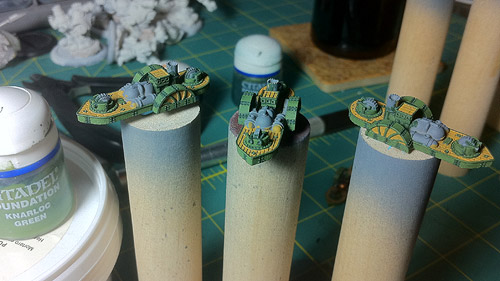
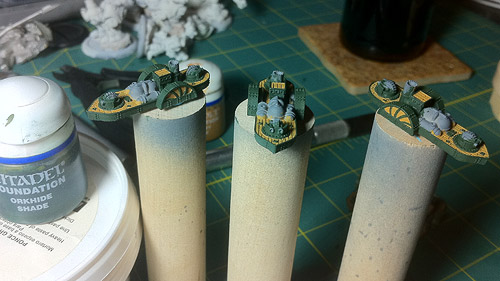
Step 3: Knarloc Green: over Step 2, leaving leaving Orkhide Shade in recesses
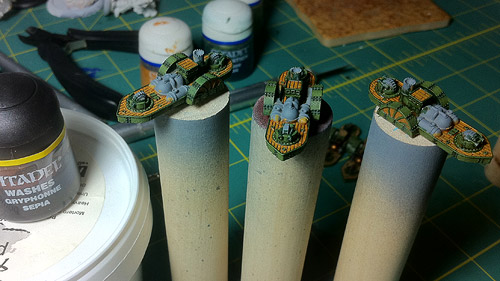
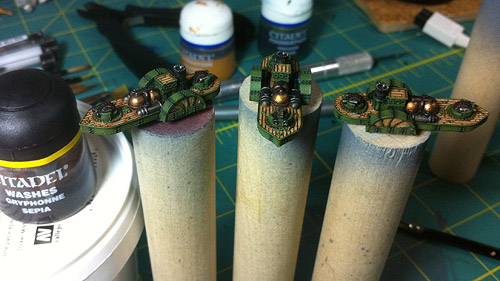
Step 4: Gryphonne Sepia: over everything painted so far
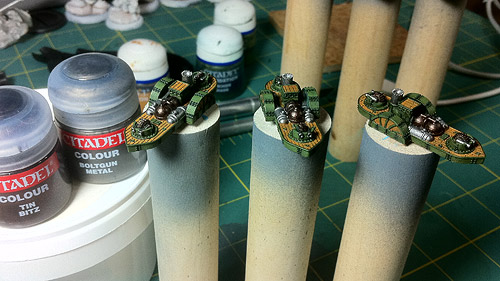
Step 5: Tin Bitz & Boltgun Metal: to the boilers and pipes
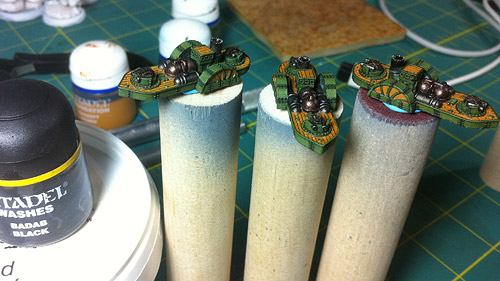
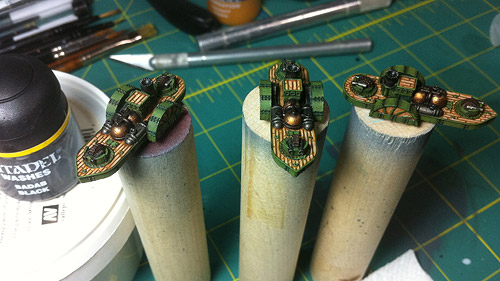
Step 6: Badab Black: to the Boltgun metal
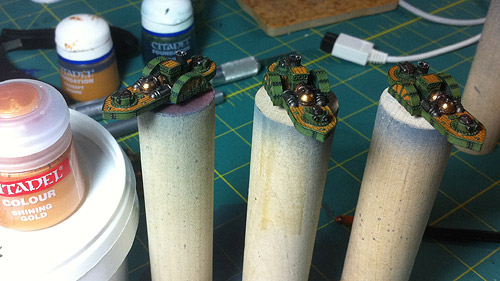
Step 7: Shining Gold: over the Tin Bitz, leaving Tin Bitz in the recesses
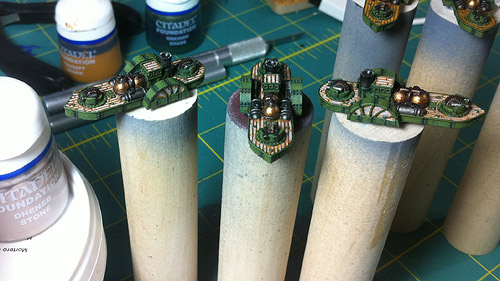
Step 8: Dheneb Stone: to the interior of individual wood planks

Step 9: Ogryn Flesh: over the Tin/Gold areas
Step 10: Gryphonne Sepia: back over the decking
Step 11: Badab Black: second coat over the Boltgun Metal

Step 12: Gretchin Green: edge highlighting to the green areas
And that's it! The best part of this technique is that most of us tech-saavy enough to blog or listen to podcasts probably have a cell phone in our pocket capable of taking even mediocre pictures. These pics are destined for personal use, not Cool Mini or Not, so mediocre is fine as long as you can make out the color's name and where you put it on the model.
The hardest part, for me, is remembering to stop between steps and snap the shot. I personally find it easier to take pictures when I'm doing test or proof-of-concept models, as I'm already stopping to figure out the next color to apply.
I doubt I'm the first to use this technique, but it is something I came up with on my own, haven't seen anywhere else on the net, and have found invaluable since I started using it. Hopefully it'll be useful to some of you out there on the interwebs as well.
No comments:
Post a Comment