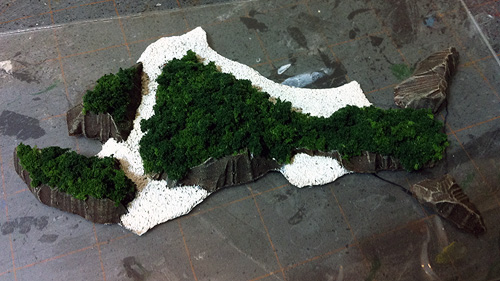
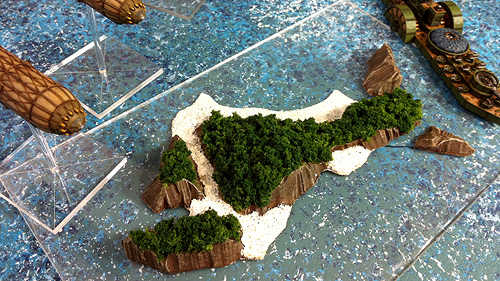
With my rock islands completed, save some wave-work, I turned my sights to what I've been calling the "lush islands". The group of four islands whose concept was inspired by this photo:
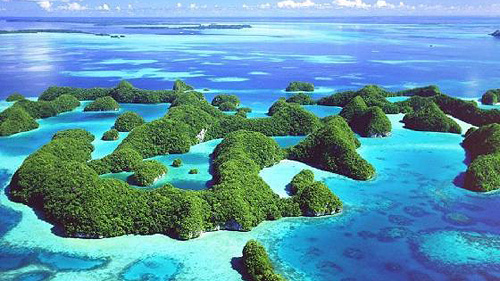
The islands themselves were shaped a couple weeks ago, after seeing the inspiration photo, but not after studying it. I realized too late that the contours in my head didn't match the photo, but still think the "lush island" concept can shine through, despite the island shapes barely resembling the islands in the photo.
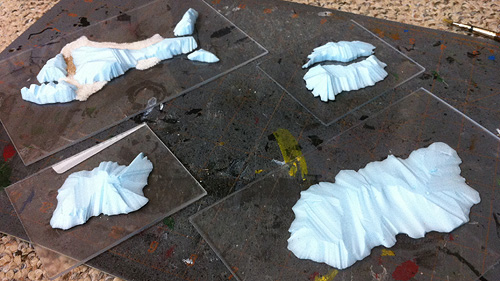
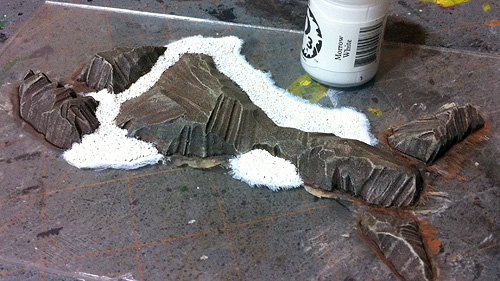
"The Floating Forests" & Candiru Island: foamy
All islands in the chain were completed using the following steps. As with the last set of islands, I'm using crappy, years-old acrylic paint for most of the colors, as they're already on-hand and they're far less per-ounce than any game-branded paints. I picked Candiru to photograph because I needed "how-to" photos of my beach work, and it's the only island in the chain with some. Without further ado, here's Step 1...
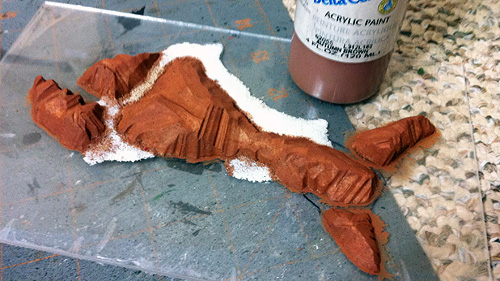
Step 1: Autumn Brown: applied over all of the island, save the beach
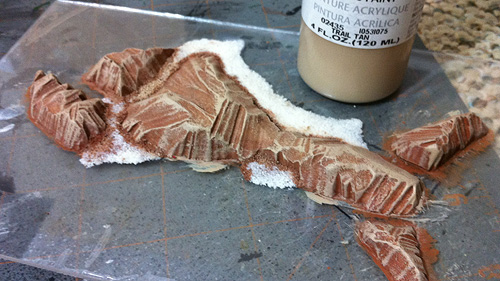
Step 2: Trail Tan: applied in a thick drybrush
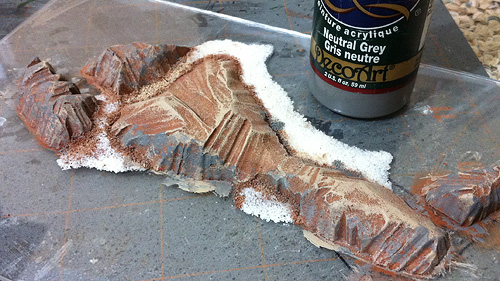
Step 3: Neutral Grey: stippled to predominately vertical edges
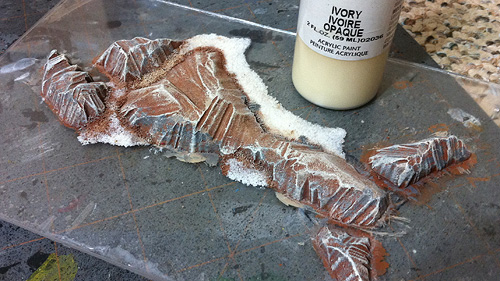
Step 4: Ivory: light drybrush to the non-beaches
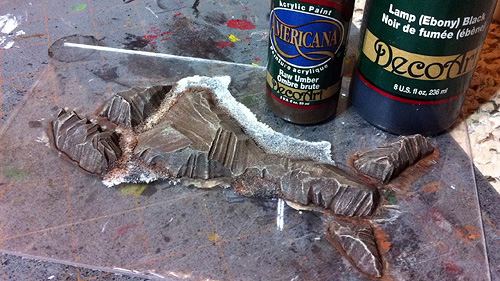
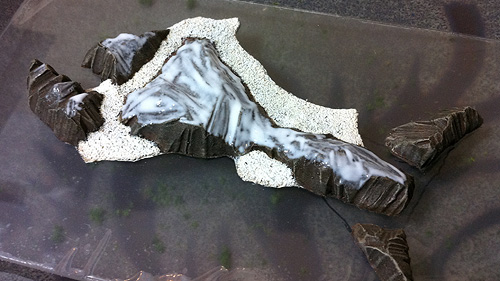
Step 5: Raw Umber & Lamp Black: mixed 1:1, thinned heavily, washed over the rock
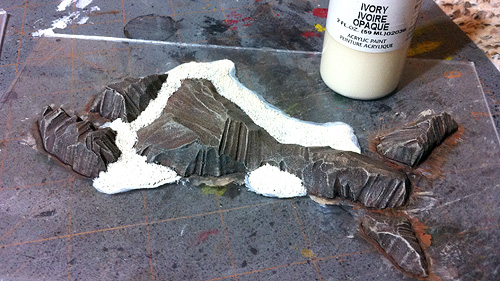
Step 6: Ivory: thinned, cover the whole beach
Step 7: Morrow White: drybrushed over the beach to taste
And that's it. The island is painted. But so is the acrylic, where overzealous painting slopped paint onto the base around the island's edges. The best way I've found to clean up the messy edges is to take a q-tip wetted with water and moisten the paint on the acrylic, then scrape the paint off with a fingernail. This step isn't that difficult, but would've been made unnecessary with better planning. Future sets of islands will have their styrofoam sections painted before gluing them to their bases.
After cleaning up the edges, it's time to make the "lush islands" look, well, lush. For that, we need vegetation.

Pre-Vegetation: a variety of foliage in different sizes and colors
The colors and amounts of each depend entirely on the look you're going for. I didn't take measurements when blending the foliage, instead going by how the blend looked after mixing. The last batch I made was mixed approximately 2:2:1, from left to right.
I'll also add that the "Bushes" size was a tad larger than I liked, so the majority of those pieces were hand-torn into more manageable chunks prior to mixing. I probably couldn't gotten away with buying the same color in the "Underbrush" size.
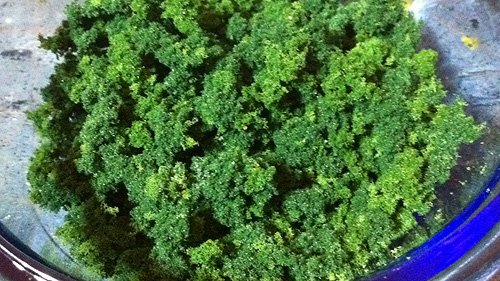
Vegetation: blended to taste
The next step is all about getting the foliage to stick to the island. PVA or Elmer's glues work well for this as most of them are cheap and will dry clear, two very useful properties. I first tried sticking the foliage to watered down Elmer's, as you would when flocking a table, but the foliage wouldn't stick. I ended up applying the glue straight from the bottle...
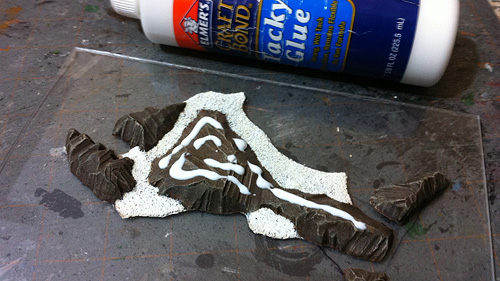
Step 8: Apply Glue: PVA/Elmer's glue, applied directly to the island
Step 9: Spread Glue: using a cheap/rubbish brush, spread the glue to where you want vegetation
Step 10: Forestation: smother the glue in foliage
You may find that chunks of foliage like to sit on top of other foliage instead of settling all the way to the island. The easy way to test this is to flip the model over and give it a light shake and checking for barren patches. I find that gently, but firmly, pressing the foliage into the glue worked a treat for getting most of the veg, or any gap filling veg, to stay. If you're missing spots, most likely at the edges, you can always apply more glue and strategically place what colors and sizes of foliage you need to fill the gaps with variety.
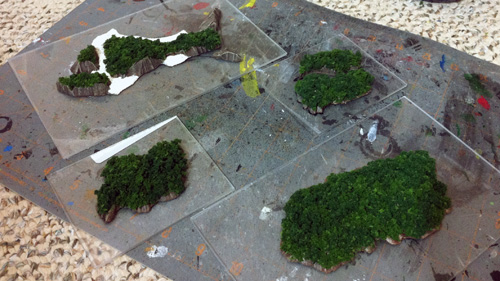
"The Floating Forests" & Candiru Island: lush!
And that's it! Deeply forested islands that might hide lost tribes of head-shrinking cannibals. They're not "finished", as I still need to add painted waves and shallow waters, but they're playable...
No comments:
Post a Comment