Showing posts with label fsa. Show all posts

Saturday, April 14, 2012

miscellaneous: battlefoam

Back in November I took advantage of Battlefoam's Black Friday sale and ordered up a whole mess of custom foam for various projects. Last Friday, it arrived.


Two trays of custom-sized foam, two trays of Battlefoam-sized foam, and eight trays of Spartan-sized foam snuggly packed inside a new Spartan Bag. All the foam was custom-cut based on designs I sent them.

First we'll look inside the bag...


I used the Battlefoam Custom Tray Creator for my Dystopian Wars FSA foam. As you can see, it fits the models well and I added a little room for expansion of my forces.

The remainder of the foam in my "Spartan Games Bag Custom Load Out" bundle was designed for my Aeronautica Imperialis models and made from designs I mapped out in Illustrator and sent in as PDFs.


All 6 trays fit quite snuggly in the P.A.C.K. 216 I bought at Adepticon a couple years ago.


The Battlefoam-sized trays were designed using the Custom Tray Creator and laid out to fit all 2000 points of Iron Warriors I have planned in a single Spartan Bag. My only quibble here is that the "Vindicator" hole from the Custom Tray Creator is extremely tight at the dozer blade. While this'll help during transport, I worry about wear on the paint job as I pull the model in and out of the tray. We'll see once I've actually painted the damn things.

Last, but not least, is the custom-sized, custom-cut foam trays I had designed for Wizkid's Star Trek: Fleet Captains. The foam has been made mostly unnecessary in the latest printing of the game, as Wizkid's has re-jiggered the inside of the box to better support the models and cards without breakage. However, I'd already designed this thing up in Illustrator and paid for the foam, so I went ahead with it.


As you can see, some of the ships sit pretty low in their holes. I had Battlefoam send me the insides of the holes, and will likely pull out the wire foam cutter to make varying height bases in the bottom of each hole. As with the Aeronautica foam, I probably could've designed the holes a bit tighter, but this being my first experience with Battlefoam's foam, I played it safe rather than sorry.


The lid sticks up a 1/4" or so due to the foam's base. I think it's a small price to pay for the protection the foam offers.

My initial impressions overall are positive. The foam appears to be of high quality and fits most of the figures snug. All quibbles are based less on practical application than theoretical at this point. With one of the Fleet Captains foams winging its way to Los Angeles soon, and most of the other trays headed to Adepticon with me, we'll see how the models, and my impression of the foam, hold up.

Wednesday, June 29, 2011

paint: fsa navy (dystopian wars)

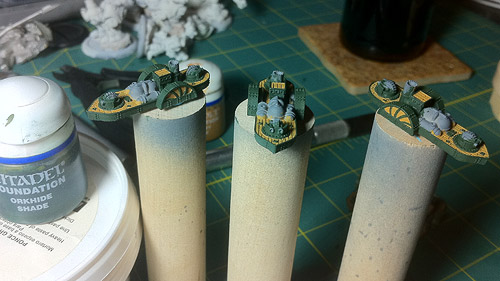
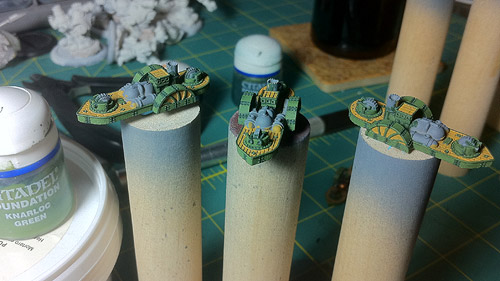
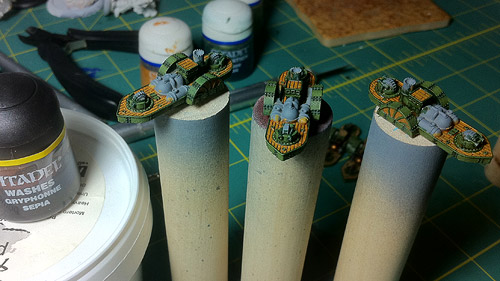
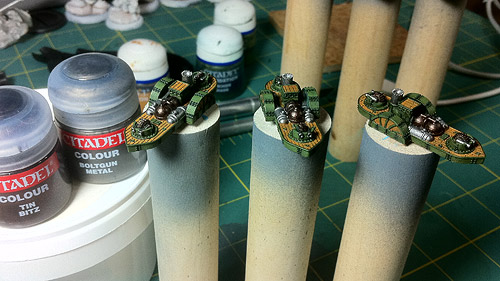
Was listening to D6G: The Lost Chapters - Book 3 the other evening and the topic turned to keeping track of paint recipes for your forces. I fired an email off to Craig and Russ detailing my latest technique for such things, and figured I could relate it here as well. It's quick, easy, and accessible to almost everyone thanks to the now ubiquitous cell phone camera!

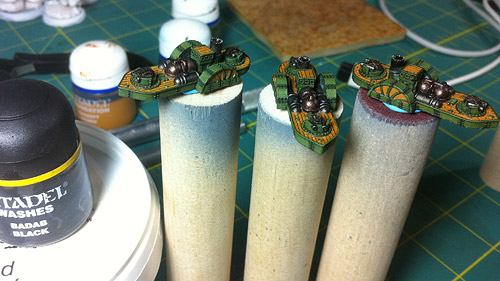
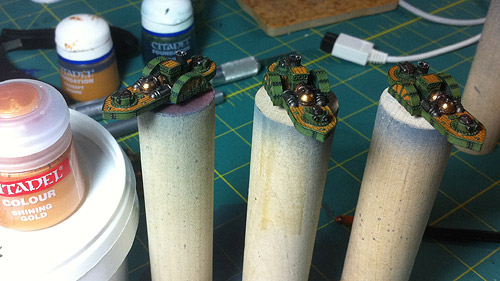
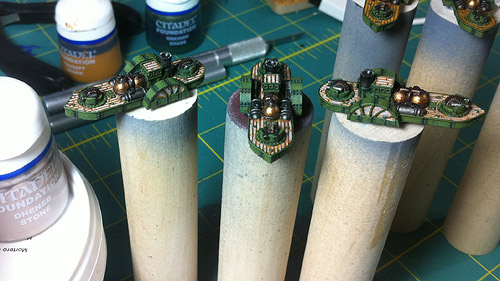
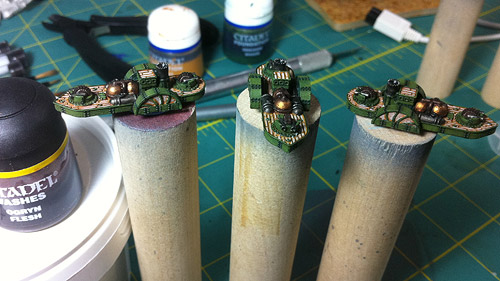
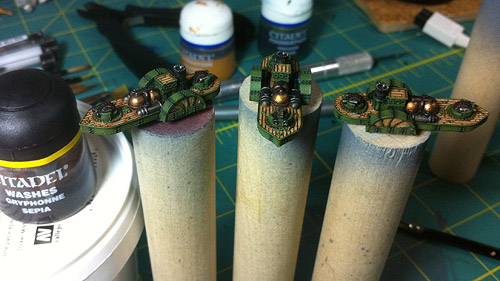
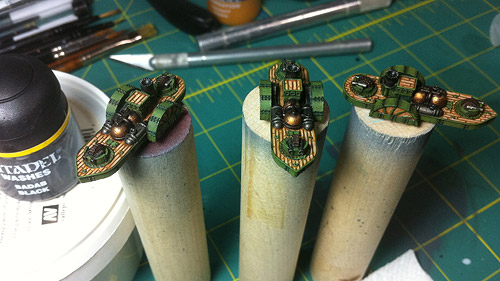
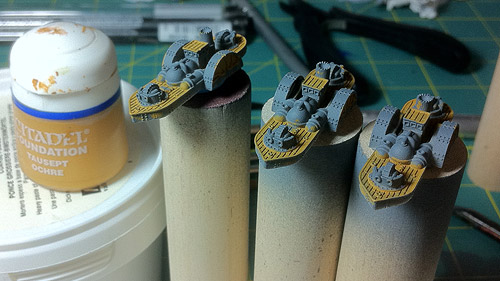
After each new paint, wash, or glaze you simply pose the model next to the paint pot you just used, making sure that you can clearly see the color's name and where you've painted. Snap a picture. Not only has your picture "written down" what paint you used, but also where to place it on your model. String enough of those together and you've got a ready-made recipe for making your second, third, or eleventy-first wave of troops match the first. This method has served me well with models for MERCS, 40K and now Dystopian Wars.

For example, here are the pics I took for my FSA Navy:


Step 1: Tausept Ochre: applied to decking


Step 2: Orkhide Shade: applied to hull, turrets and superstructure


Step 3: Knarloc Green: over Step 2, leaving leaving Orkhide Shade in recesses


Step 4: Gryphonne Sepia: over everything painted so far


Step 5: Tin Bitz & Boltgun Metal: to the boilers and pipes


Step 6: Badab Black: to the Boltgun metal


Step 7: Shining Gold: over the Tin Bitz, leaving Tin Bitz in the recesses


Step 8: Dheneb Stone: to the interior of individual wood planks


Step 9: Ogryn Flesh: over the Tin/Gold areas


Step 10: Gryphonne Sepia: back over the decking


Step 11: Badab Black: second coat over the Boltgun Metal


Step 12: Gretchin Green: edge highlighting to the green areas

And that's it! The best part of this technique is that most of us tech-saavy enough to blog or listen to podcasts probably have a cell phone in our pocket capable of taking even mediocre pictures. These pics are destined for personal use, not Cool Mini or Not, so mediocre is fine as long as you can make out the color's name and where you put it on the model.

The hardest part, for me, is remembering to stop between steps and snap the shot. I personally find it easier to take pictures when I'm doing test or proof-of-concept models, as I'm already stopping to figure out the next color to apply.

I doubt I'm the first to use this technique, but it is something I came up with on my own, haven't seen anywhere else on the net, and have found invaluable since I started using it. Hopefully it'll be useful to some of you out there on the interwebs as well.

Thursday, June 23, 2011

paint: fsa fleet (dystopian wars)

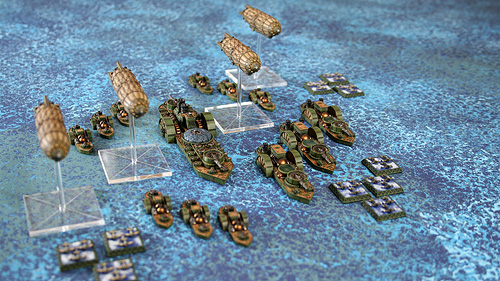
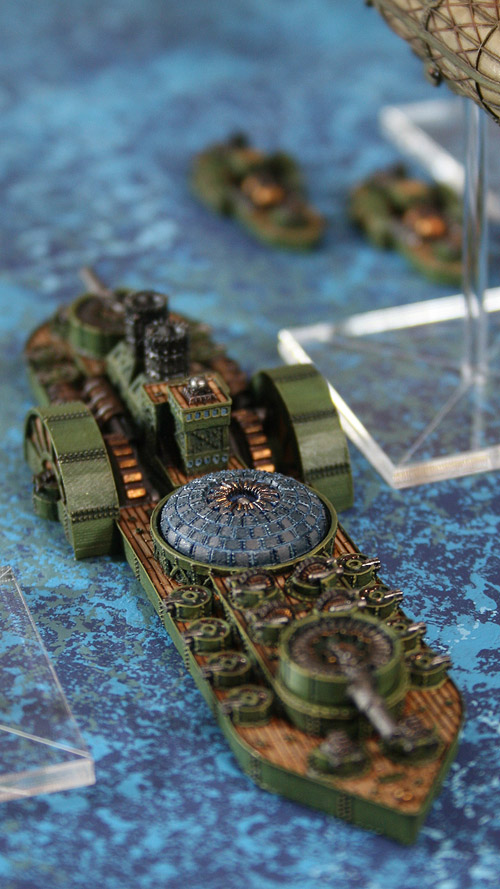
Since coming back from Adepticon 2011, I've taken a break from 40K by slowly and steadily working on my FSA forces for Dystopian Wars. I started with the FSA box set and carrier, though the carrier's since been pushed to the backburner. By the time I got to it, I was sick of painting ship hulls. I'll probably tag-team it with the Dreadnaught when I get one. Currently painting up the five bombers when I'm not working on terrain (see below), though I'm not as enthused about them as I was the Lee Scoutships (both in game and aesthetically). The airships are just so damn cool.


FSA Navy Fleet with Air Corp attachments


FSA Navy Battleship


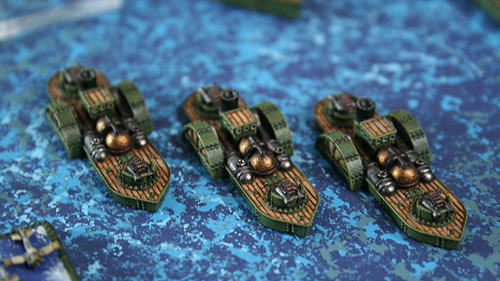
FSA Navy Frigates


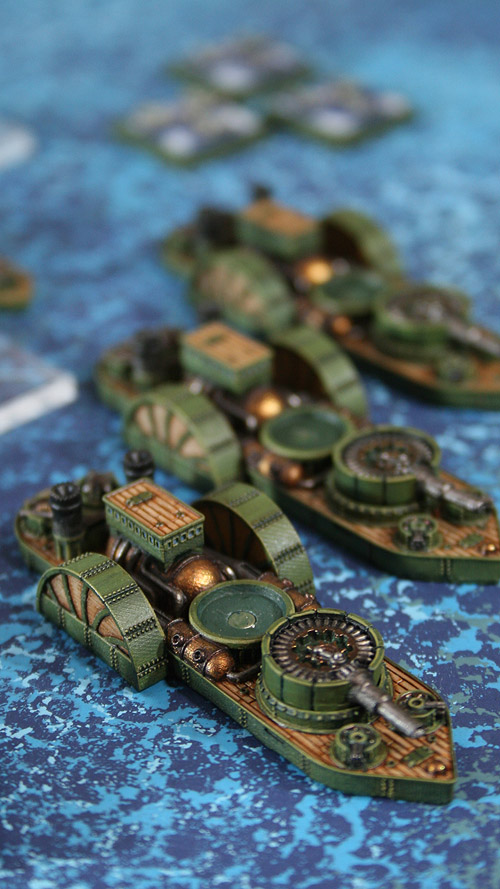
FSA Navy Cruisers


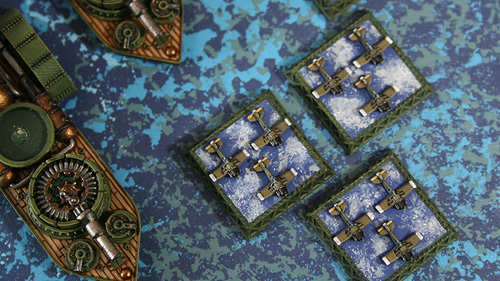
FSA Air Corp Fighters


FSA Air Corp Bombers


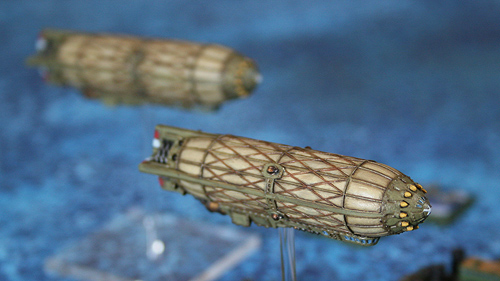
FSA Air Corp Lee Scoutships


I plan to go back and add free-hand embellishments to all of 'em in the form of FSA and/or squadron identifiers. I just have to figure out how I want to do it first. I've been inspired by several different techniques used on this forum and am having trouble picking which one(s) to use.

I've also begun work on terrain, the start of which you can see beneath the ships. I've got three 2' x 4' sheets of 1/4" MDF done up with the stippled-sponge technique made famous here. Have some test patches of glass-coat curing to see which application method I like the best. This time to tomorrow I expect to have that sorted out and hope to slather the boards in resin over the weekend.

I've also begun testing out a foam cutter and sketching up various islands and sandbars to break things up. My goal is to have a fully-playable Dystopian Wars game board in-house by end of summer. Then I can start back on either an Iron Warriors or Badab War force for Adepticon 2012's Combat Patrol.