Showing posts with label models. Show all posts

Sunday, February 19, 2012

build: work-in-progress: iron warriors, pt. 10

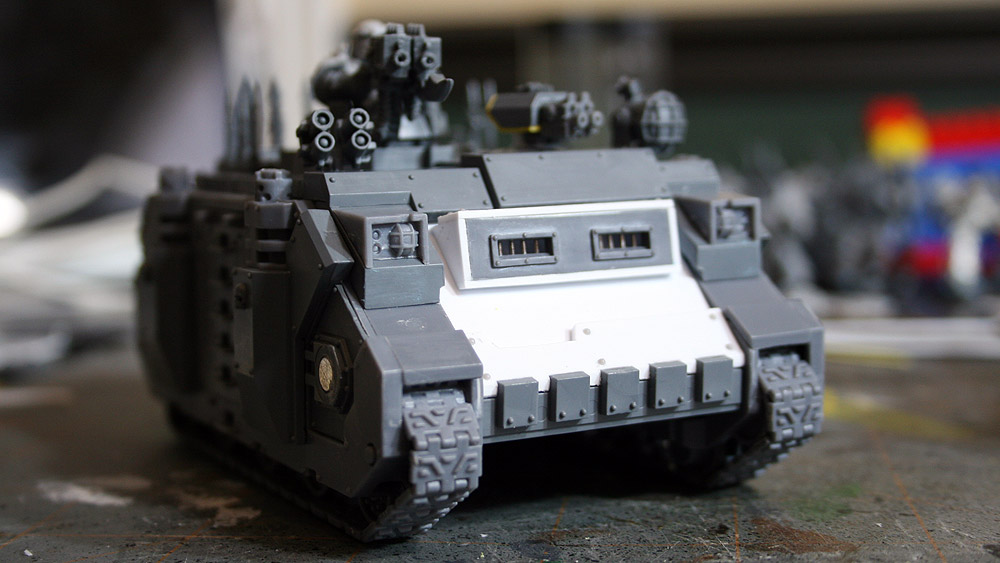
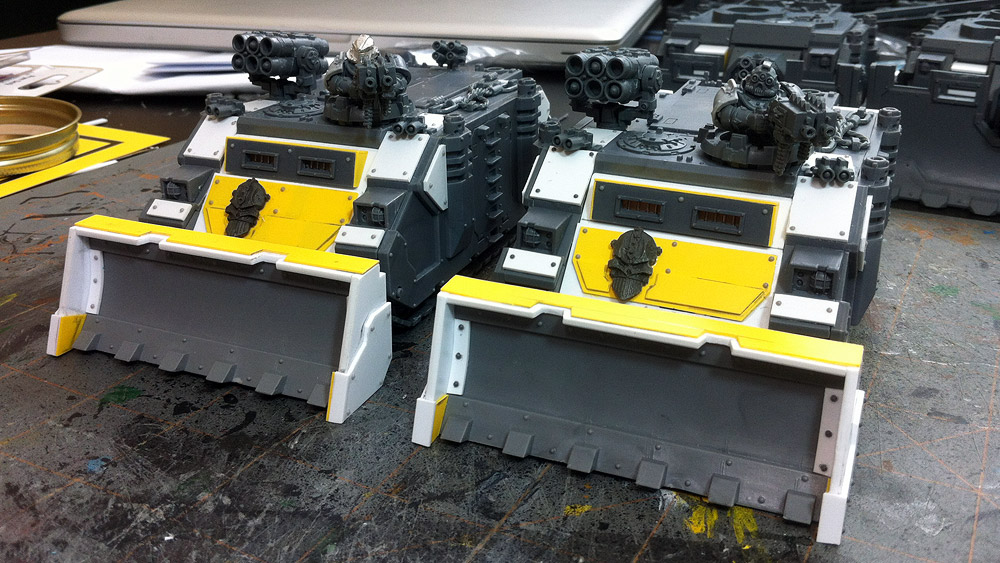
It's been a couple months, but I've finally gotten around to building the third and final Rhino for my 2000 point list. Because it's the dedicated transport for the second of two Breaching Squads, it's virtually identical to the first.


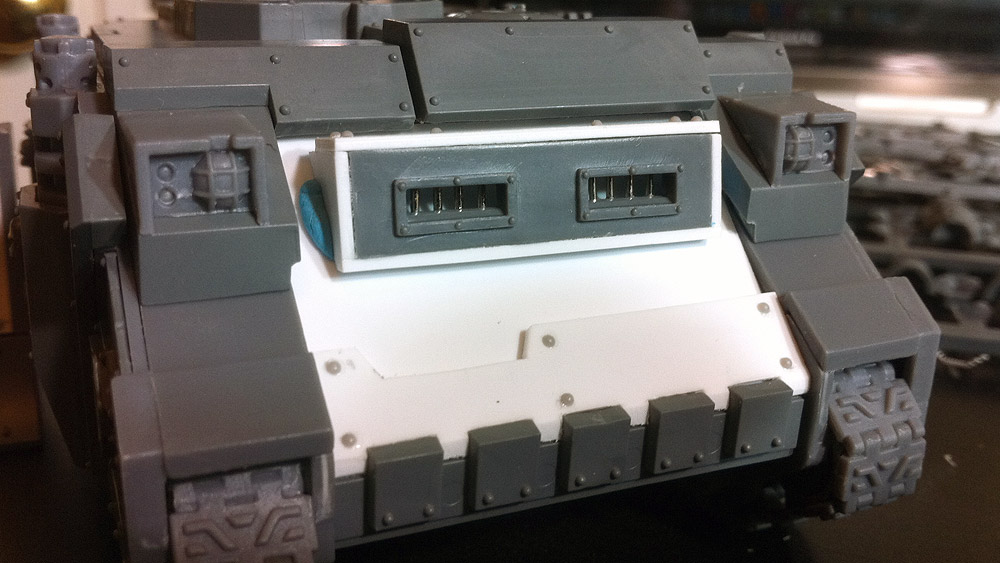
Chelonian III & Scutum IX: Chaos Rhinos: dozer blade, havoc launcher
(clickable)

Like Chelonian before it, Scutum is magnetized for in-game use and ease of painting.


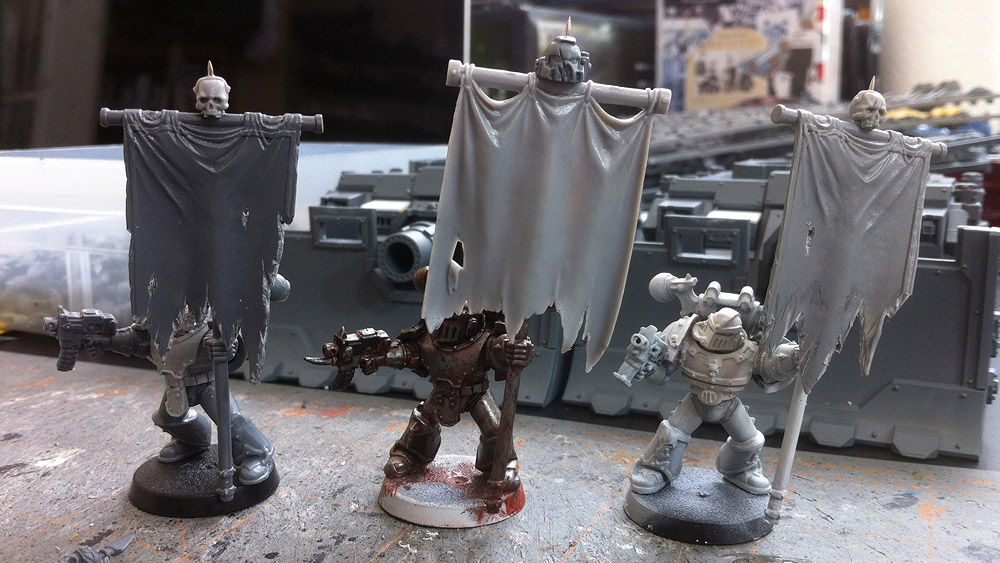
I also spent some time this morning figuring out my banner situation. After playing with several banners I had around the house and test-fitting a few from bits sellers, I settled on using a large, raggedy, WFB Orc banner for my trench-line "command squad" and hacking up the smaller, Space Marine Command Squad banners in a similar fashion for the subordinate squads. The top of the Astartes banners ended abruptly, so I topped 'em off with skulls. Unfortunately, this made the skull atop the Orc banner look plain, so I hacked it off and added a scarred helmet that's likely to be a bright, shining yellow when I paint it.


(clickable)

Next up: Two Chaos Vindicators. I've already got the hull assembly completed and have modified the driver's windows. Everything else is just fiddly detail work to make it look Iron Warriors-y.

Friday, February 10, 2012

how-to: rivets

Seems like rivets are one of the eternal problems facing any hobbyist looking to branch into heavy-duty conversions and scratch-building. There are roughly seven gajillion different methods to riveting your models, and I've tried at least 10 of 'em. Because my last two 40K forces have had rivet-intensive conversions (emORKgency! and Iron Warriors), I've developed a healthy respect for Grandt Line's line of "Augmentables." There are several useful bits throughout that page, particularly for Big Meks, but for those seeking your standard rivets, you'll need to go all the way to the bottom of the page.

Now, unless you've got a model railroad background, the scales and measurements on that page will probably have you scratching your head in confusion. The first time I saw the page I had no clue what I was looking at. Particularly how to convert the scale and real-world size of the item into something useable.

"Just how big is a 1/4" scale 1" square nut with bolt?"
"Oh. 0.021 inches!"
"Wait... How big is that"

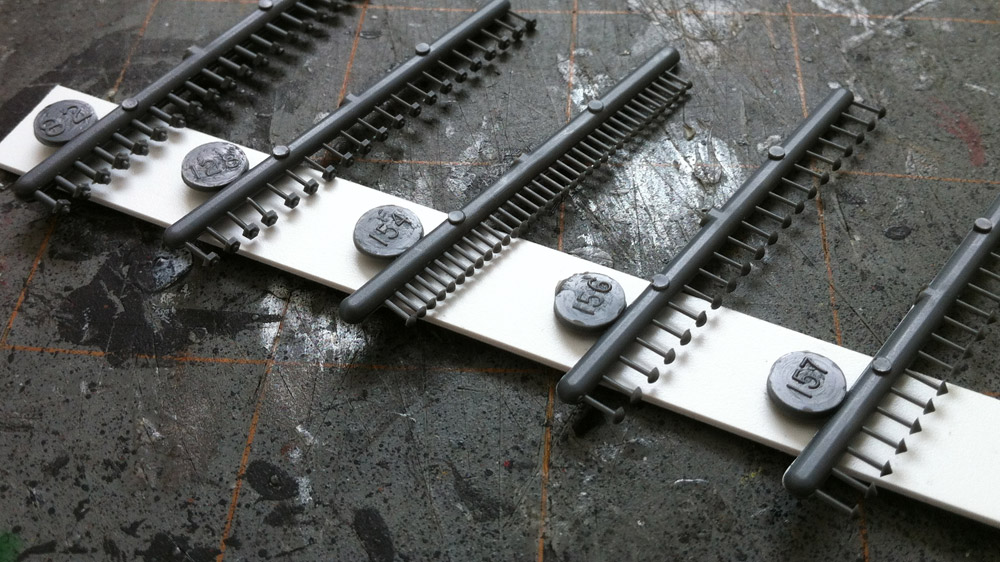
I went with the trial-and-error approach with my first order. I got a smattering of sizes and here's what I've found - when ordering, look at the shape to figure out what you want, then look at the column labelled "Meas. (inches)" to figure out if they've got it in a size that'll work for you. Rivet #154, 0.043", is approximately the same size as the rivets on most GW kits, and the one I've been using on all my Iron Warriors conversions. The smaller bitz tend to look real small real quick and are only good for the fiddly-est pieces of kit - engines, infantry equipment, etc. For vehicles, stick to anything 0.043" and bigger.

I don't have any of the tinier bits handy, but here are a few of the Augmentables from my recent order:


Grandt Line Rivets, Nuts & Bolts (click to zoom)

As you can see, they come 20-35 rivets/nuts/bolts per sprue and there are 5 sprues in each $3.00 pack. Coupled with their ease of use, they really can't be beat. Speaking of ease of use, I snapped some quick shots of how I use them.


Materials: model, glue, rivets, drill w/ 1/32" drill bit, hobby knife


Step 1: drill holes where you want rivets


Step 2: cut some rivets off the sprue


Step 3: put a tiny dab of glue over a few holes
(use a thin glue to avoid "glue bubbles" around the rivet)


Step 4: use sharp edge of hobby knife to place rivets in holes


Step 5: position the rivet flush with no drill hole showing


Step 6: fill all your holes


Step 7: use up all your rivets


Step 8: order more rivets

They're stupidly easy to implement, more consistent than any "home-made" rivets I've ever tried, and having them drilled into the model makes them far less likely to fall off your model from rough handling than any of the "glue to the model's surface" rivets I've used. For Orkz, I use a variety of sizes and shapes, usually switching up the spacing and rivet type between armour plates to give it that haphazard, sons of Gork & Mork feel. For Imperials, I find the regular rivets work wonders and try to keep consistent spacing throughout to give it that mass-manufactured look.

Hope some of you find this useful, and happy riveting!
Friday, January 27, 2012

build: carcharadon rhino doors

As mentioned in this post, I've spent a good chunk of December and January working on an "undisclosed project" for a secret santa present. Now that I've confirmed delivery of the present, I can share it here.

My giftee, BigBadBull is one of our forum's moderators, and the guy that always posts up the ForgeWorld newsletters the second they hit. For months he's lamented the lack of ForgeWorld kit for his pet project, a Badab War themed Carcharadons army. When I drew his name for "Deep Strikin' Santa III", I knew what I had to do. After a few false starts, ill-concieved and/or ill-implemented ideas, and a little trial and error learning new hobby techniques, I came up with this...


Carcharadon Rhino Kit: front plate, rear hatch, left and right doors


Carcharadon Rhino Kit: rubber molds with resin casts


Carcharadon Rhino Kit: test fit


DSS3 Present: Original sculpts, Rhino kits and molds


DSS3 Present: packed and ready to go

Molding and casting were entirely new to me, and the process has a pretty steep learning curve. The basic process is ridiculously simple, but getting quality results is not. It took a couple tries to get workable molds without major flaws, and then I had to improvise ways to reduce bubbles after pouring the resin. I'm pretty happy with the end results, but even the best of my casts could probably use some Liquid Green Stuff to make 'em flawless.

I'm going to keep working at it, and have committed to sculpting and casting an Iron Warrior Rhino conversion kit for our forum's annual Toys for Tots charity project this year. I plan to document that process more fully and do some how-tos and/or step-by-steps with what I've learned/continue to learn as I delve deeper into casting my own stuff.

Thursday, December 8, 2011

build: work-in-progress: iron warriors, pt. 9

Got a little work done in the last week...


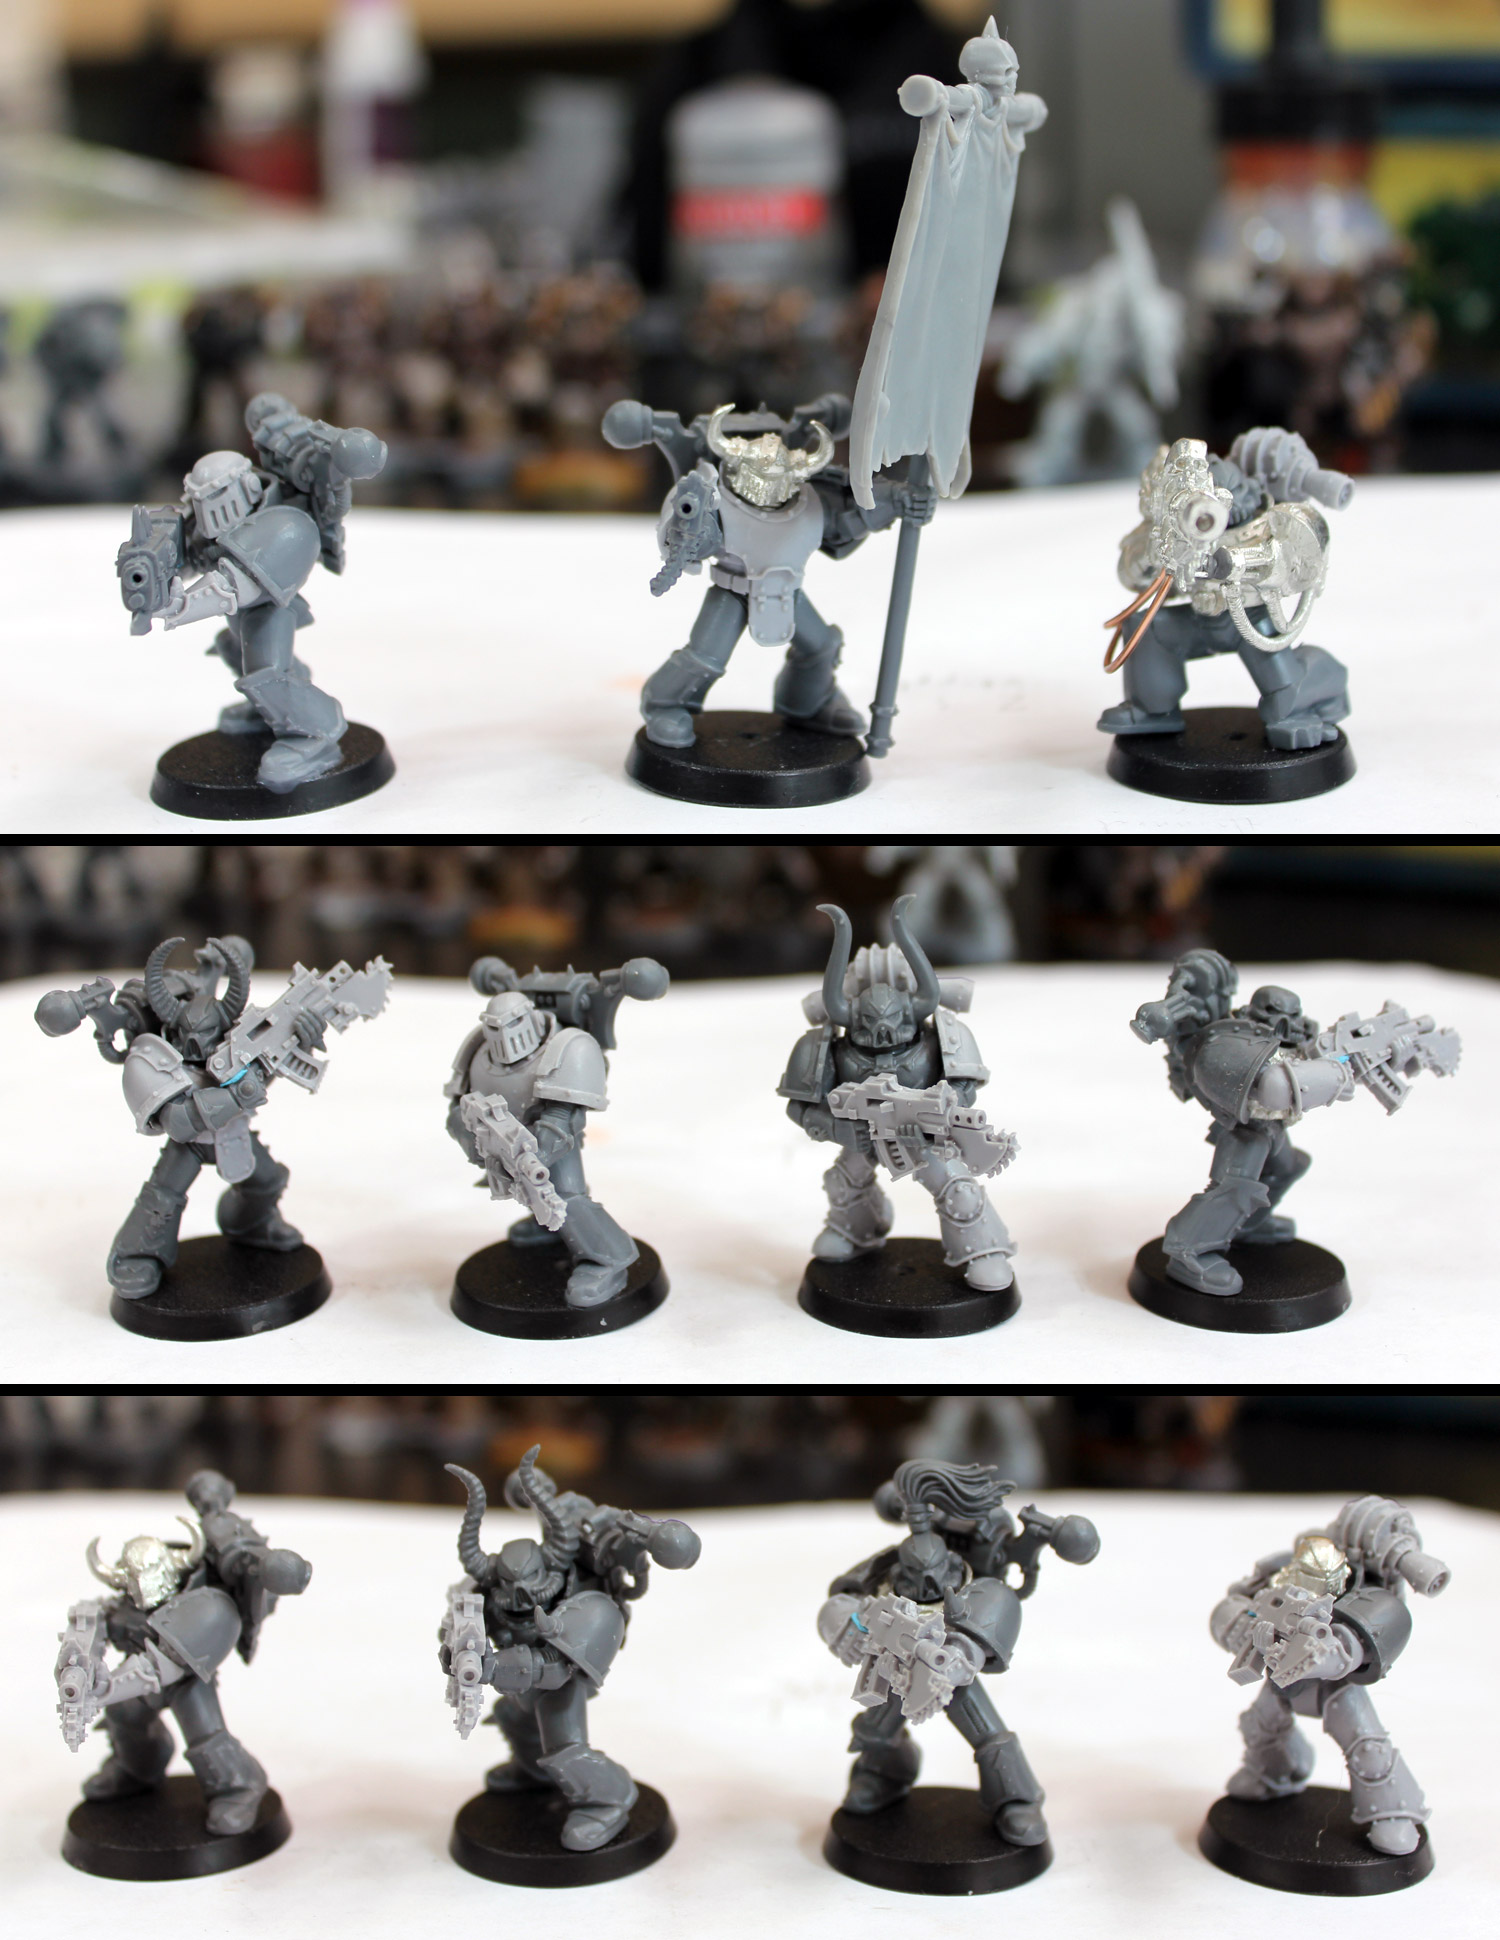
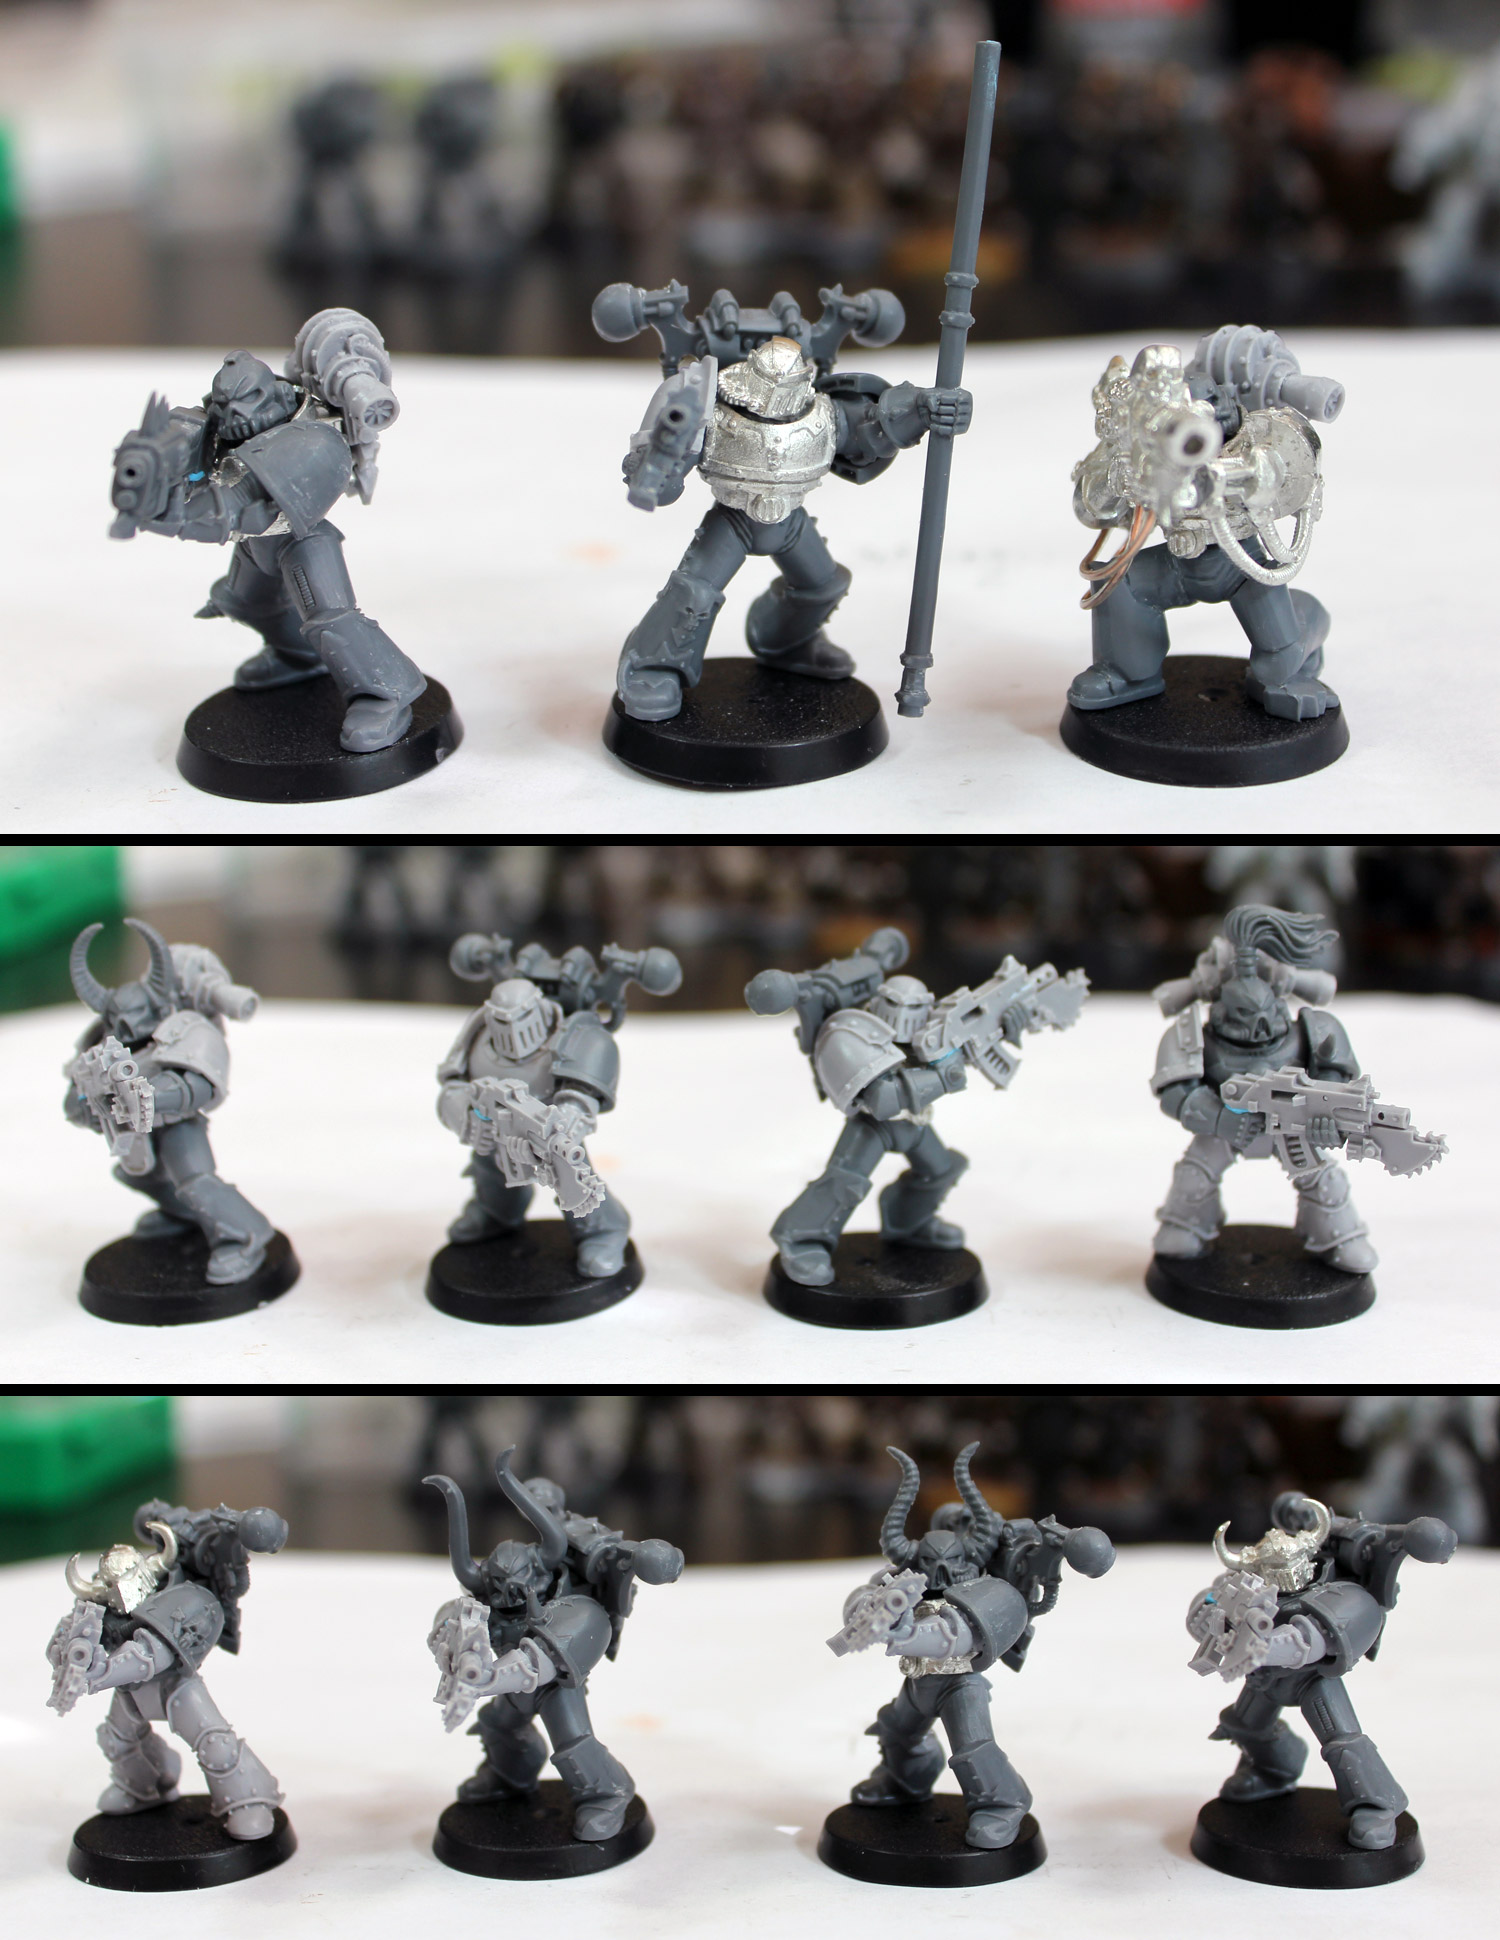
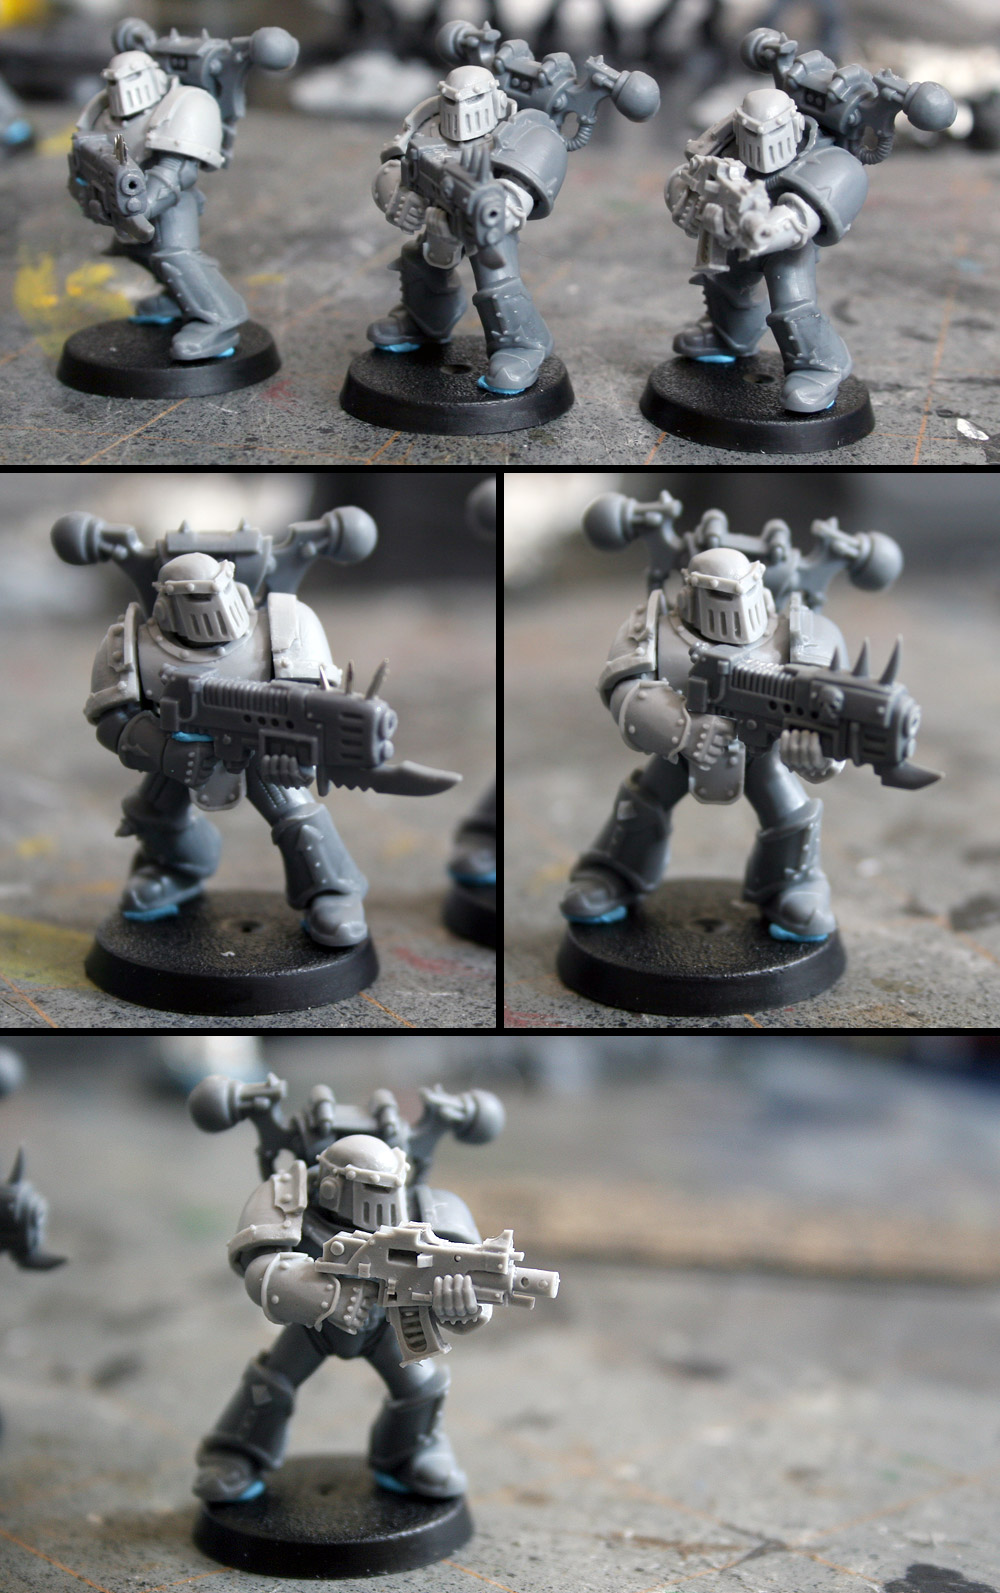
Polybolos Alpha: vanilla CSM squad


Row 1:: plasma gun, bolter, lascannon
Row 2: bolter, bolter, bolter, bolter
Row 3: bolter, bolter, bolter, bolter


Polybolos Beta: vanilla CSM squad


Row 1:: plasma gun, bolter, lascannon
Row 2: bolter, bolter, bolter, bolter
Row 3: bolter, bolter, bolter, bolter

Putting these together, I was again reminded how much I hate mixing metal and plastic kits. Such a nightmare. Particularly on the lascannon guys, as their left arms don't quite line up with the left hand molded onto the gun anyway. Had to pull out the grey-stuff and make a couple wrists. Because of the legs I used I also ended up chopping off the power cables and adding in some of my own on the gun arm.

I'm a big fan of the mini-chainsword/bayonets on the the bolters. They took some trimming to get to fit right while being held with the array of arms used, but I found a consistent way to trim them (and the bolters) so that they fit without painstakingly dry-fitting every model.

I still need to figure out basing. Trench-work, while appropriate, seems a bit too obvious. It also means I'd have to go in and add mud and stuff to the armour, which I don't particularly want to do. I don't want to dilute the rust effects with grime, if that makes sense. I've considered urban rubble basing, with mostly greys and muted yellows/greens, but that seems like a ton of fabrication work when translated across 48 infantry bases.

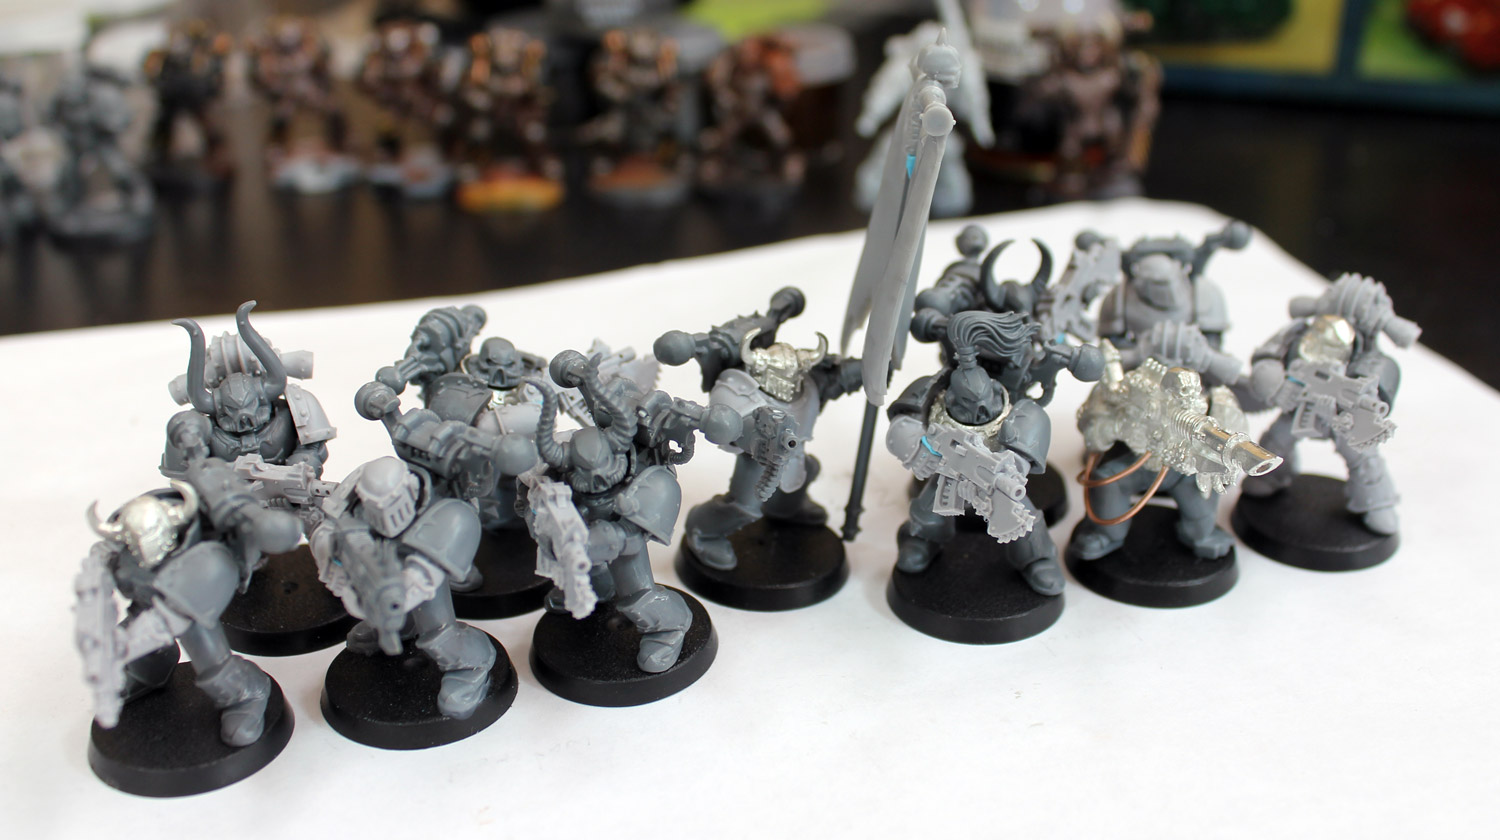
Oh yeah, I'm also waiting on a small bitz order to finalize what style of banner I want to use throughout the army - ragged vs. pristine. I'm leaning towards ragged, but don't have 'em on-hand to know for sure. The banners in the pics are all blue-tacked on so it'll be an easy test-fit and swap once I get the bitz in. Other than that, these guys are pretty much done...

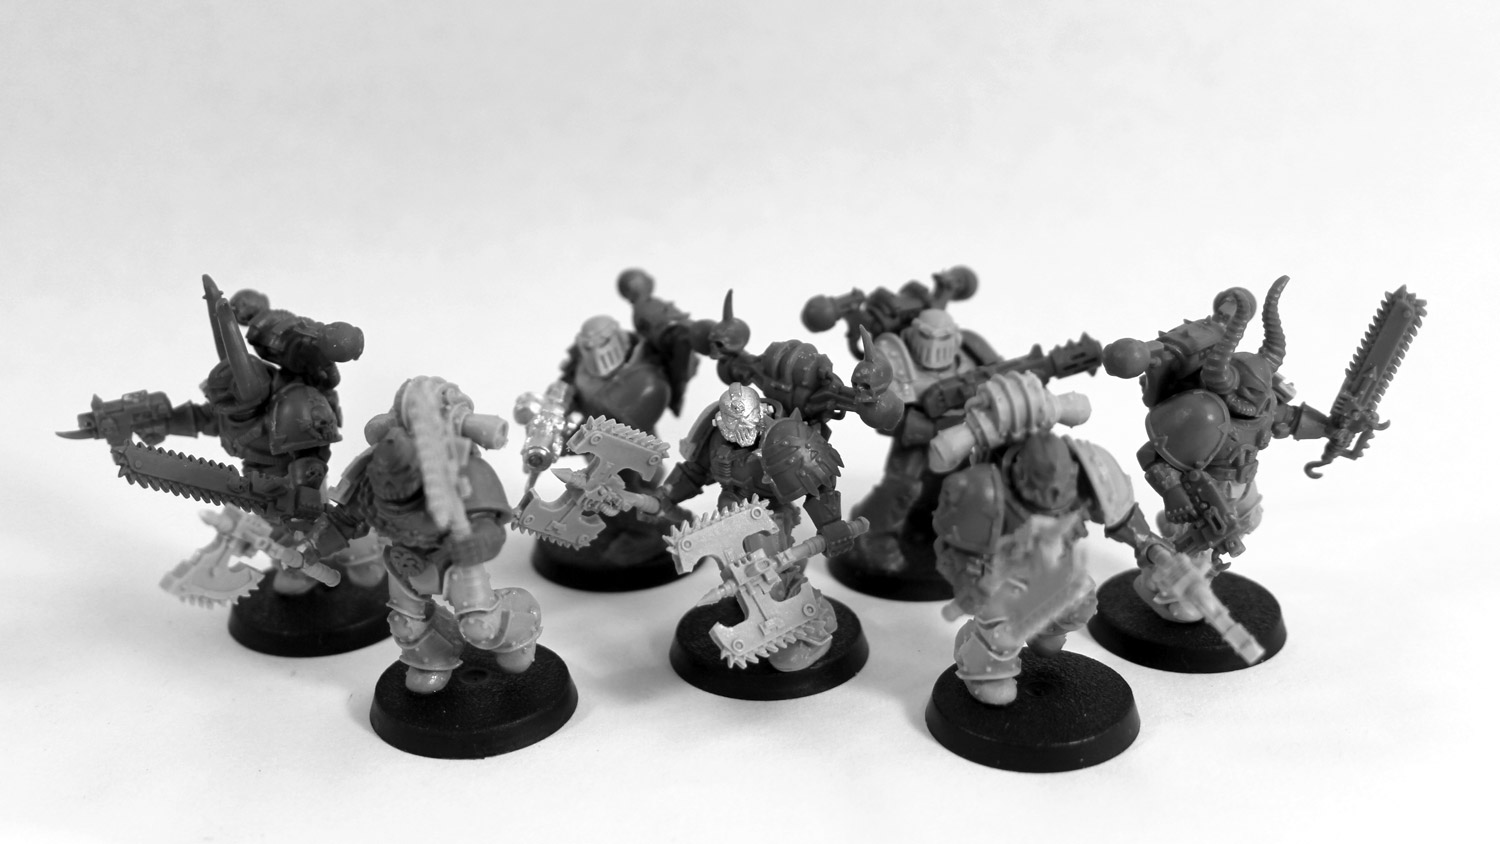
Holy. Freakin'. Crap! That means infantry assembly is... DONE! As in, "No more little dudes to put together"! That is a weight off! Here's what the entire Warband looks like as of now...

There's an obvious hole where a Rhino goes. That Rhino will bring me to 1500 points assembled. That same Rhino, two Vindicators, and two magnetized Dreads will bring me to an even 2000. All things that are pretty easy and straight-forward to put together. The end of assembly is now in sight! With one day of good priming weather in January (50-50 chance here in Texas), having the entire lot finished by Adepticon may not be a pipe-dream after all.

To quote Simon Pegg as Montgomery Scott, "Oh! This is exciting!"

Thursday, December 1, 2011

build: work-in-progress: iron warriors, pt. 8

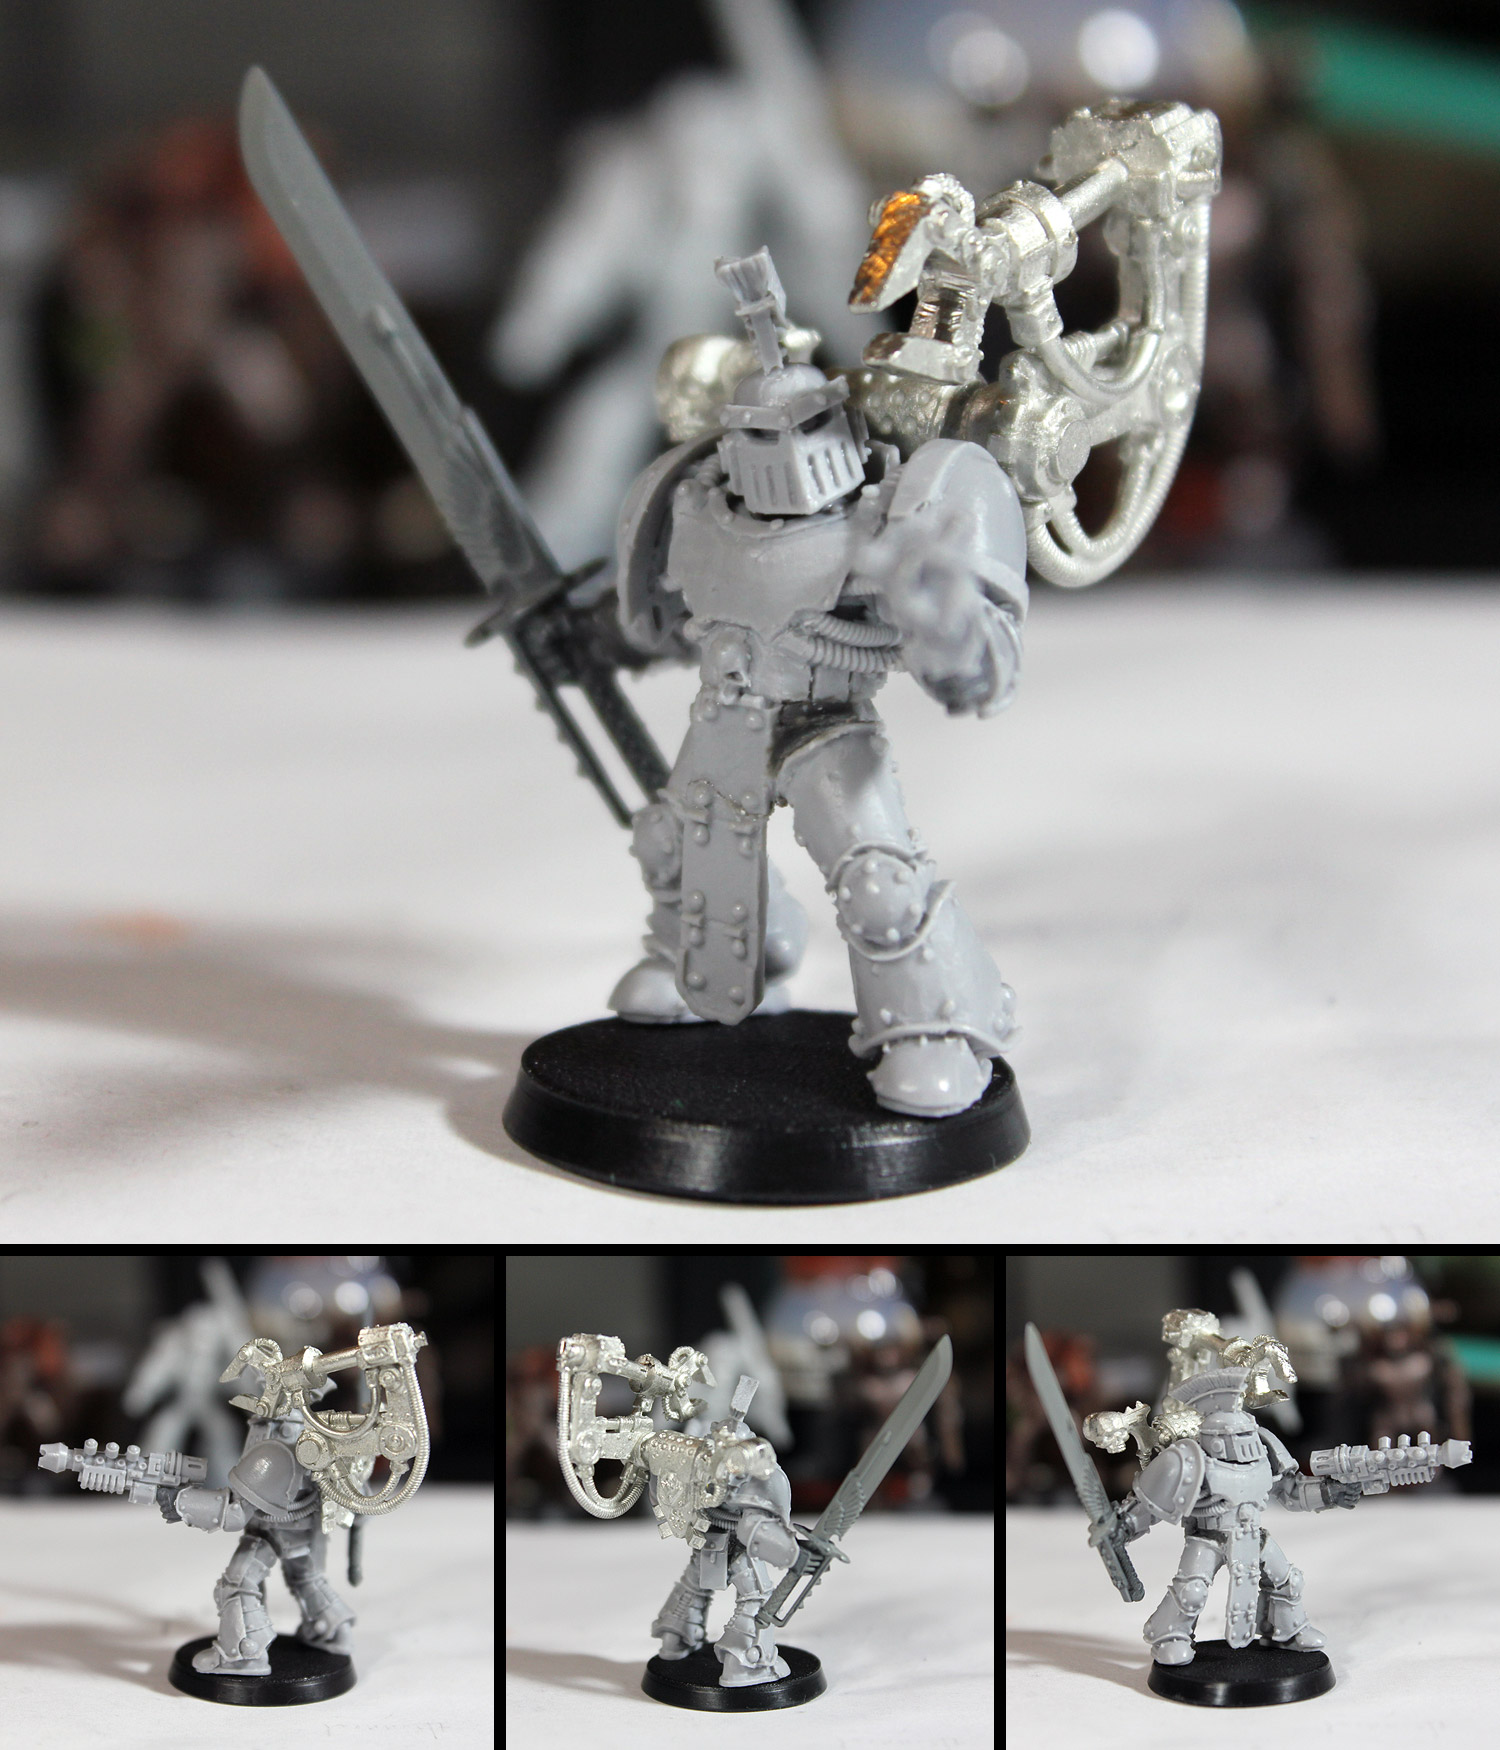
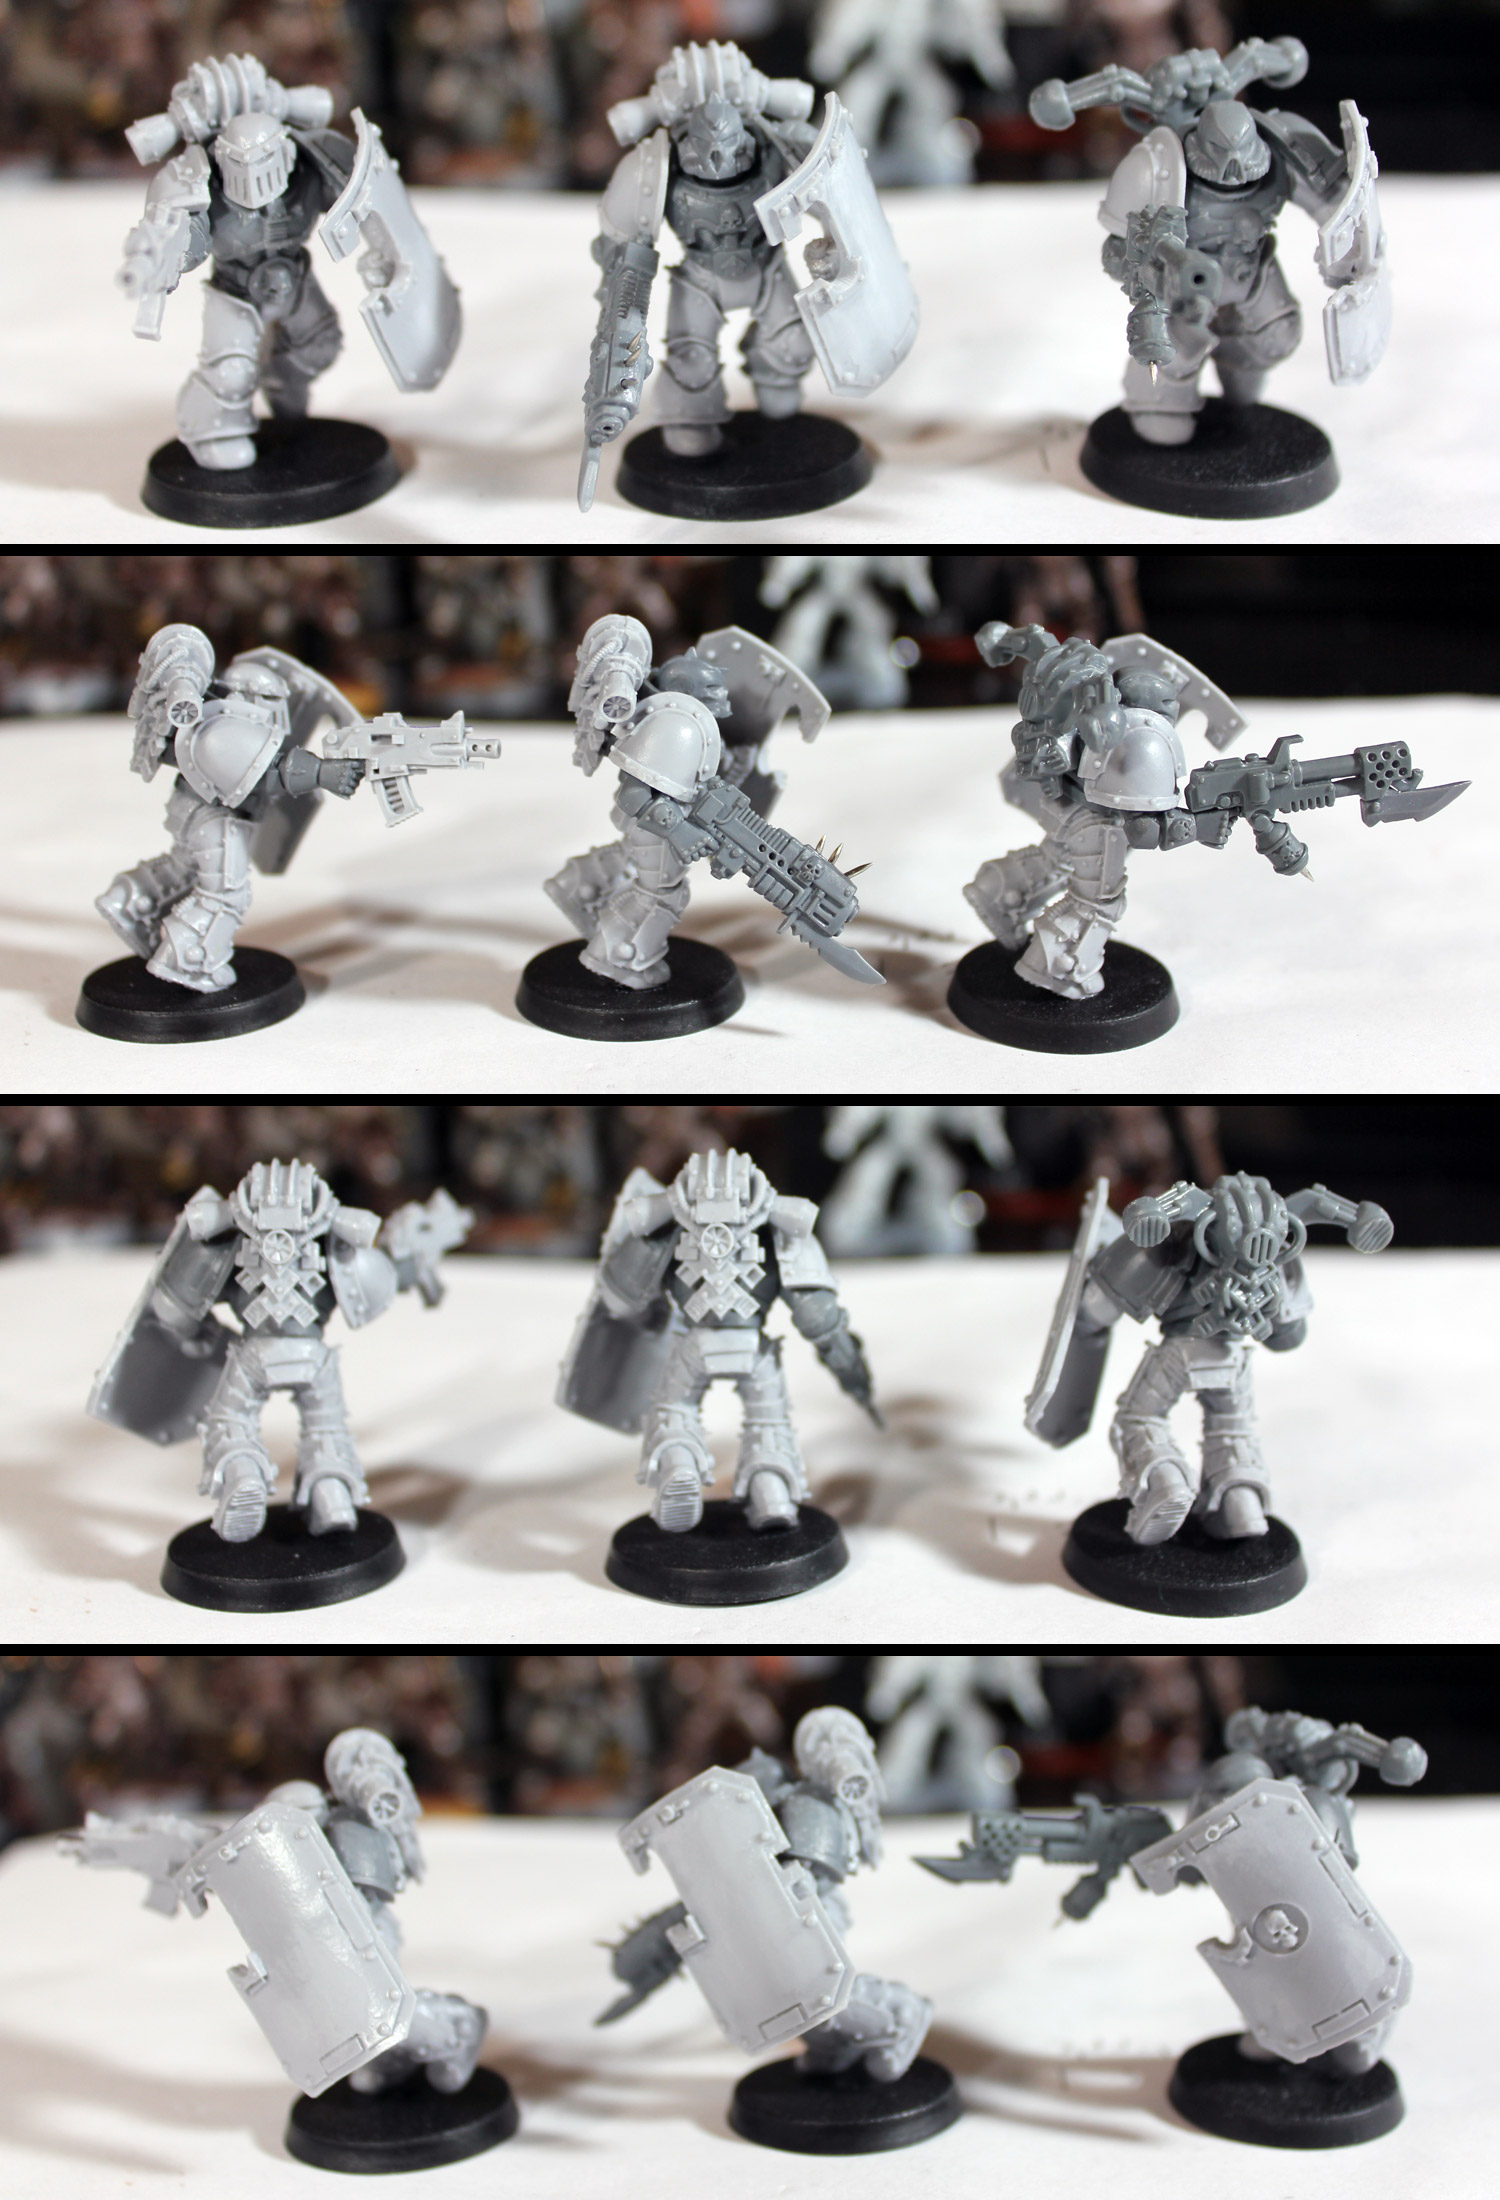
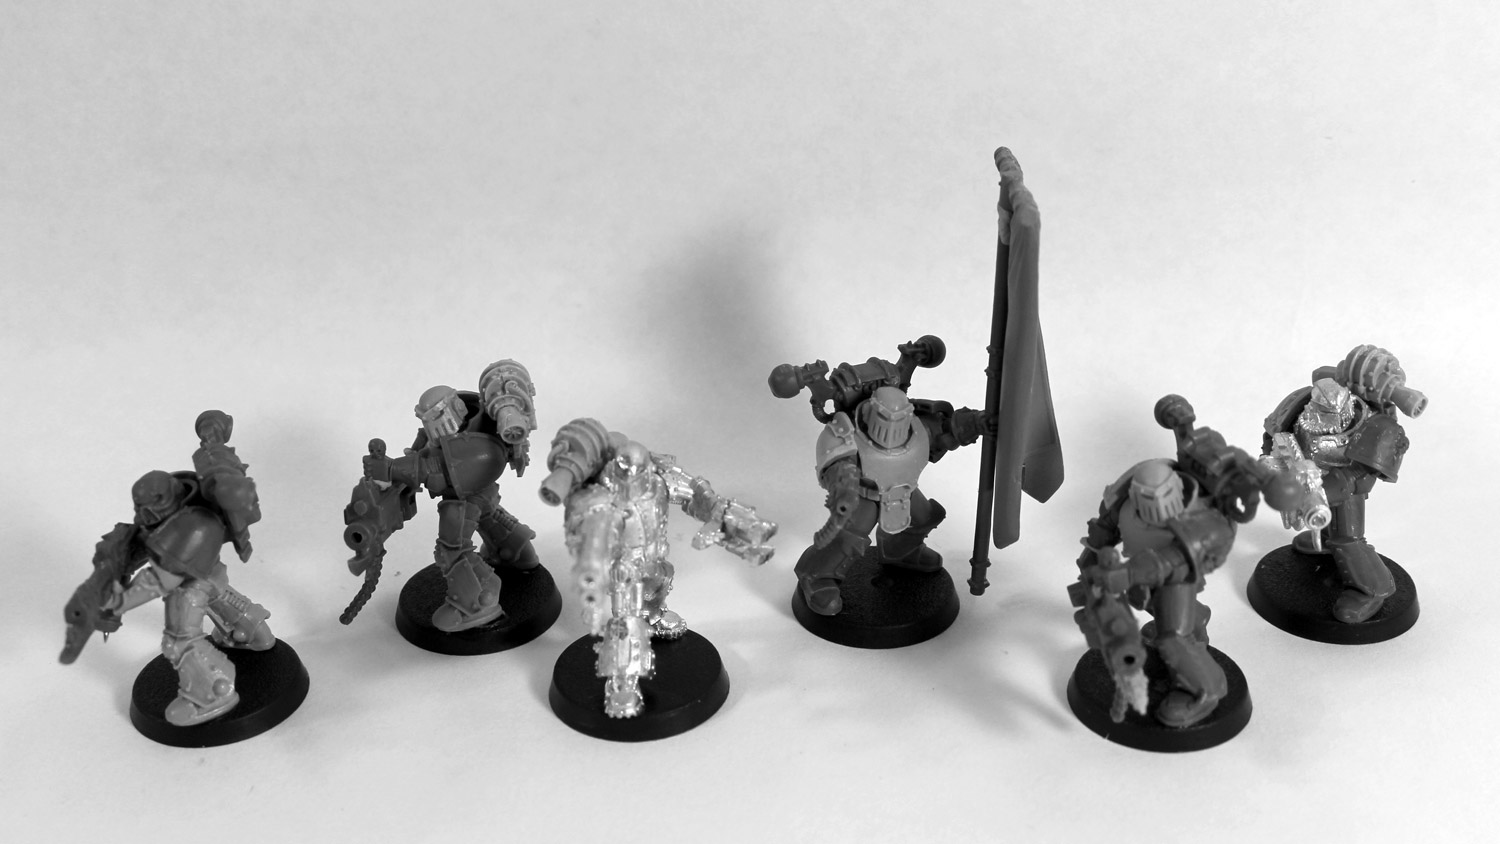
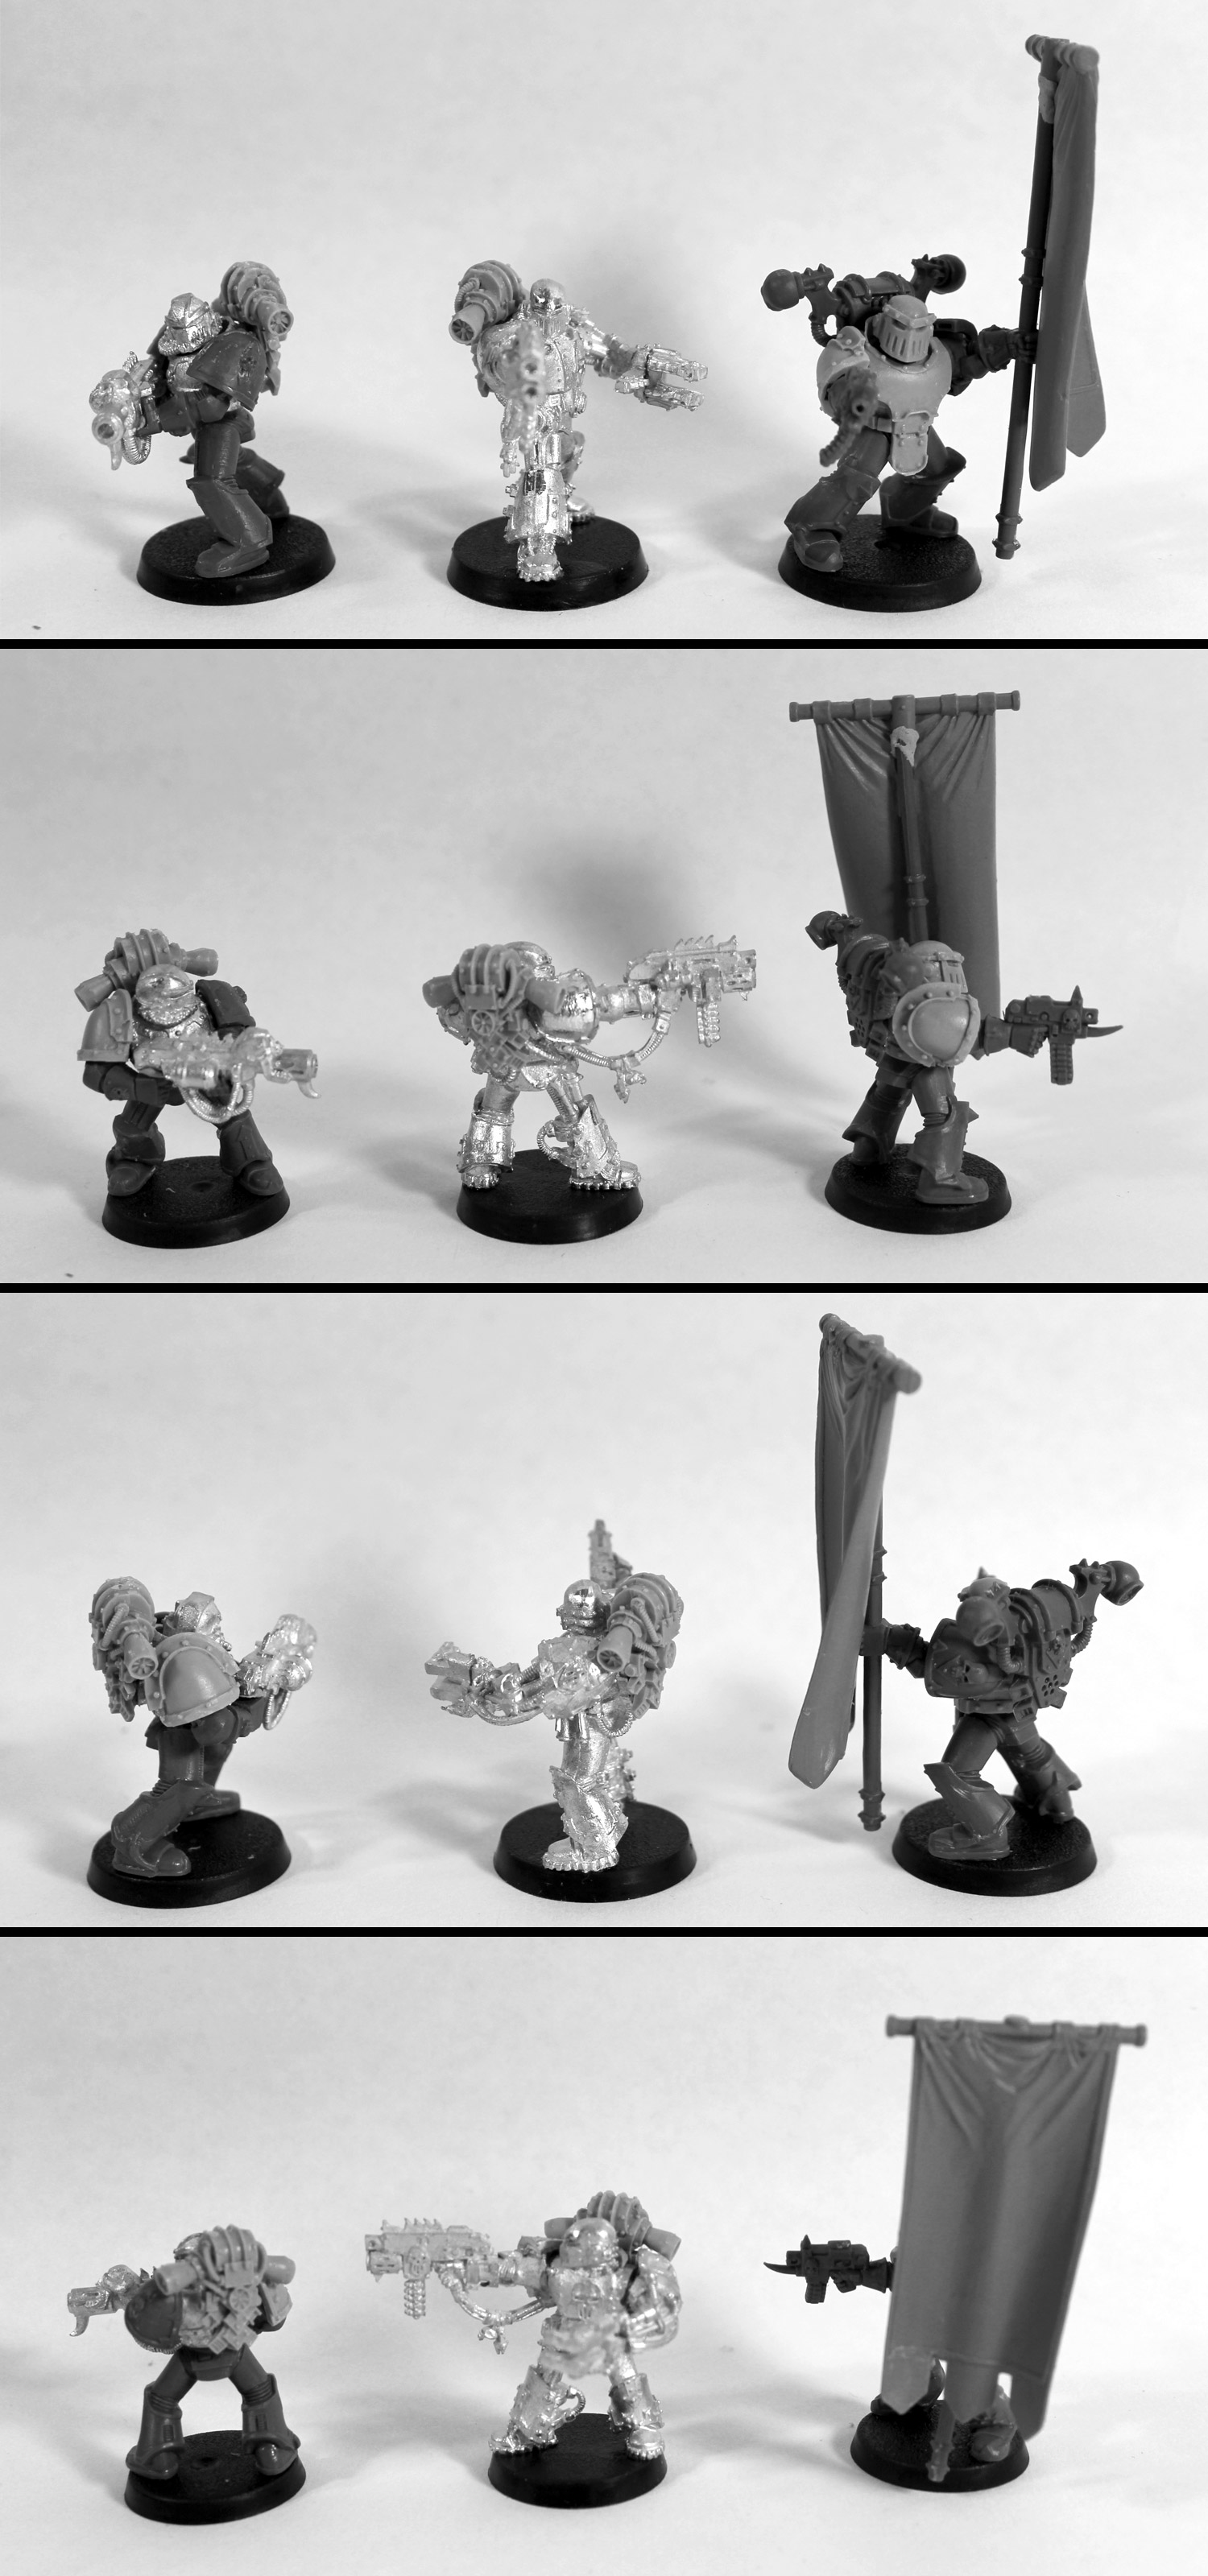
Managed to get Breaching Squad Aerugo and Iron Palatine Gibeon put together yesterday.


Breaching Squad Aerugo: counts as Plague Marines w/ Chaos Lord


Iron Palatine Gibeon: Chaos Lord, mark of Tzeentch, daemon weapon


Breaching Squad Aerugo: bolter, plasma, flamer


Breaching Squad Aerugo: bolter, bolter, bolter

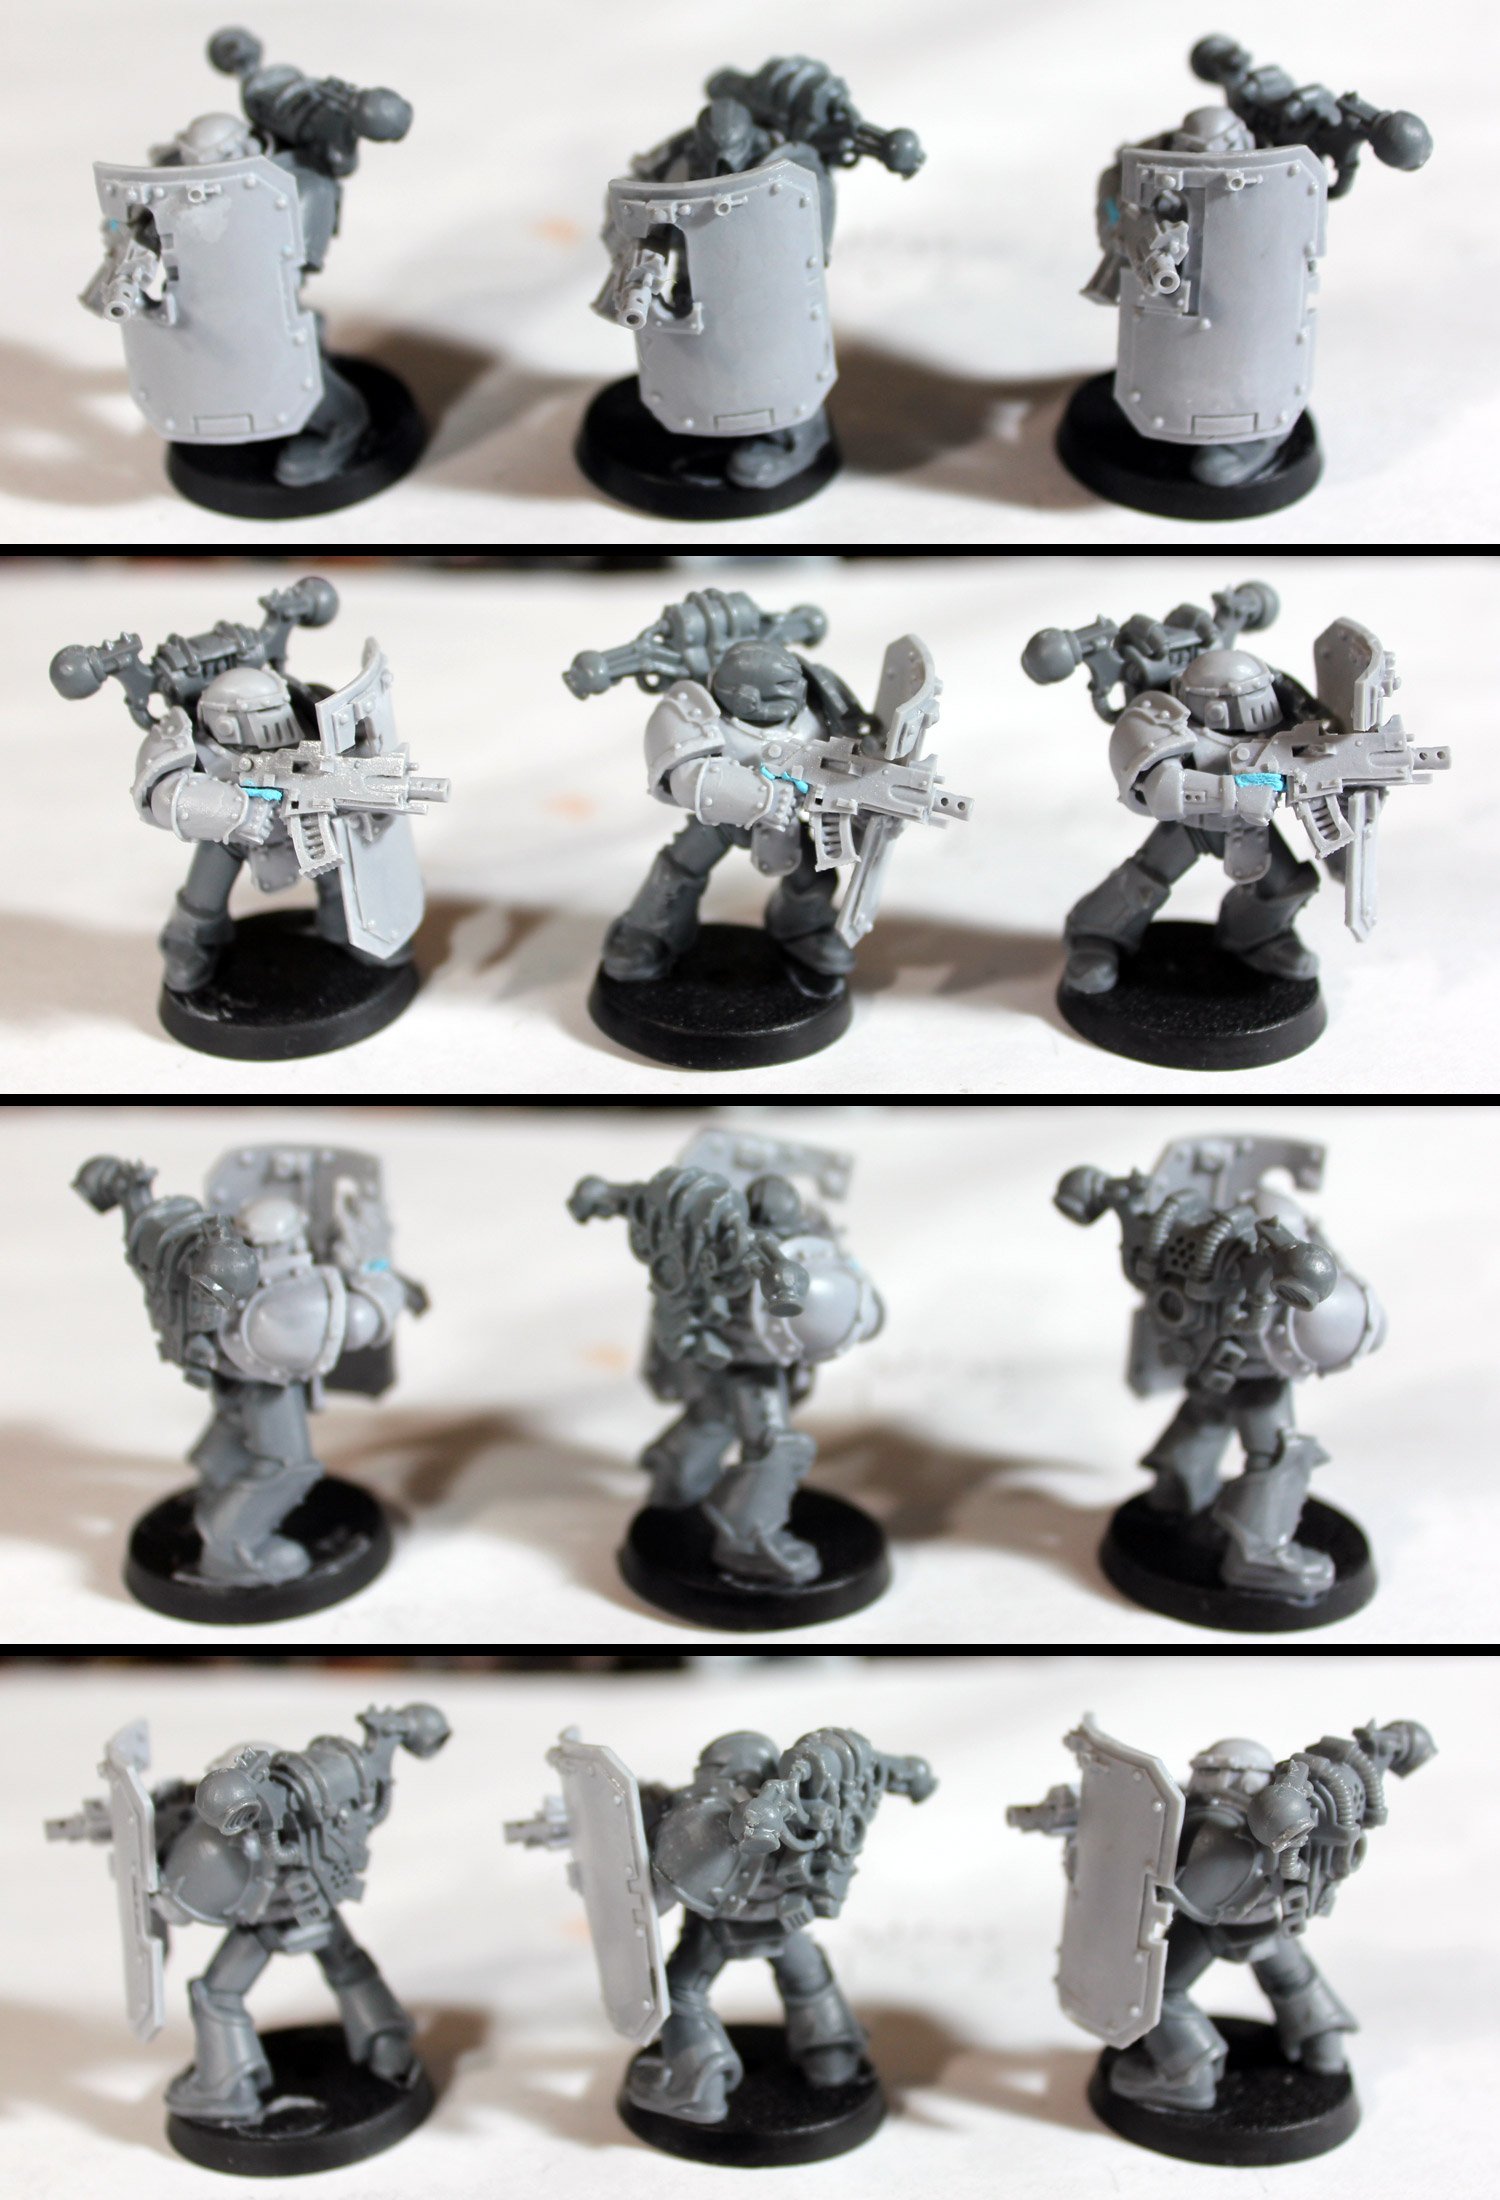
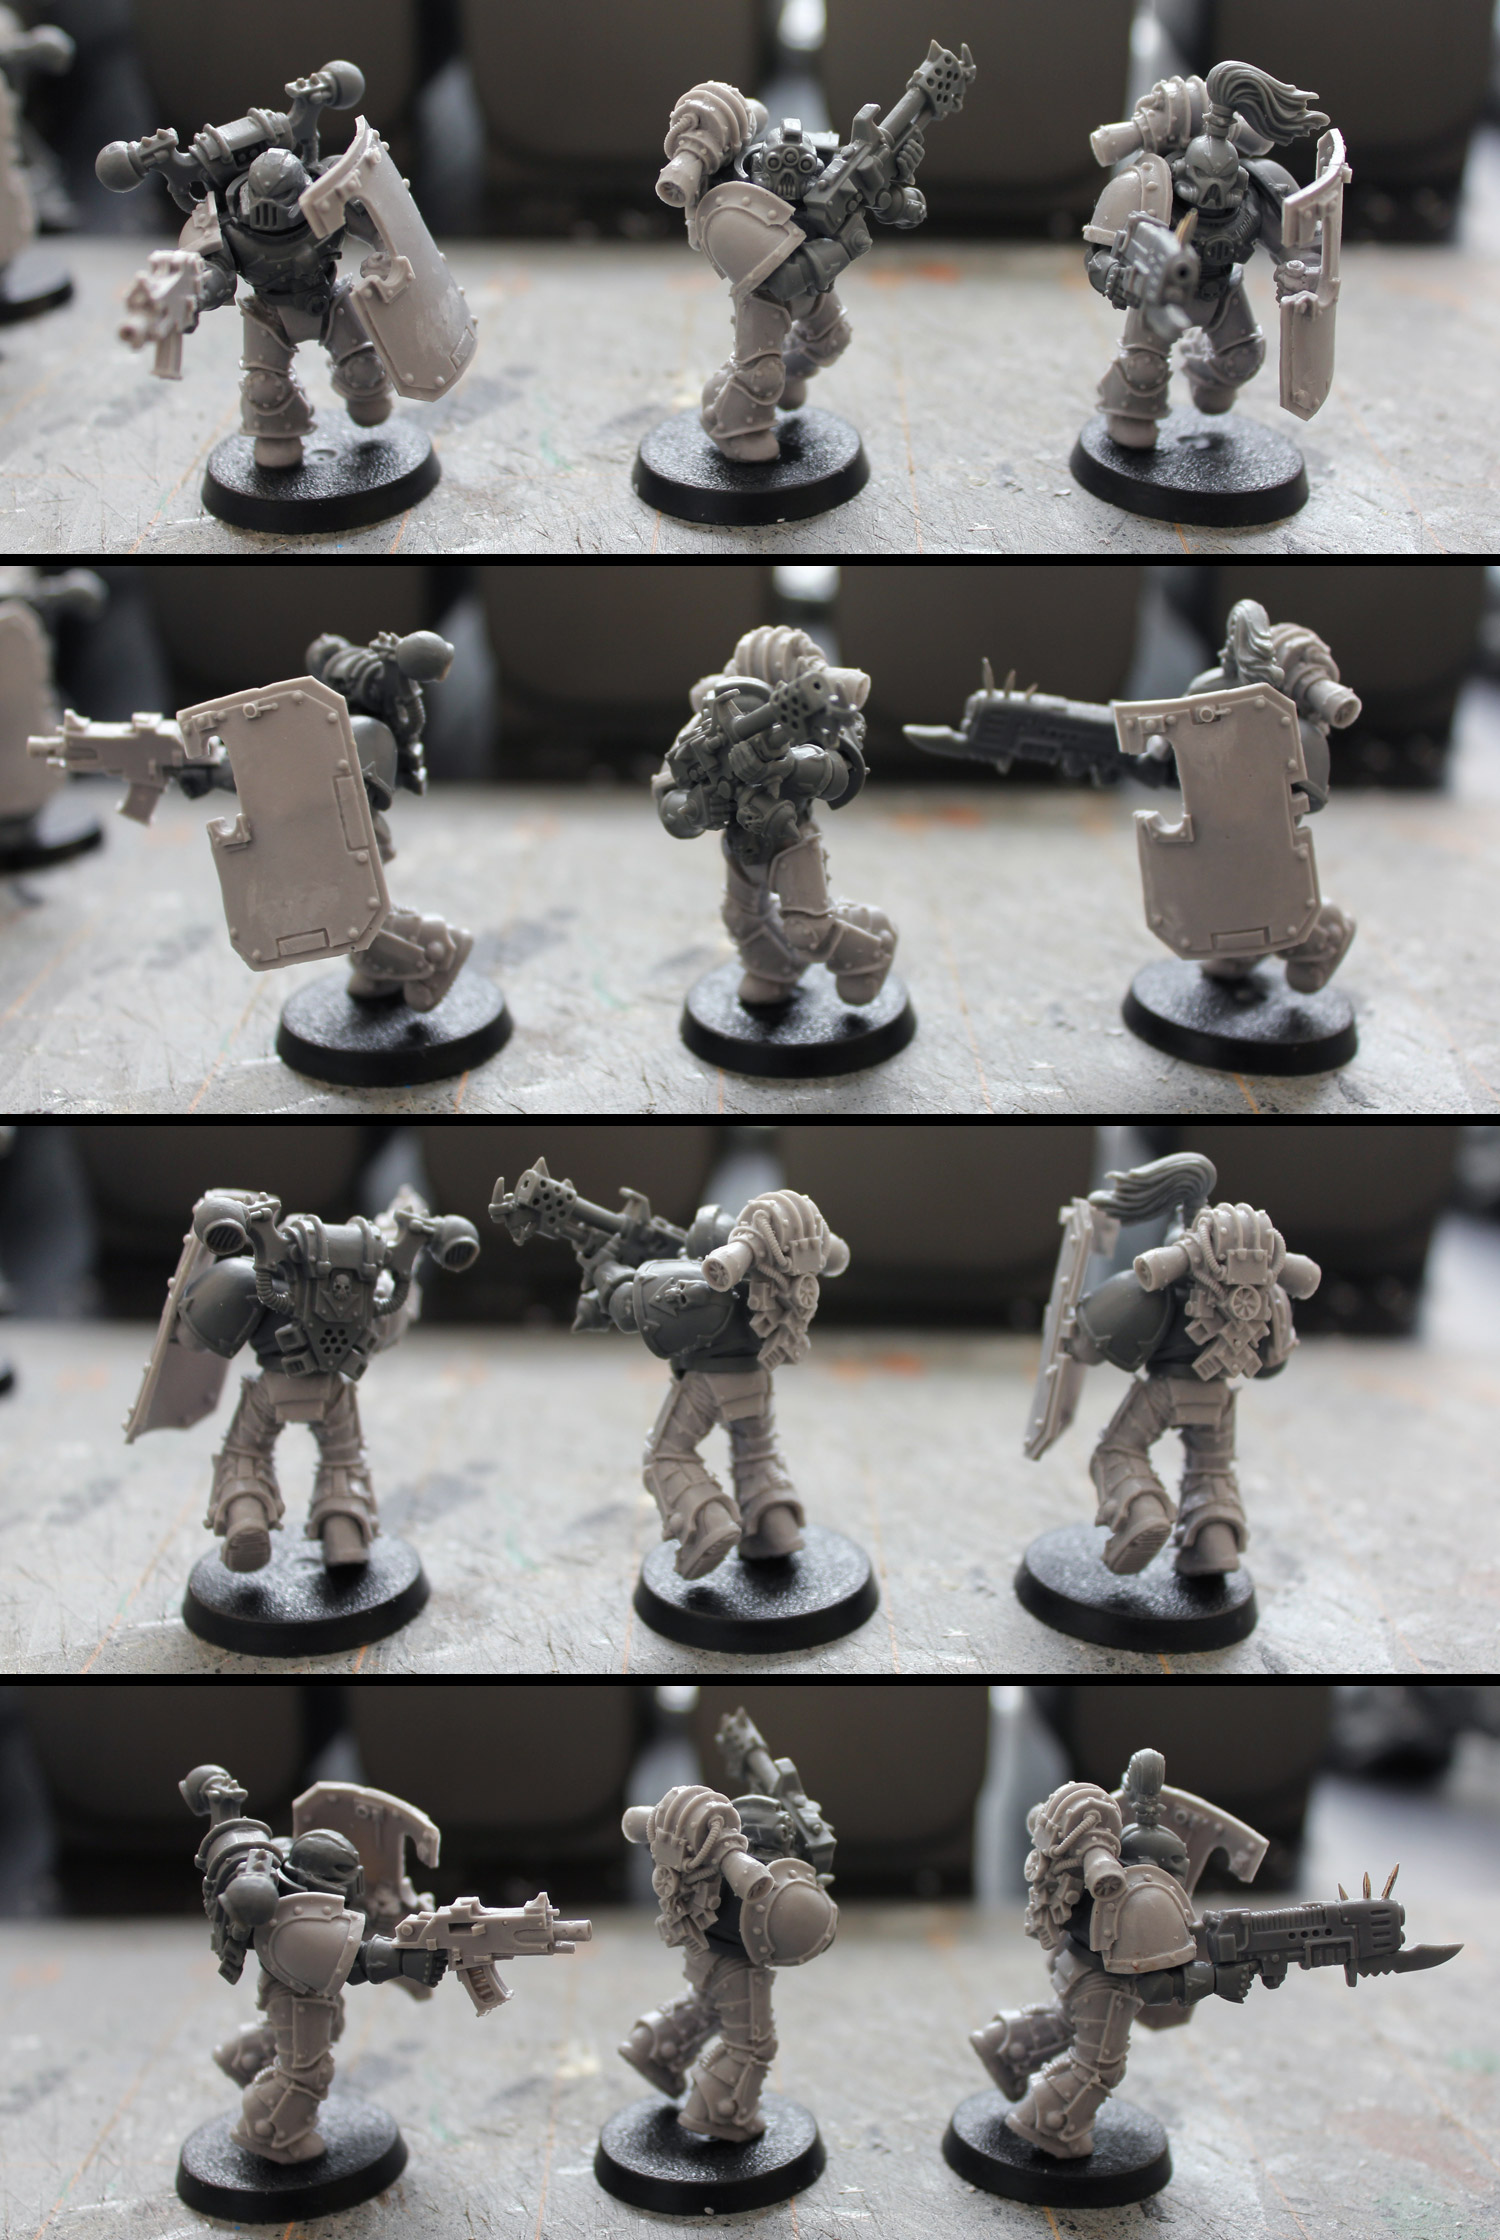
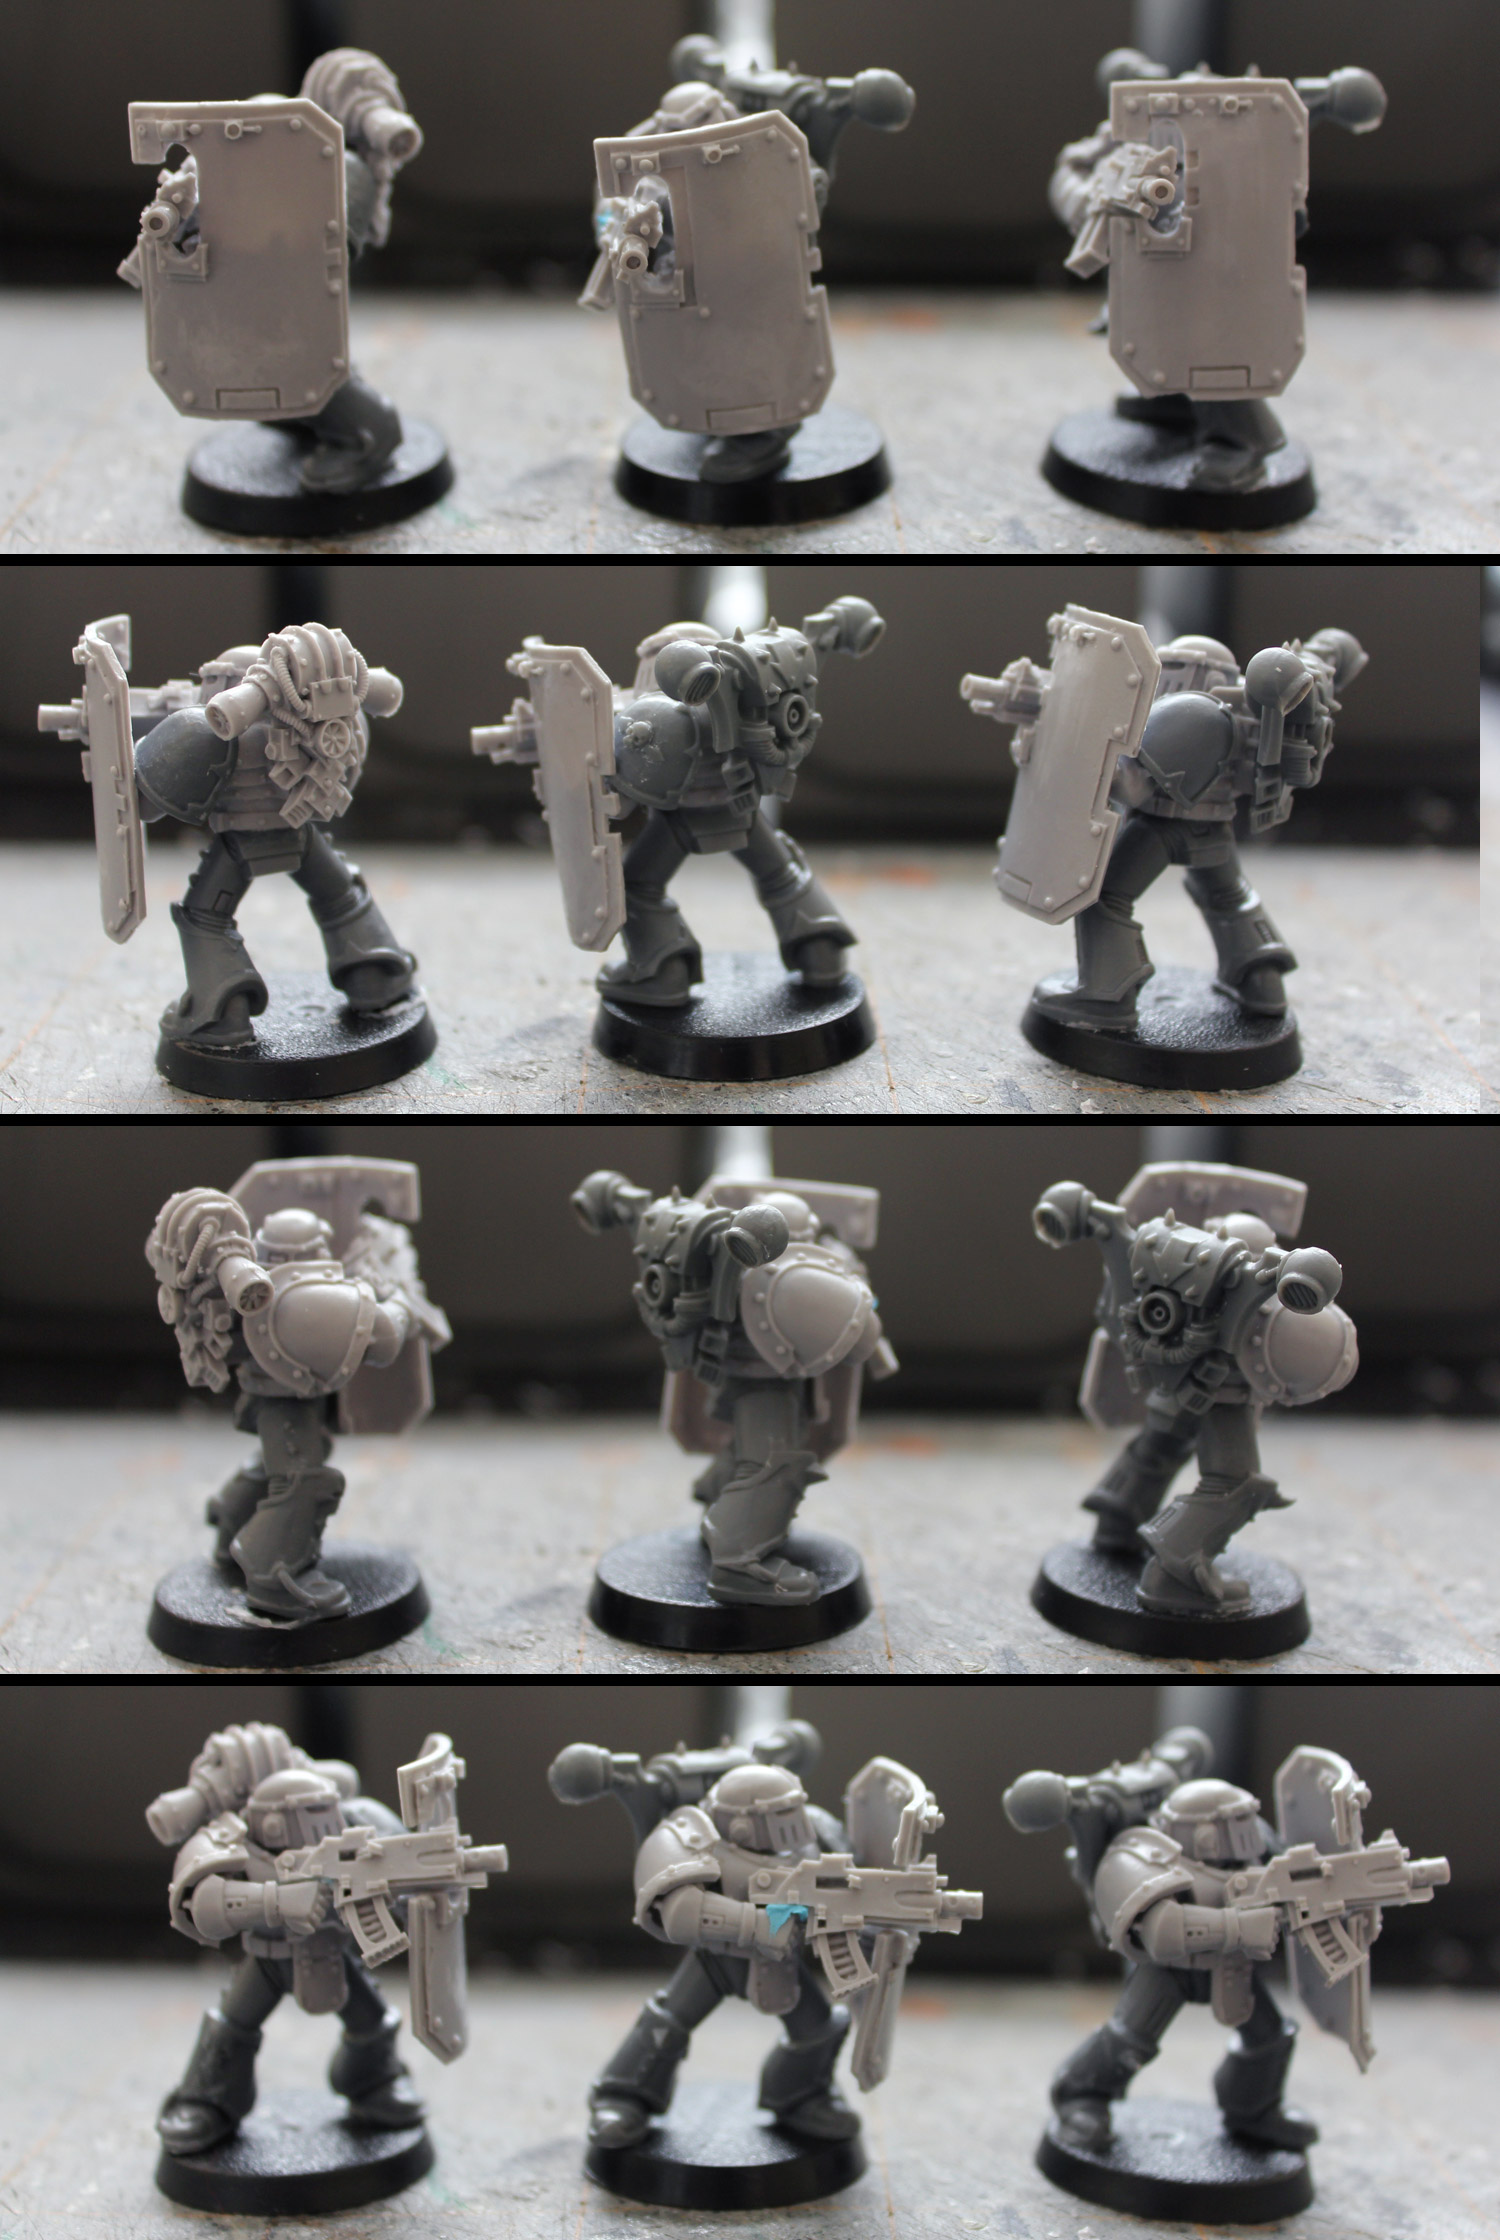
The squad, like "Ferrugo" is pretty straight-forward. A bunch of dudes carrying normal weapons and some shields to represent the increased toughness and Feel no Pain of Plague Marines.

The Chaos Lord is less transparent. The backpack is meant to give him status and longevity (it's the backpack from the old Iron Warriors Warsmith model) while the sword and gun combine to represent the Tzeentchian Daemon Weapon. The entire reason I took Mark of Tzeentch with a Daemon Weapon was because I liked the idea of modeling the ranged attack with an exotic gun of some kind. I figured that an Iron Warrior that had served the cause over the course of millennia has probably come across and/or tinkered up a powerful gun or two in that time. I think the gun used, from the ForgeWorld Boarding Assault set, has just enough sense of the exotic to represent that while the big-ass sword is an additional reminder that the Daemon Weapon also serves in close combat.

I know it's a sword from the new Blood Angels kit, but the distinct lack of blood drops make me think I can pull off giving it an Emperor's Children vibe in the painting. It was a gift to Gibeon after a particularly hard-fought compliance during the Great Crusade. Somewhere out there, there's an Emperor's Children commander traipsing around with Gibeon's old master-crafted plasma pistol.

Currently on the workbench I've got the remaining 16 models from the Polybolus squads. If I can get them done this weekend, I'm in the home stretch. Just one tricked out Rhino, two magnetized Dreads and two mostly stock Vindicators to go!

Monday, November 28, 2011

build: work-in-progress: iron warriors, pt. 7

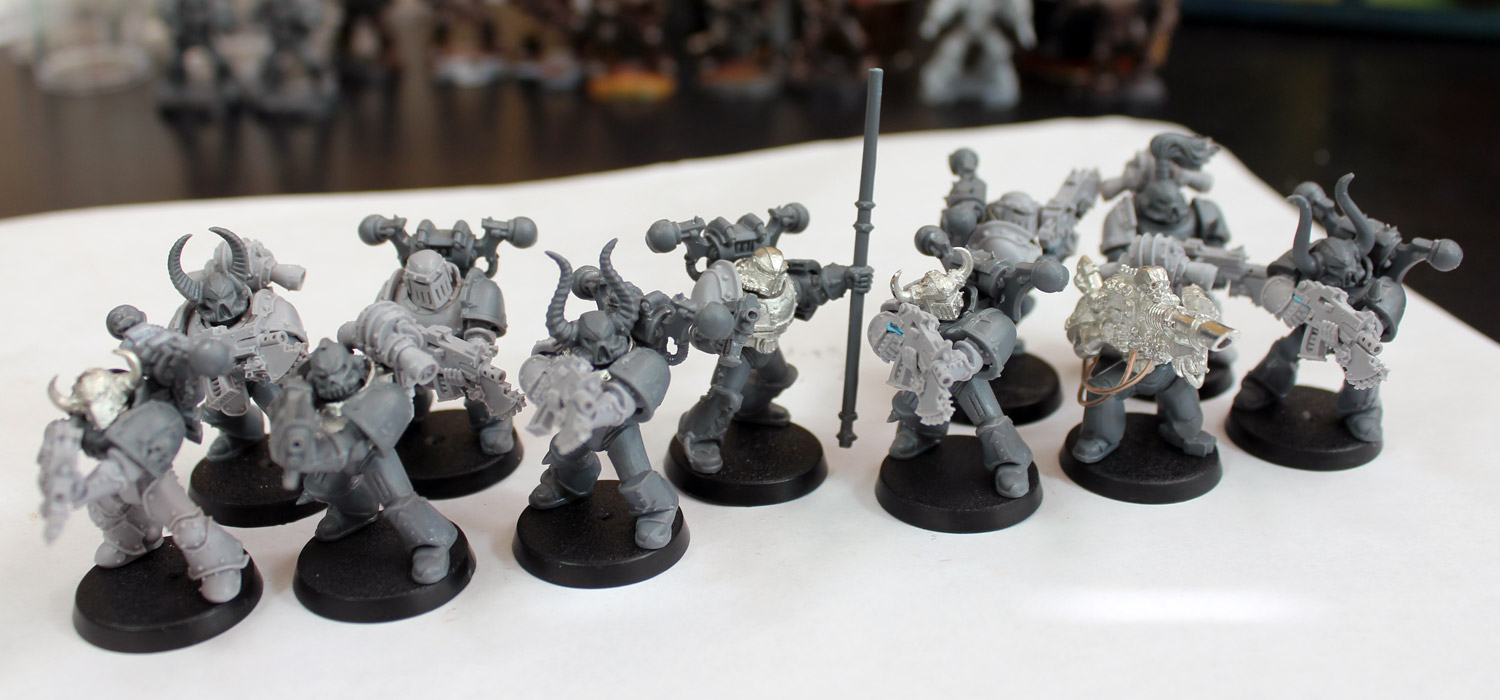
Managed to get "Ferrugo" Squad put together over the weekend and snapped a few pics...


Breaching Squad Ferrugo: counts-as Plague Marines


Iron Aspirant Sikhote: Plague Champion, power fist


Breaching Squad Ferrugo: bolter, flamer, plasma gun


Breaching Squad Ferrugo: bolter, bolter, bolter

Ran into a slight problem in that Phobos pattern bolters don't fit well behind the ForgeWorld breaching shields. The clip gets in the way. At a guess, the Umbra Ferrox would probably work while the Umbra would not. The standard plastic bolters (Godwyn?) fit beautifully, but don't match the rest of my bolter dudes. They're [i]all[/i] packing the Phobos. While my solution isn't ideal, I think it works from a practical and "realistic" stand point.

Breaching Squad "Aerugo" is about halfway assembled and will follow the same pattern. My employment hiatus ends tomorrow so I'm not sure when I'll get back to assembly, but I'm still hoping to have the entire list assembled before Christmas. Wish me luck!

Wednesday, November 16, 2011

build: work-in-progress: iron warriors, pt. 6

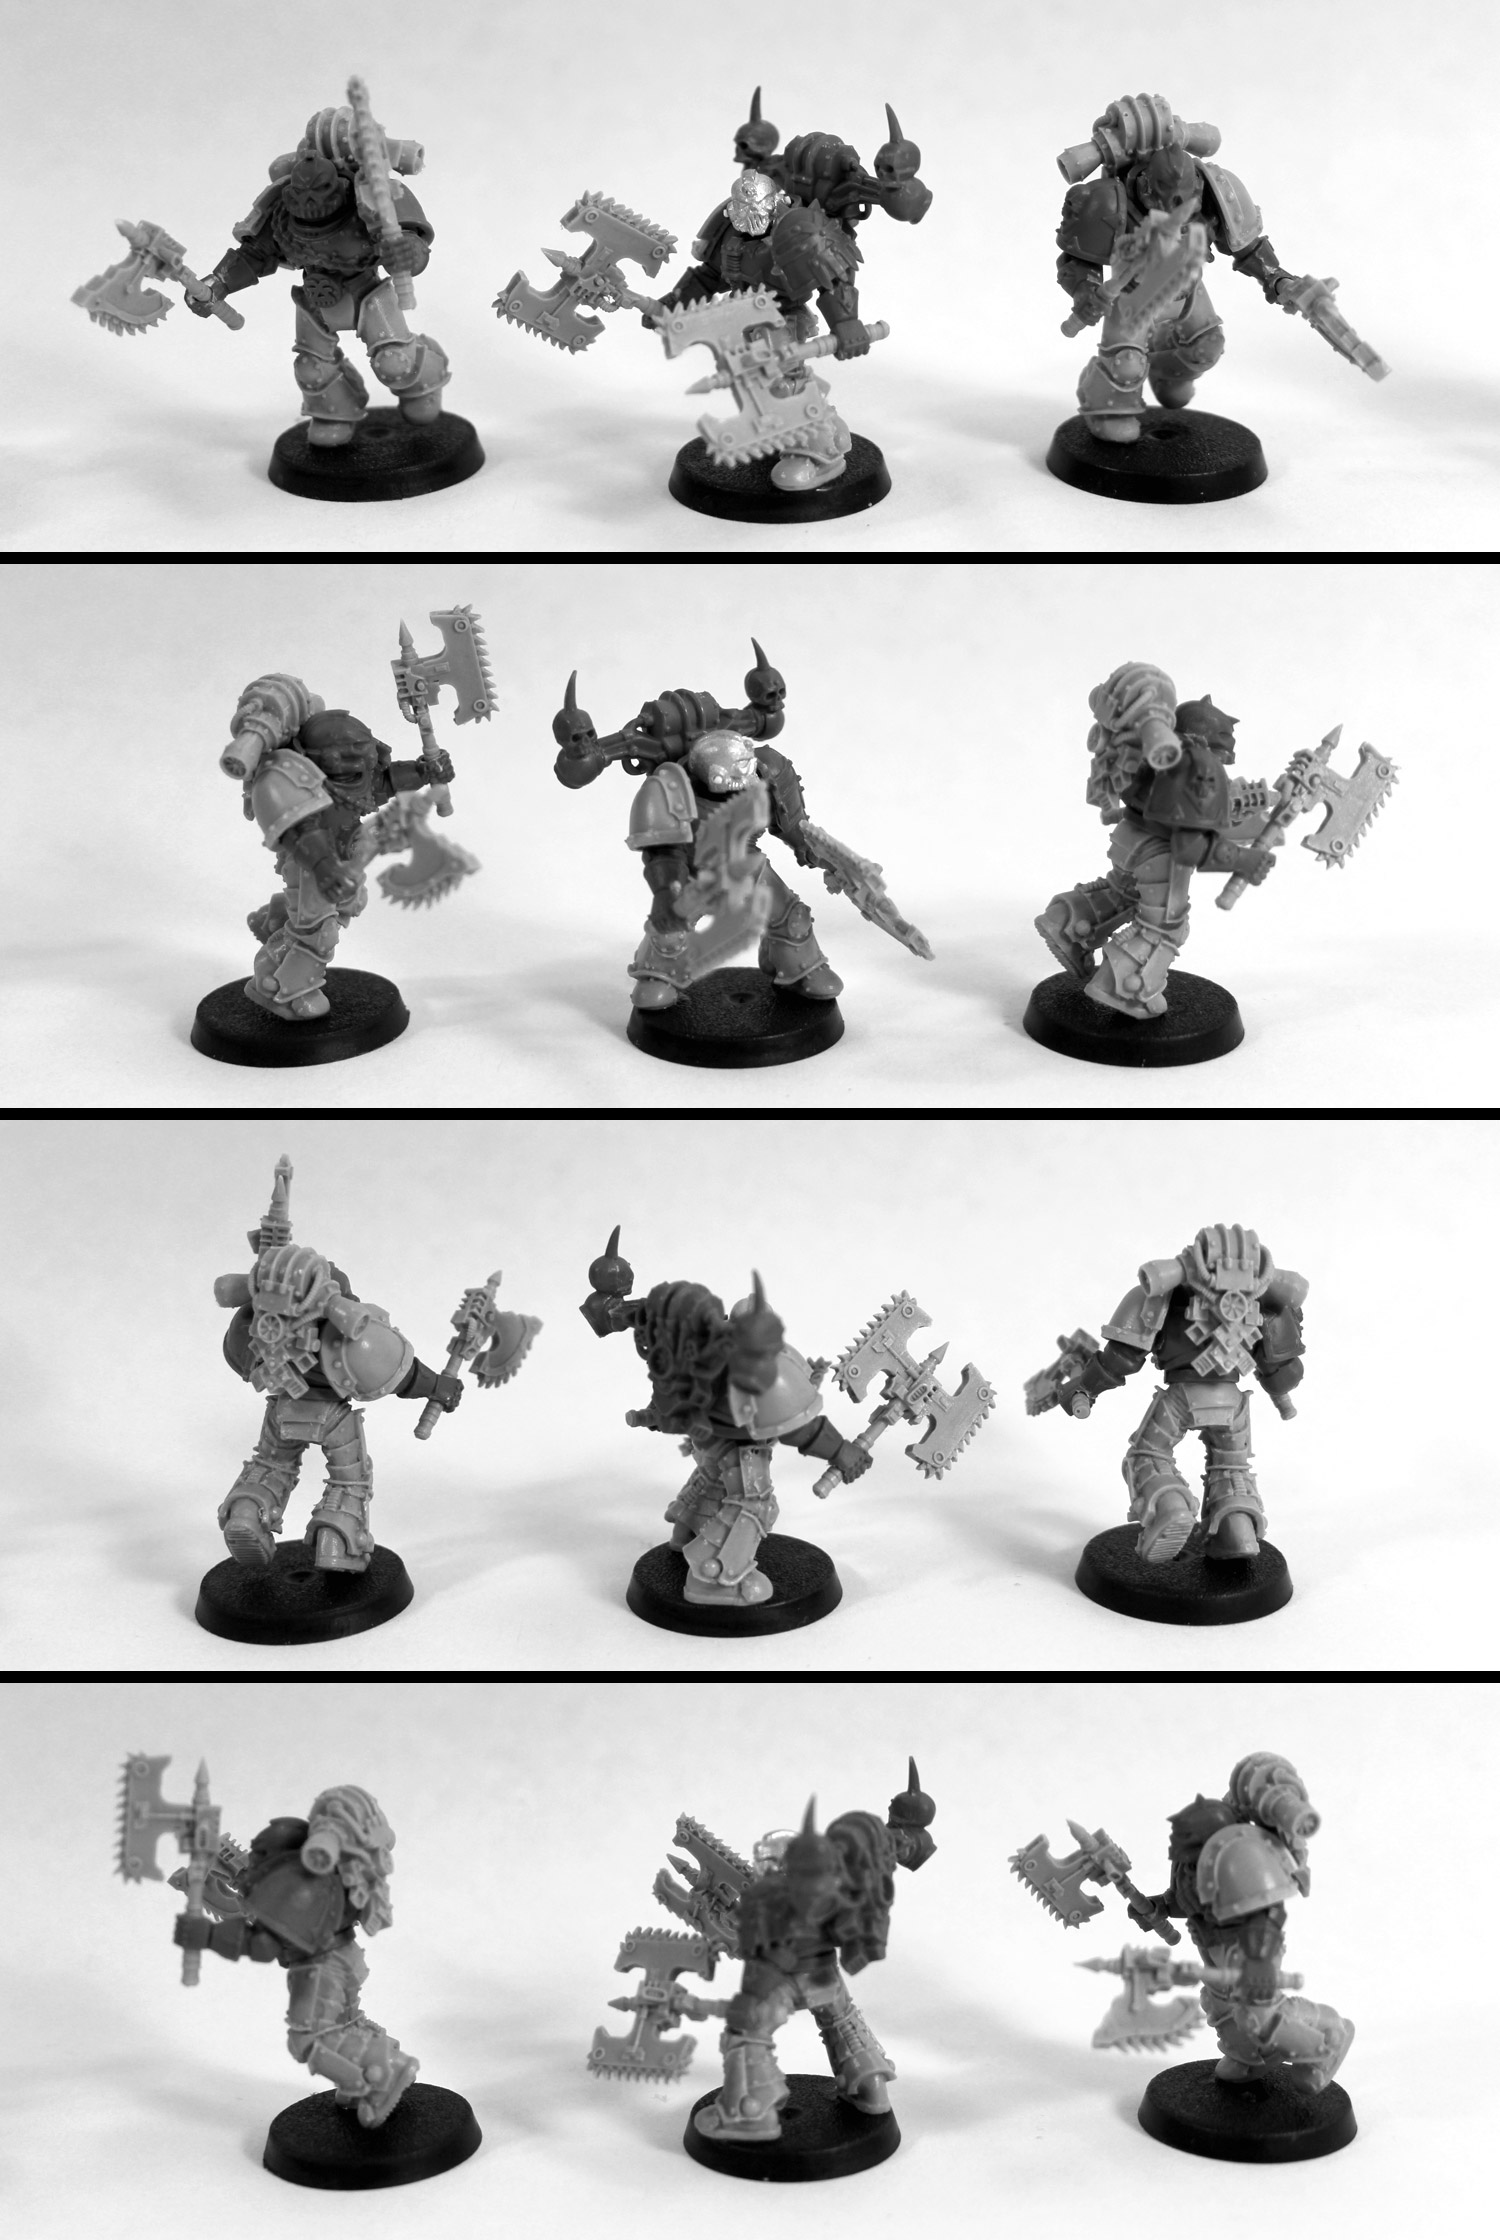
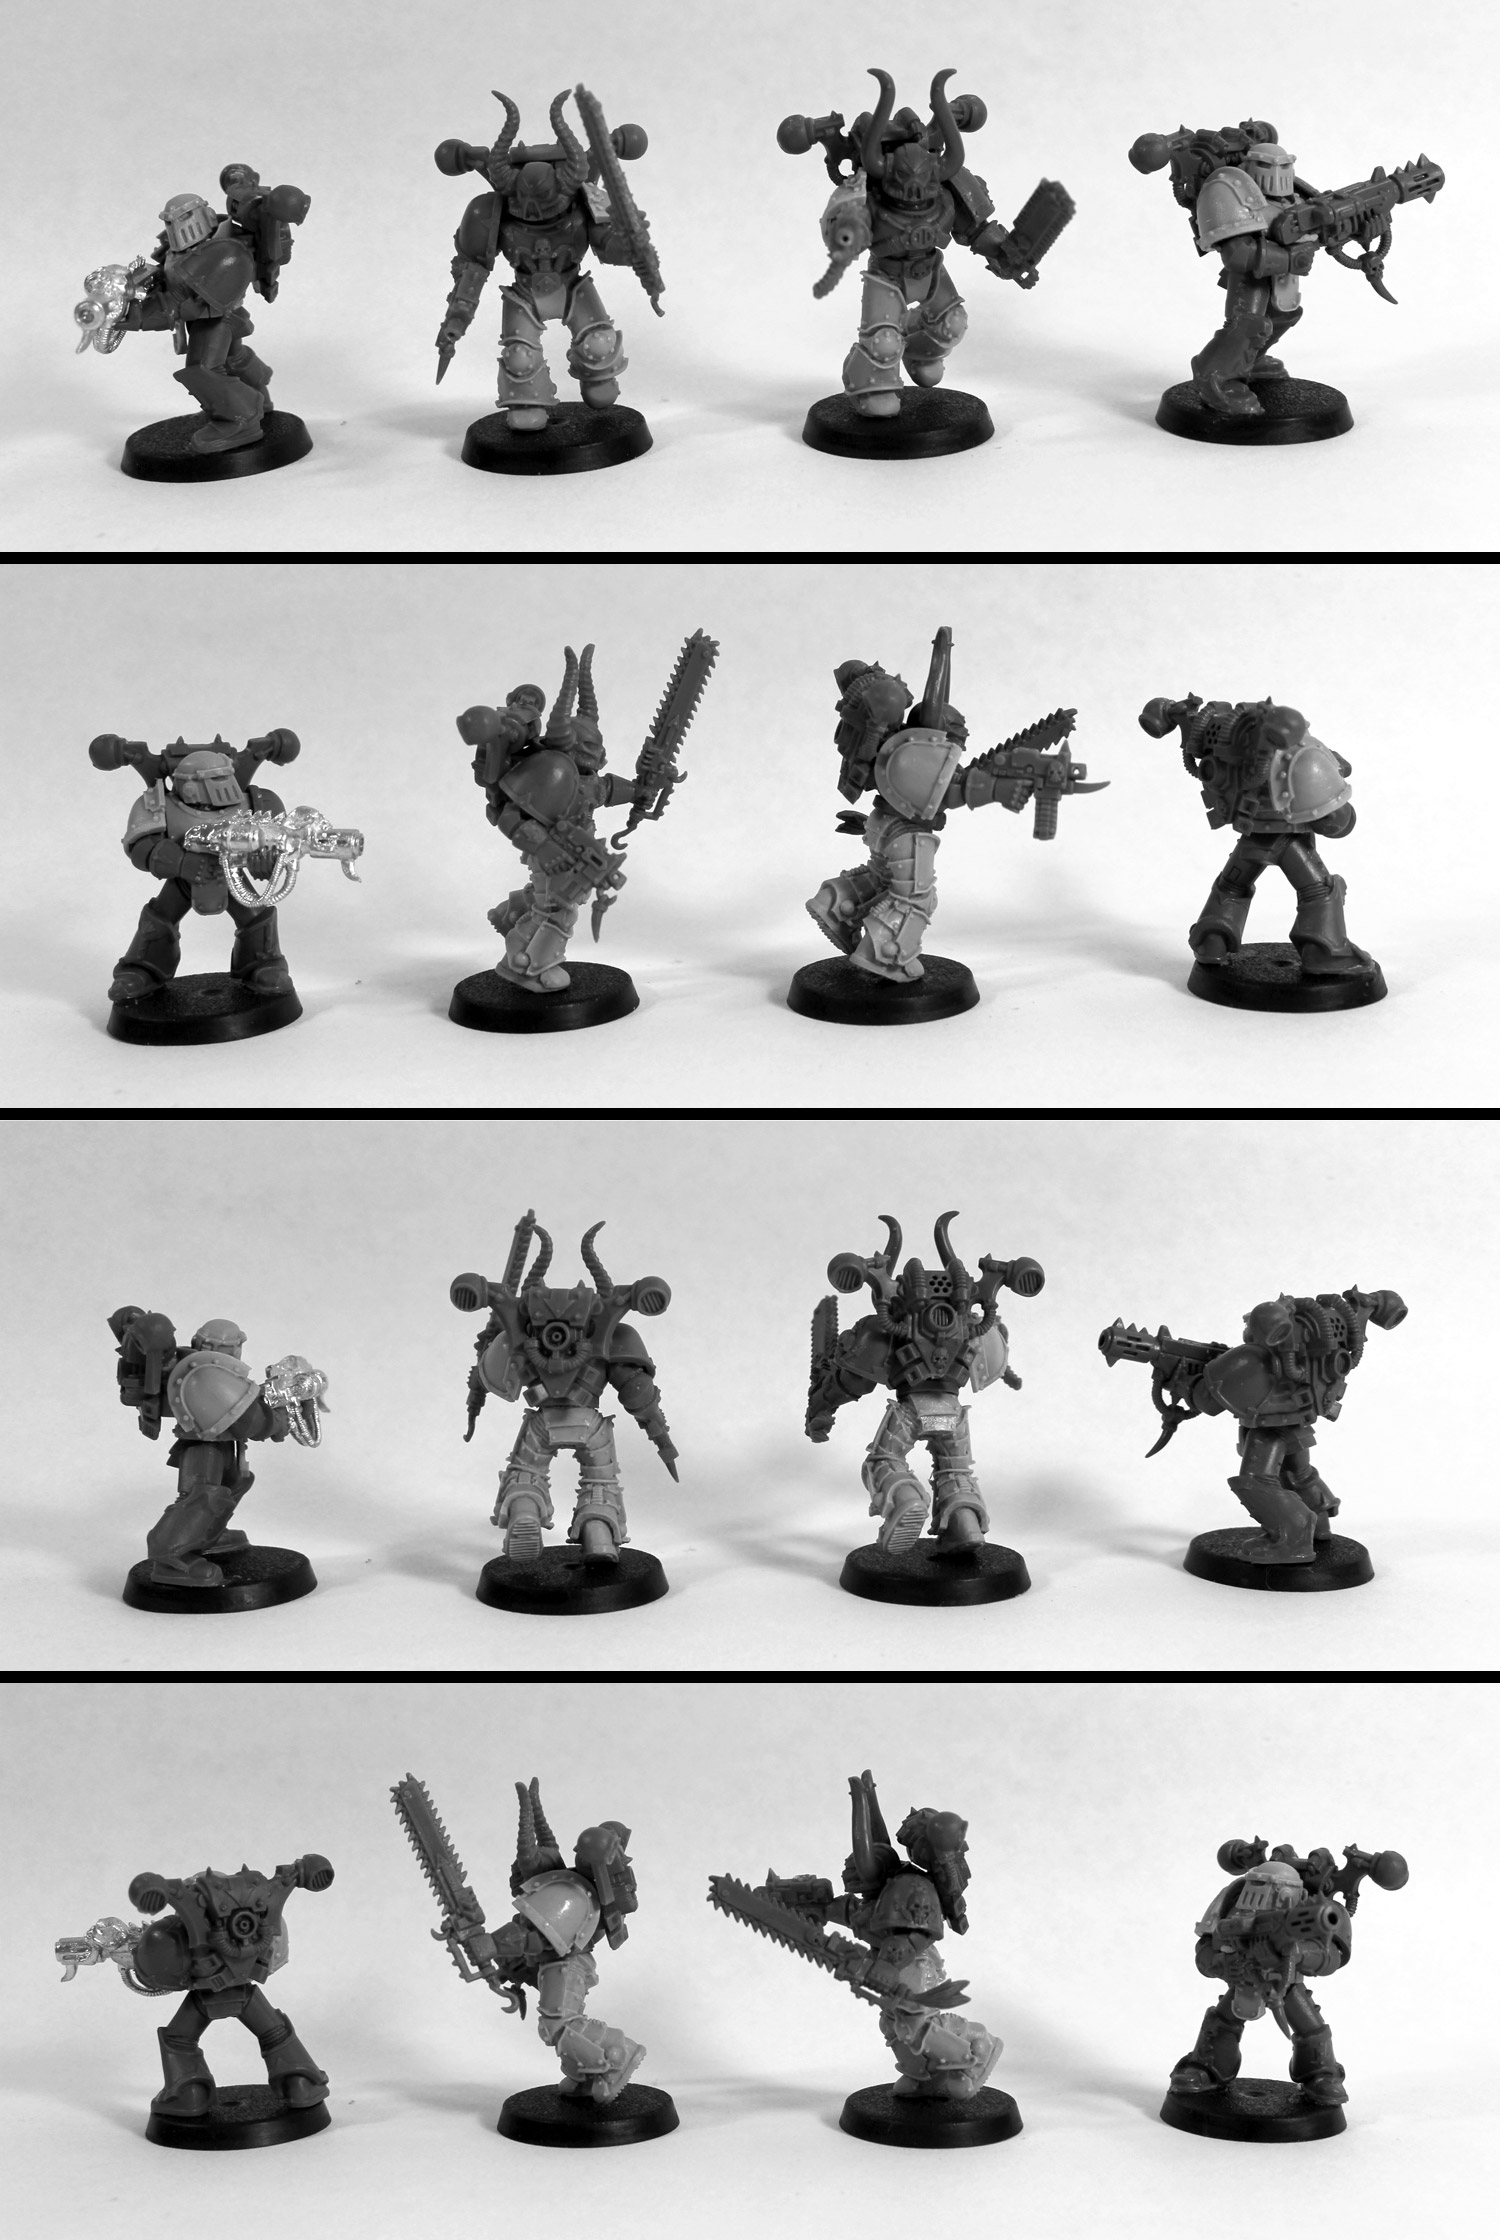
The past couple days have been quite productive. I've started cleaning, converting and assembling a smattering of CSM, SM and ForgeWorld bits into the models needed for this list. Finished assembling my first full unit early this morning after staying up all night working on it. Let me know what you think...


Scoriæ's Slaughterers: Chosen, icon of Khorne


Scoriæ's Slaughterers: triple-threat of paired lighting claws


Scoriæ's Slaughterers: meltas x2 & regular dudes x2

Obviously I've taken some liberties here with WYSIWYG, using the ForgeWorld chain axes as dual lightning claws, but it fits the theme and easily converted lightning claw bits can be a complete bitch to come by. I plan to make any opponents aware of the switch first thing, and to clear it with any tournament organizers if/when I take these guys into real competition.

But that's not all! I finished assembling the "command group" for my trench-line defense not an hour ago...


Ahnighito's Zigouilliers: CSM Havocs


Ahnighito's Zigouilliers: meltagun, champ w/ power weapon + combi-melta, regular dude


Ahnighito's Zigouilliers: heavy bolter, flamer, heavy bolter

The banner was originally intended to be an Icon of Chaos, but I dropped it from the list. Liked the thematic idea of having a banner-bearer in this squad though, so I assembled him with one anyway. Will be banners (full-size or back) in the "subordinate" squads to this one as well.

As always, all the above images are clickable to larger versions and I invite any/all questions, comments, and criticism. Now, if you'll excuse me, I'm off to GW to paint up some more test color-schemes...

Saturday, October 29, 2011

build: work-in-progress: iron warriors, pt. 5

Been awhile since I updated this here thread. I could blather on about work, medical problems, potty training two-year-olds and all kinds of other crap, but you don't care. You're just here for the pictures. ;)

So, without further ado... (all clickable for zoomed in versions)


Chelonian I: Rhino transport of squad Aerugo


Fornax and Chelonian III

I've got one more "Chelonian III" style Rhino to build for the second "Plague Marine" squad. The original plan was to have a second "Fornax" style Rhino as well, but I'm scaling back my list quite a bit. I'm currently thinking that if I expand the list later it'll probably be with a Warsmith in a Land Raider.

Was fortunate enough to be able to spend a chunk of yesterday hanging out at the local Games Workshop mucking about with a test model. It's not bad for a first try, but I've got a few other ideas I need to try before I finalize the theme and buckle down to start painting troops en masse.


Iron Warrior: paint test 1

The pic's a little dark, but you can see the jist of what I was going for. I'll try to get better lighting for the next test model and re-snap this one at the same time.

As I write all this, I realize I've been remiss in posting my updated plans Iron Warriors. Suffice it to say, they've grown beyond the meager 400 points of Combat Patrol to a full-fledged list. It grew to 2500 points, but I'm in the midst of scaling it back down to a more manageable, and less costly, 1500-1750 list. As soon as I finalize it, I'll be sure to post it up so you can see where this is going.

As always, questions, comments and criticism welcome.

Saturday, September 24, 2011

build: work-in-progress: iron warriors, pt. 4

I think I'm done with the breaching squad's Rhino. I've enjoyed the challenge of fleshing it out, but I'm not looking forward to making another when I expand the list beyond Combat Patrol levels. Though it may not be so bad. I spent more time on plasticard work that ended up discarded for new ideas than I did on the stuff that stuck. As has become the norm, pics are clickable for larger versions.


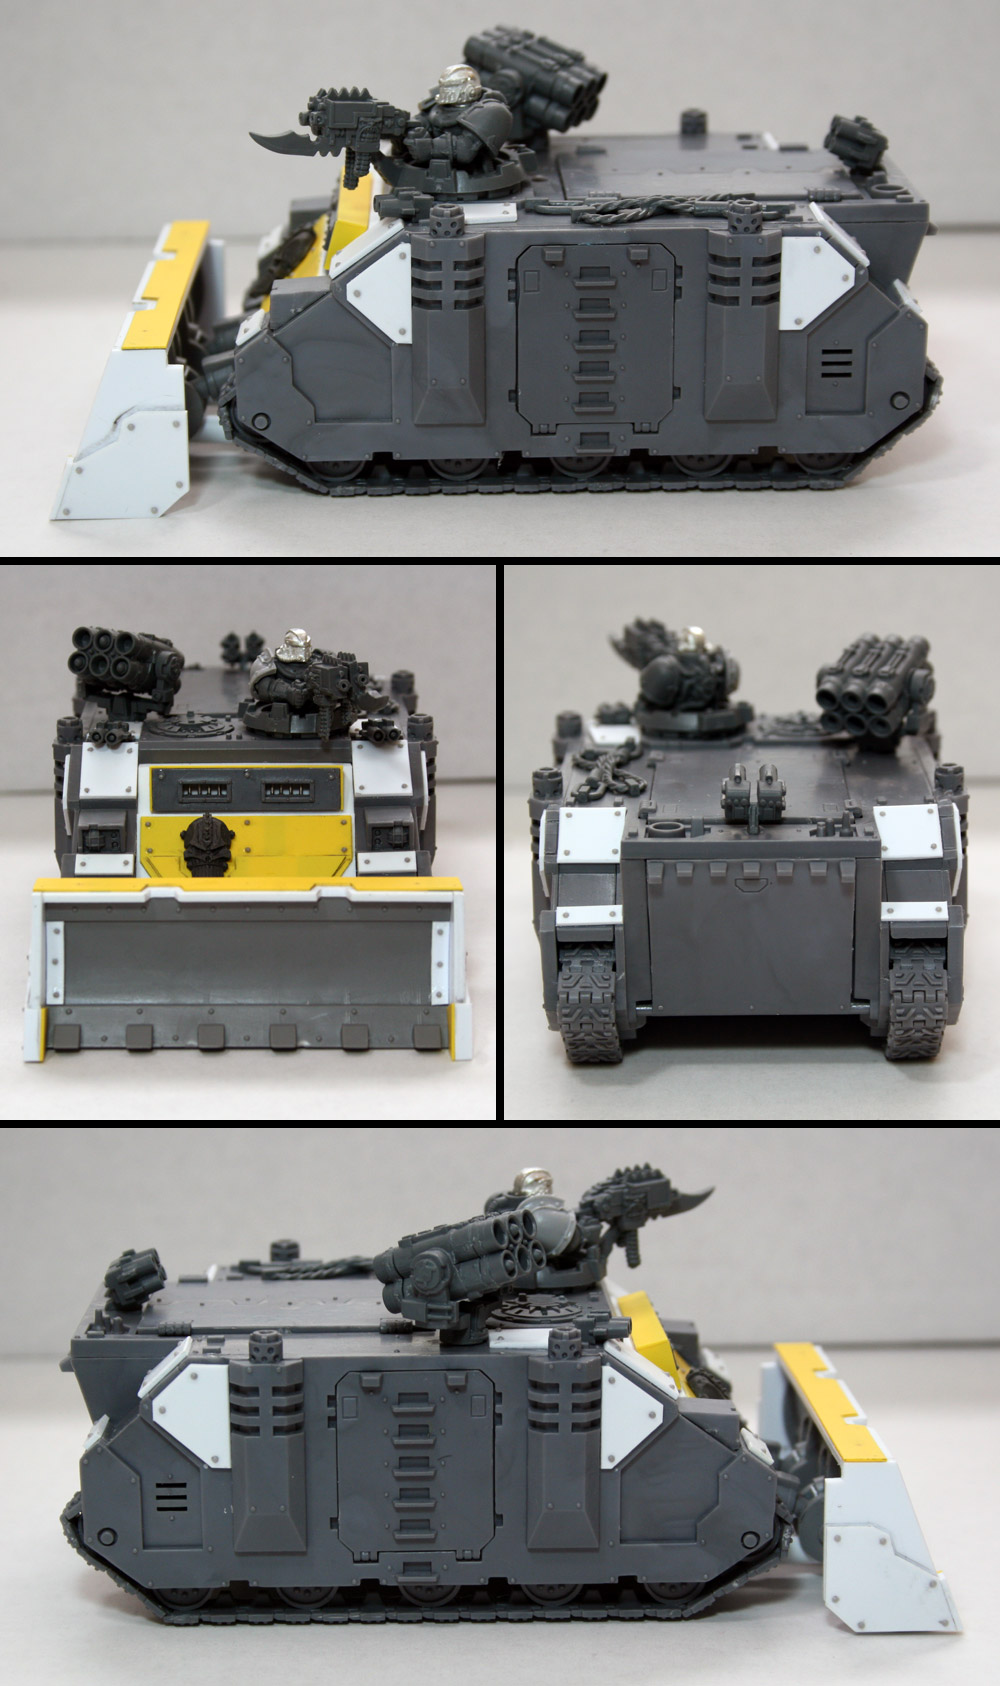
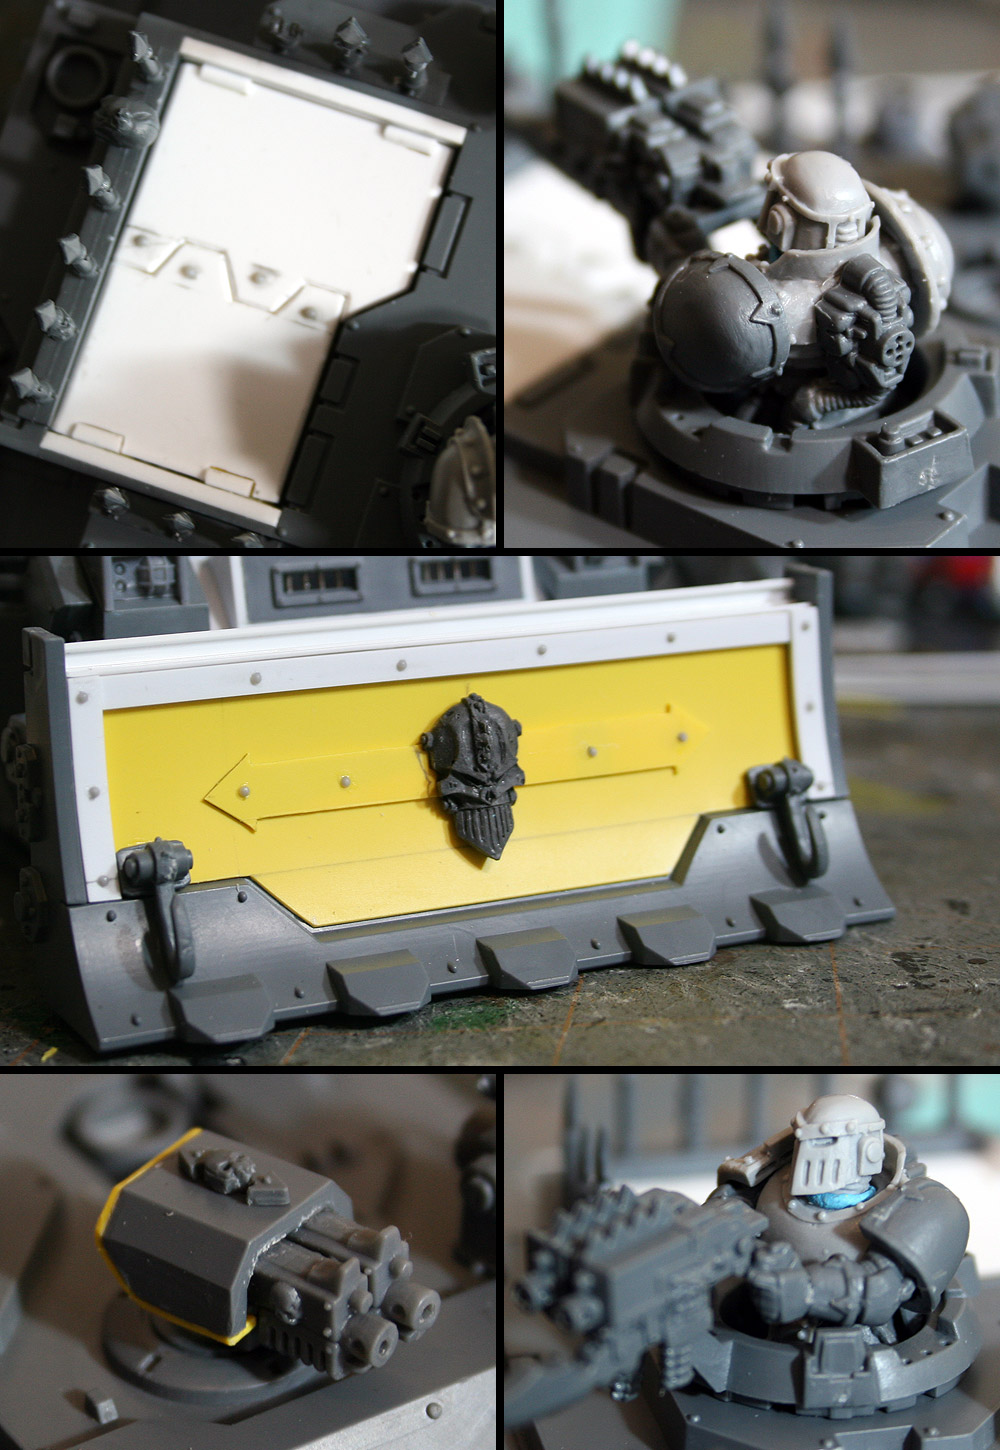
Breaching Rhino: daemonic possession, dozer blade, extra twin-linked bolter


Breaching Rhino: detail close-ups


Breaching Rhino: without dozer blade

Still have a little green-stuff work to do on the marine's respirator attachment, but for all intents and purposes it's done. Now I need to figure out what the regular CSM's Rhino will look like. I've got some IG dozer blades lyin' 'round here somewhere...

Thursday, September 15, 2011

build: work-in-progress: iron warriors, pt. 3

Again, it's been a rough week for making progress. Kicking around Space Marine multiplayer in my Iron Warriors skin seems to have sparked my imagination on the Rhino though, and I was able to get a little more headway. (once again, all images are clickable for larger version)


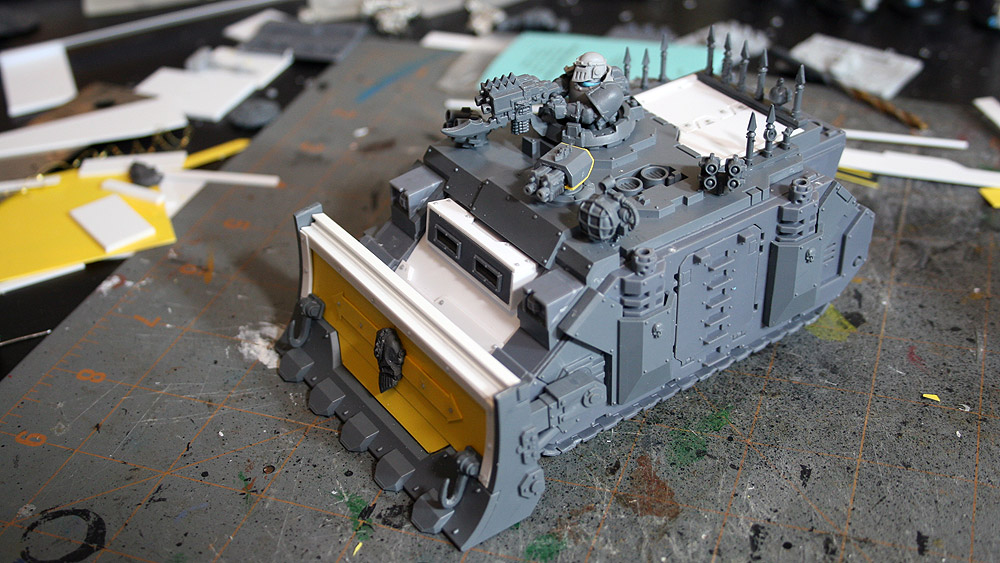
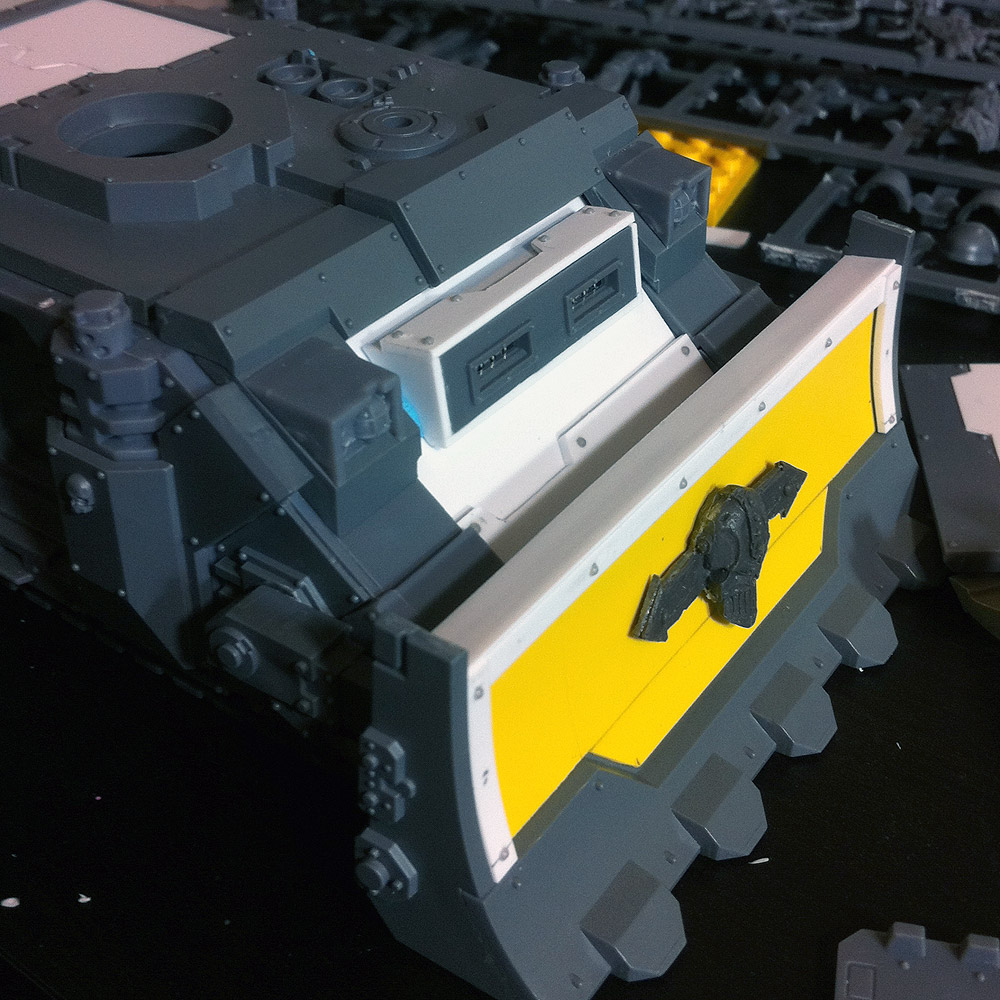
The dozer blade is magnetized. Still need to trick out the doors, shave the IW logo down a bit, add the IW stickin' out the top, and then get down to detail work. I've got some spikes and barbed wire lying around that I'd like to use if I can make it look good...

Sunday, September 4, 2011

build: work-in-progress: iron warriors, pt. 2

Did some work this weekend, a good chunk of which was fruitless. Got a set of these tracks off eBay thinking they'd look pretty cool on an IW Rhino. After a couple hours cleaning up the considerable flash and another couple hours trying to get 'em to fit, I scrapped the idea. I got 'em to fit, mostly, but not well enough to look manufactured. Add in that the track system of a Rhino is mostly covered, keeping visual impact of the new treads to a minimum, and it quickly ceases to be worth the 4-5 hours effort needed to fiddle the tracks into working order. Particularly when my expanded list looks to have at least 6 Rhino chassis. At this moment, I'm very glad to have had the foresight to purchase only one test set.

The Breaching Squad's Rhino is nowhere near complete, but it's on its way. Here's a teaser...


All I'll say is this: the front plate takes queues from the IW Rhino Doors kit and I have a rapidly growing knowledge-base concerning InstantMold...

I also pulled out some Blue-Tac and fit the squad together partially to test the fit, and partially to get some better shots of what the squad will look like. All of the following pics are clickable to a double-sized version.


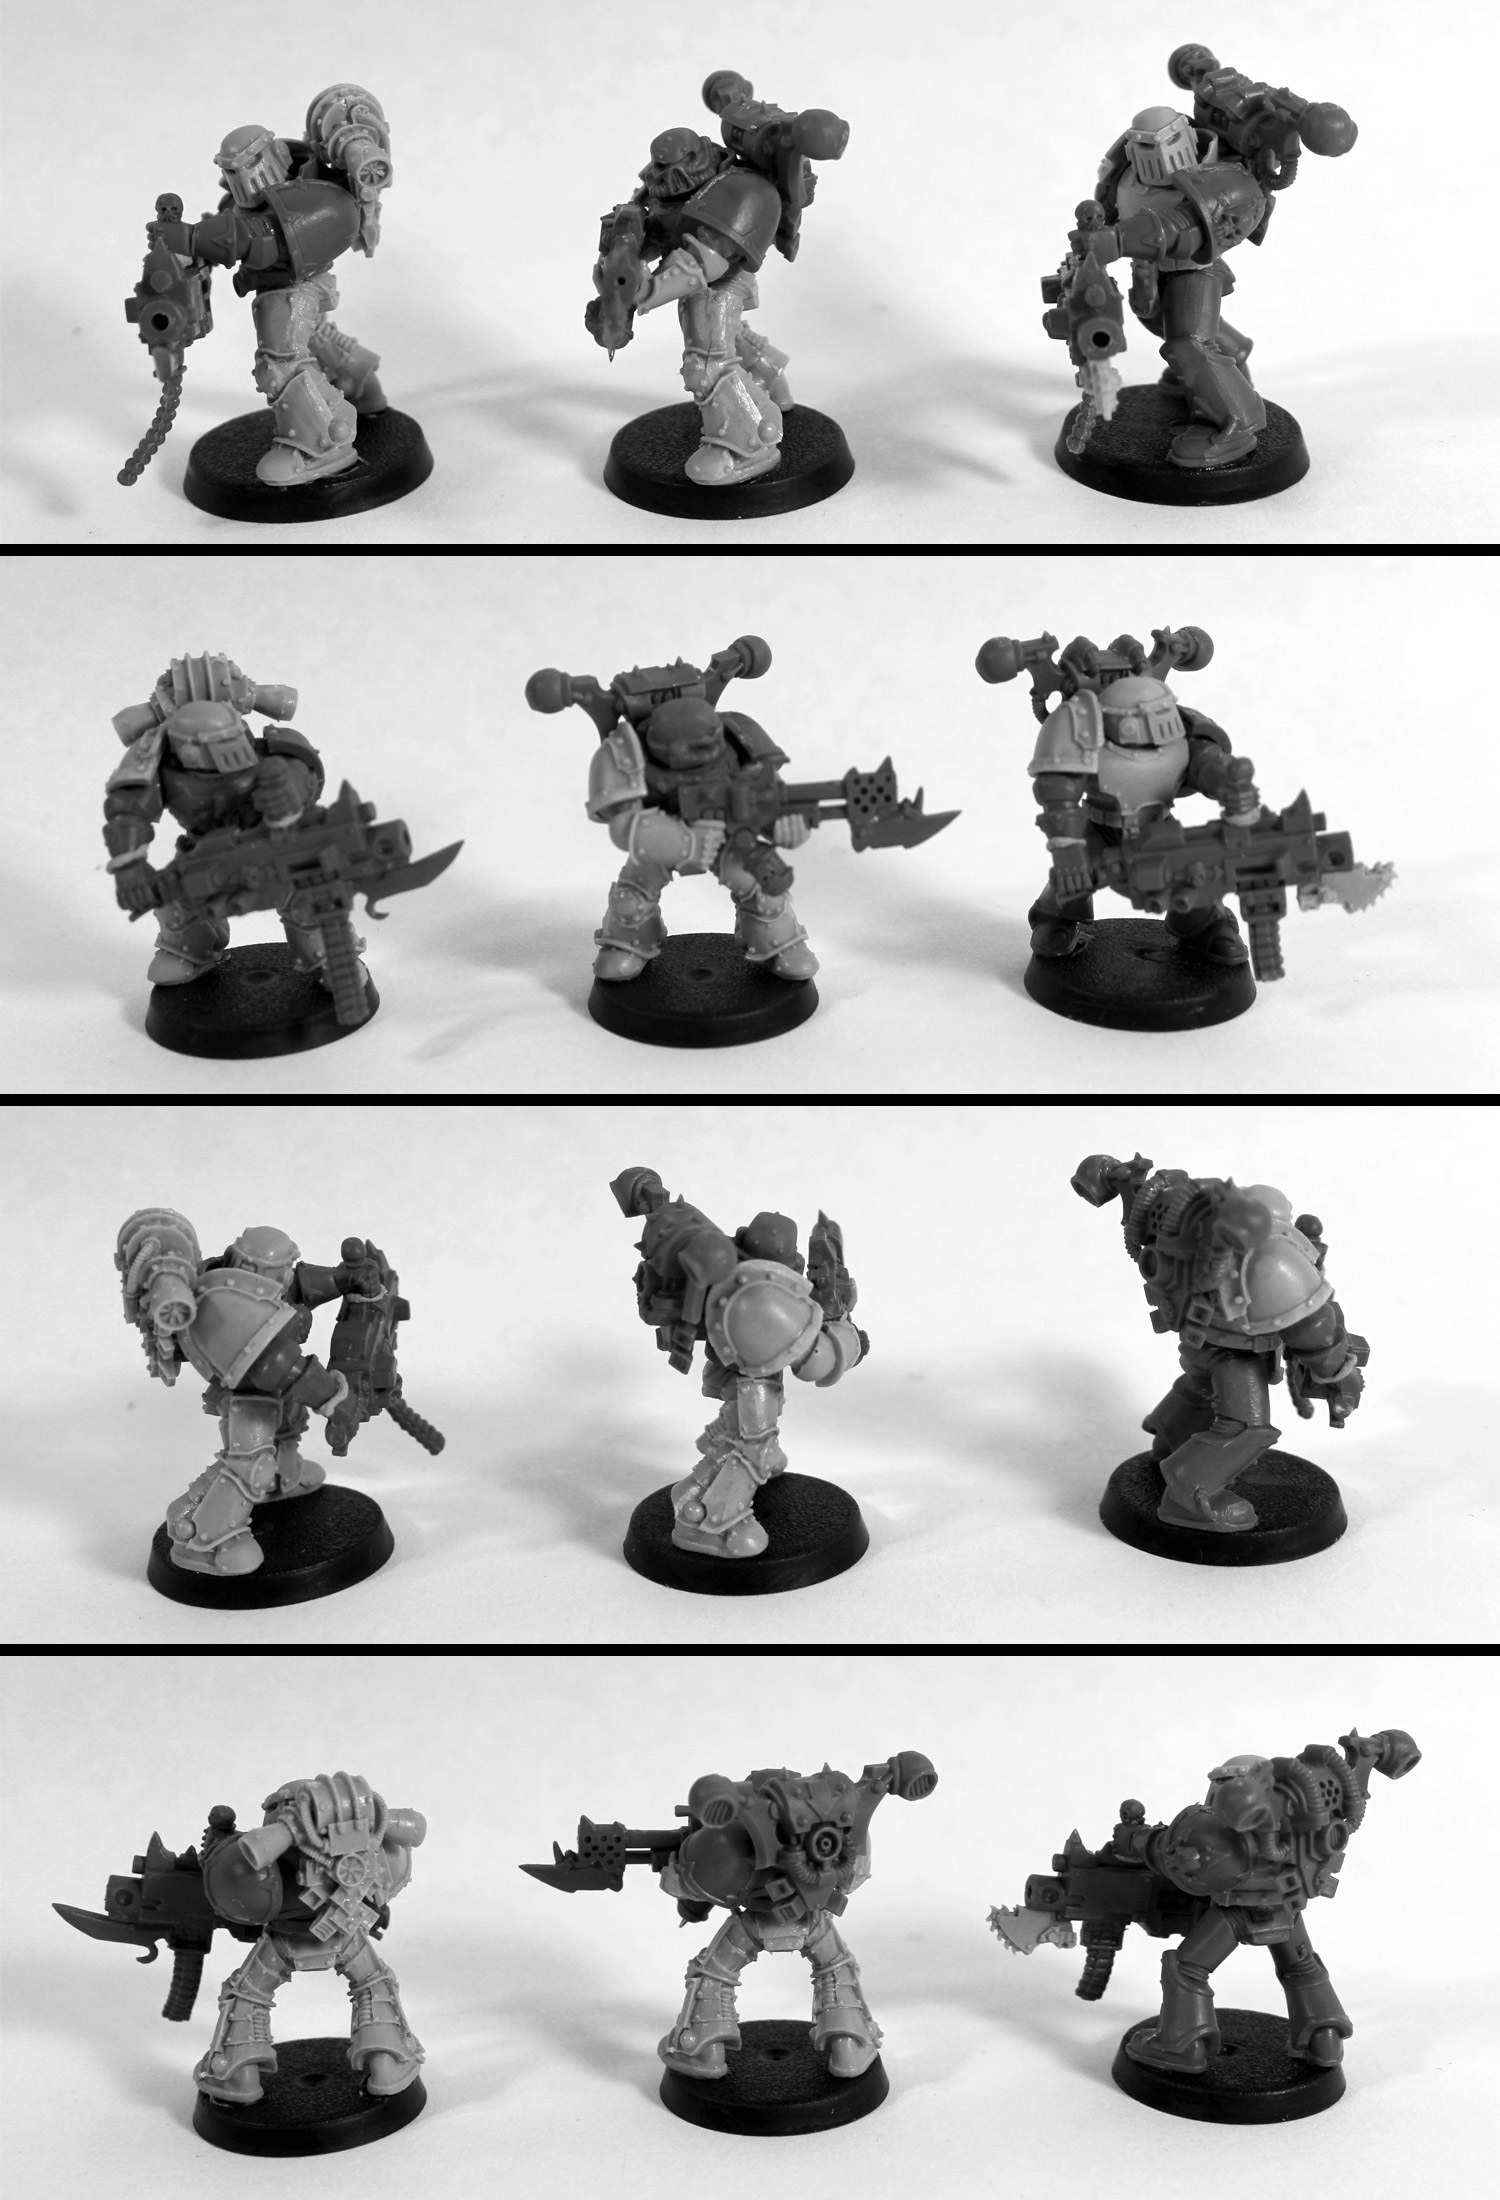
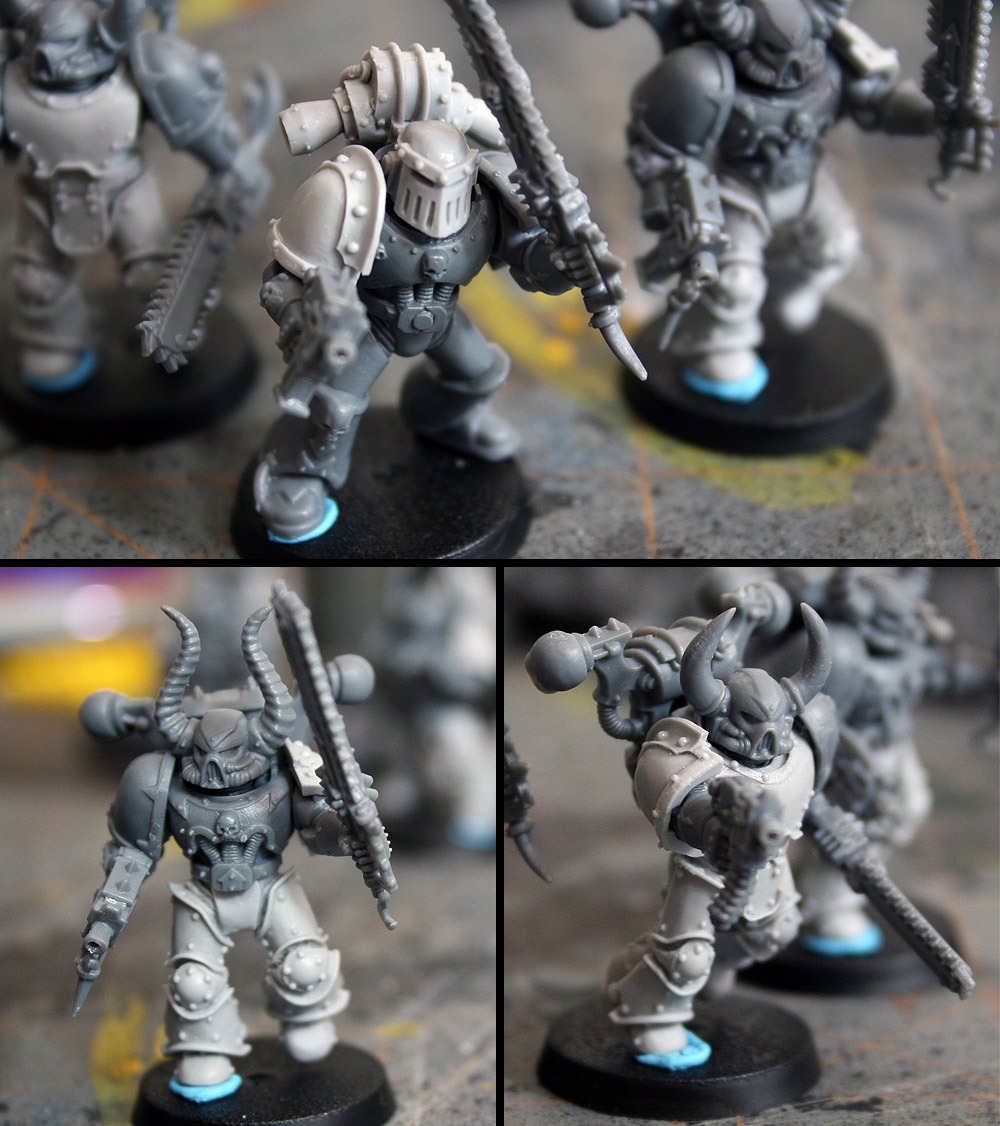
Breaching Squad 01: aspiring champion


Breaching Squad 01: plasma team


Breaching Squad 01: fire team


Breaching Squad 01: mop-up


Mk.III Pauldron: (l) stock, (c) legion, (r) miscellaneous

I mentioned in the first post that I had to modify the Mk. III shoulder pads quite a bit, so I went ahead and got some pics of that too. With three horned-helm exceptions, two of which were necessary due to positioning, the "Legion" pad above goes on a Marine's right shoulder. Two figures have FW pads on both shoulders. I'm mixing and matching as I go, trying to steer clear of any 8-pointed stars. These guys aren't intended to be pre-Heresy, but I want them to be Iron Warriors first, Chaos Space Marines second.

As always, questions, comments, criticism both welcomed and encouraged.